Weber Blue Agave: Characteristics and Care
Weber Blue Agave (Agave tequilana Weber var. Azul) was named after the botanist Frédéric Albert Constantin Weber and is very widely known as it is the only species of agave legally allowed to be used for the production of tequila.
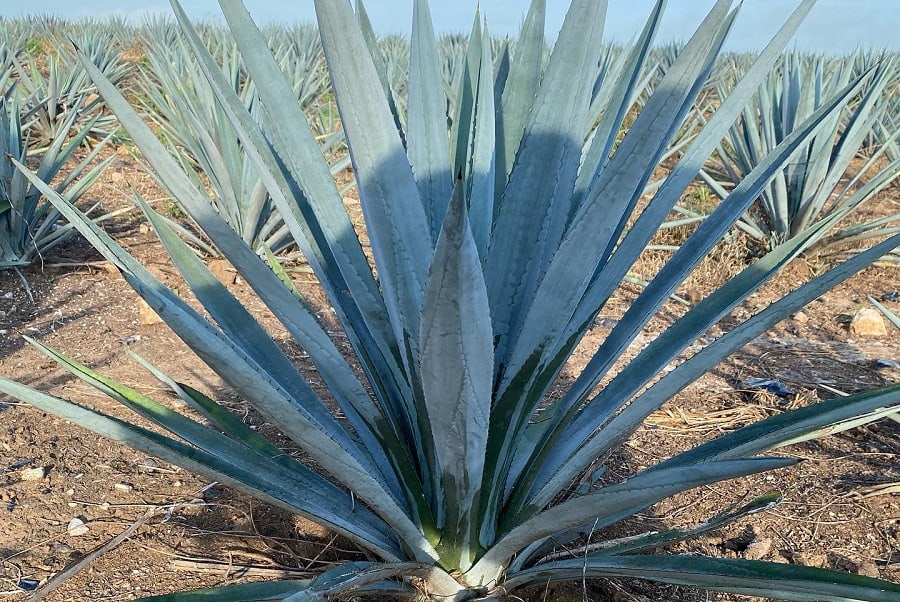
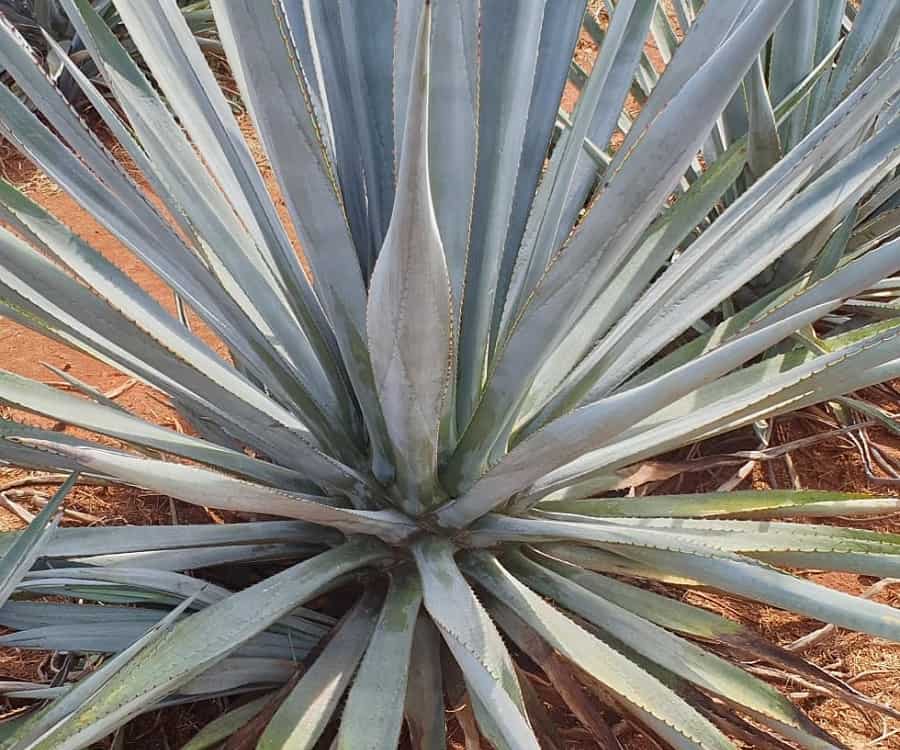
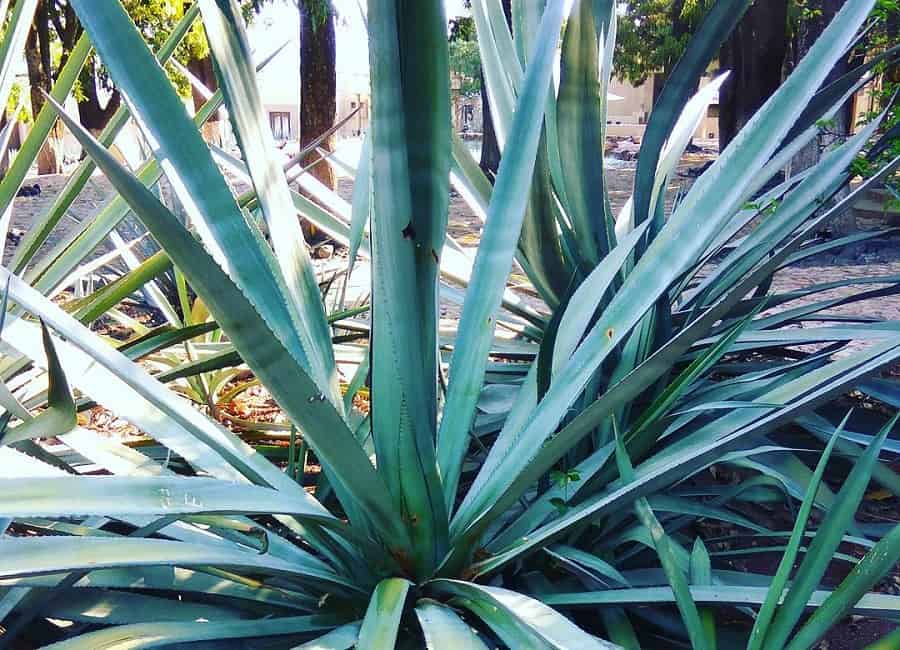
The plant has narrow, long leaves growing outwards and standing almost upright. The dark green leaves are arranged in rosettes. It grows quickly and produces many offsets, making it a very valuable plant for cultivators.

Related Post:
70+ Types of Agave Plants with Pictures
Contents
Fun Facts About the Weber Blue Agave
- The Weber Blue Agave is a type of plant that grows mainly in Mexico. It belongs to the agave family and is famous for its use in making a popular alcoholic beverage called tequila.
- Unlike traditional trees, the Weber Azul Agave plant has a short stem and long, thick leaves that grow in a rosette shape close to the ground. These leaves are pointy and have sharp spines on the edges, so you need to be careful when getting close!
- One of the amazing features of the Blue Weber Agave is its ability to store water. It has thick, succulent leaves that can hold a lot of water, helping it survive in dry and arid regions.
- It takes a long time for the Weber Blue Agave to grow fully. On average, it requires around 8 to 12 years to reach maturity before it can be harvested for tequila production. That’s a lot of patience!
- When the Agave Weber Blue is ready to be harvested, it sends up a long stalk from its center, called a quiote. This tall stalk can reach impressive heights of up to 25 feet! At the top of the quiote, yellowish-green flowers bloom, attracting pollinators like bats and hummingbirds.
- The leaves of the Blue Weber Agave are thick and fleshy, which enables the plant to conserve water during the hot and dry seasons. These leaves also contain a juice called aguamiel, which is extracted and used to make sweet syrups or fermented into pulque, a traditional Mexican beverage.
- Tequila is made from the heart of the Weber Blue Agave, which is known as the piña due to its pineapple-like shape and appearance. The piña is harvested, cooked, crushed, and then fermented to produce tequila.
- The Agave Weber Blue has many uses beyond tequila production. Its strong and durable fibers have been used to create ropes, mats, and even clothing. Additionally, its nectar is sometimes consumed directly as a natural sweetener.
So, next time you sip on a tequila-based drink, remember the incredible journey of the Blue Weber Agave!
How To Care For Weber Blue Agave
Weber Blue Agave plants are easy to care for but still have specific care conditions that can allow them to thrive. You can go through these below.
Light
All Agaves, including Weber Azul Agave plant, require direct sunlight, so it is best to place the plant in the south or southeast window. In summer you can move it to the open balcony or veranda for sun exposure. If the windows of your apartment are facing north or northwest and west, the plant needs special lighting with a grow light.
You can also provide them with a bit of shade during the day as too much light could end up burning them.
Water
These plants do not require frequent watering. In fact, you should only water this plant once the soil dries out fully and if the climate is quite dry as well. Make sure the plant has good drainage so that waterlogging does not occur, which will cause rot.
You can gradually decrease the amount of watering, starting out with watering once in four days after propagation, once a week after a month and even less often after that.
You can also make suitable adjustments depending on how much rainfall and humidity there is.
Climate
Weber Blue Agave plants tend to prefer a hot and dry climate. They tend to grow well in USDA hardiness zones 8-10 although there might be some variations depending on the species.
When they become dormant in winters, you should protect them from frost by shifting them indoors. Controlling the humidity is also a good idea when it comes to the health of these plants.

Soil
The soil of these plants should be well-draining so that no excess water gets left behind as this could lead to root rot. You should also opt for a mildly acidic to neutral pH.
You can add sand to make the soil more coarse and loose to prevent waterlogging. Make sure you also opt for a pot with a drainage hole to ensure that the excess water seeps out.
Related Post:
Best Soil for Succulents in Pots
Fertilizer
You do not need to add fertilizer to the Weber Blue Agave plant too frequently during the growing season since the plant can derive sufficient nutrients even without it. You can, however, add a balanced and diluted fertilizer about once a year.
Minimal fertilizing will also help retain the slow growth of this plant and prevent flowers from blooming too quickly so that the plant can live for longer.
Related Post:
Best Fertilizer for Succulents
Repotting
Weber Blue Agave grows slowly and rarely needs repotting. If necessary, transplant young growing plants as soon as they have outgrown the container during spring. A new pot should be 1-2 inches larger in diameter. Take special care not to bury the rosette of the plant when repotting.
Also, avoid covering the stem with the substrate. Instead, cover it with pebbles for quick-drying at the roots of the stem. This is done so as not to limit the supply of oxygen.
It is very important when planting not to bury the neck of the plant, it should be slightly above the ground. Deep planting will cause the plant to rot.
Pests and Diseases
These plants are usually safe from most kinds of pests and diseases. However, you should watch out for the agave snout weevil that resembles a beetle and can lay its eggs on this plant, causing it to collapse over time.
Apart from this pest, you should care for the plant properly to prevent infections and fungus growth as this could lead to root rot.

How To Propagate Weber Blue Agave
You can propagate Weber Blue Agave using the following methods.
Pups
For propagation through pups or offsets, you can go through the following steps.
- Remove the pup from the parent plant by gently tugging it out. Make sure you retain the roots of each pup.
- Keep the pup aside in some shade for a few days so that a callus can form.
- Take a small pot and fill it with some soil mix.
- Plant the offset into the soil and keep the pot in a spot that receives a good amount of sunlight. Water it each time the soil becomes dry.
- Once the pup grows a bit, you can repot it or plant it outdoors.
Seeds
You can follow these steps for growing the plant from seeds.
- Figure out the requirements of your respective species.
- Sow the seeds in a pot filled with the soil mix.
- Sprinkle some water in the soil and wrap the pot with some plastic.
- Keep the pot in a warm location with indirect sunlight.
- Once you notice the seedlings forming within a month, take the plastic off.
