Sedum rupestre: The European Jewel That Belongs in Your Garden
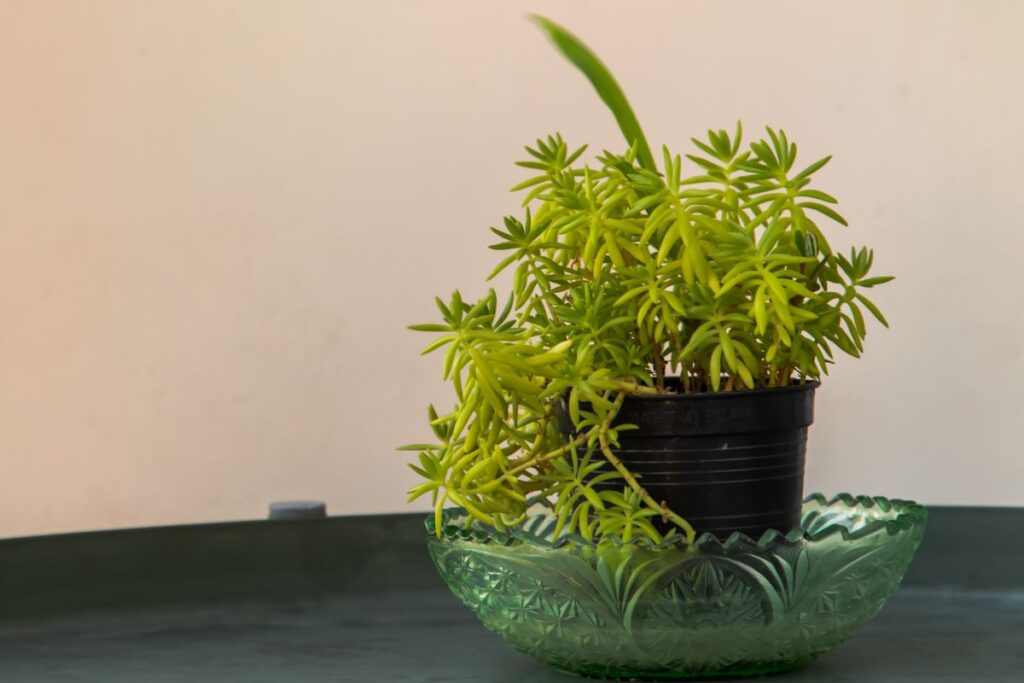
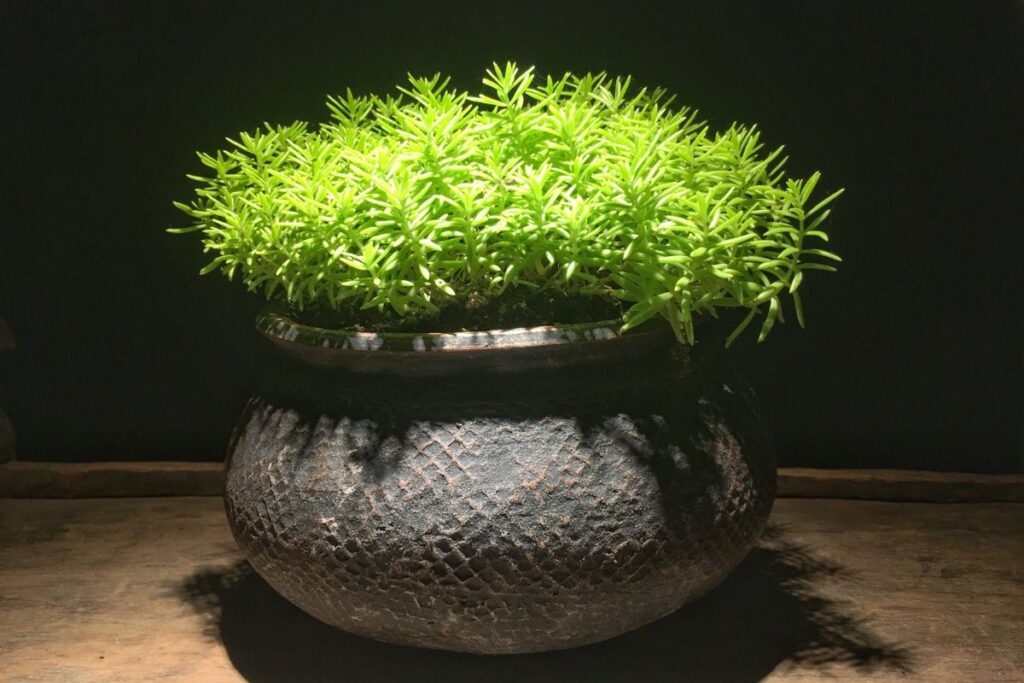
Are you on the hunt for an eye-catching, low-maintenance plant to spruce up your garden? Look no further than Sedum rupestre, the star succulent that will steal your heart! This cute little plant, also known as Reflexed Stonecrop or Blue Stonecrop, forms a lush carpet of juicy gray-green leaves that adds a touch of elegance wherever it grows. As summer rolls around, get ready for a sunny surprise when bright yellow, star-shaped flowers pop up to put on a dazzling show. Trust us, you won’t want to miss Sedum rupestre’s blooming extravaganza!
About Sedum Rupestre
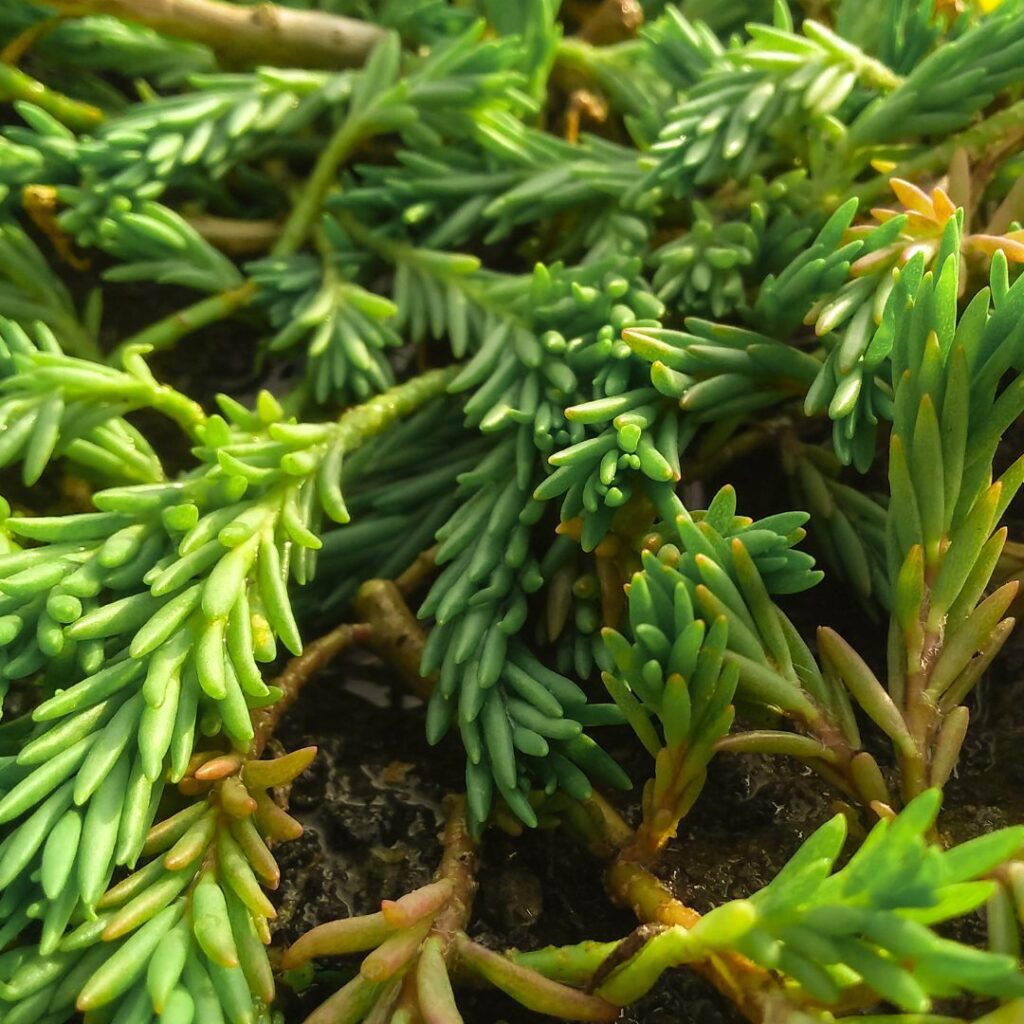
Originally from Europe and parts of Asia, Sedum rupestre is a small but mighty succulent. Its stiff, linear leaves only reach about 3 inches long but pack a whole lot of style with their pointed tips and stunning gray-green color. During the summer months, clusters of adorable yellow flowers around 0.5 inches wide appear at the ends of the stems, adding a burst of sunshine to the overall look. With its ability to spread up to 2 feet across, this low-growing plant makes an awesome groundcover or container filler.
Now that you know what makes Sedum rupestre so special, let’s dive into how to keep this plant looking its best all year round. Follow our easy care tips below, and you’ll be a Sedum rupestre pro in no time!
Related Post:
130+ Attractive Sedum Varieties With Pictures
Sedum Rupestre Care Guide
Light
These sun-lovers need at least 6 hours of direct light per day to truly thrive. Outdoor plants can bask in full sun, while indoor Sedum rupestre will appreciate a sunny window or grow lights. Just be sure to protect them from scorching hot afternoon rays.
Water
Like most succulents, Sedum rupestre likes a drink but hates getting waterlogged. Once-weekly watering is ideal from spring to fall, increasing to twice a week if temps get really toasty or your plant is potted. Always let the soil dry out completely between waterings. Newly planted ones need daily misting for the first couple weeks.
Soil
Sedum rupestre craves a well-drained, nutrient-poor soil mix made for succulents and cacti. A blend of 60% succulent soil and 40% gritty materials like perlite, gravel or lava rocks works perfectly to prevent moisture buildup while allowing airflow and nutrients.
Fertilizer
Sedum rupestre actually prefers lean, nutrient-poor conditions and too much fertilizer can cause problems. Unless your soil is extremely depleted, it’s best to avoid fertilizing. If needed, use a succulent fertilizer at half-strength during the growing season or top-dress with a thin layer of compost.
Temperature and Humidity
These tough plants can handle temps from 30°F (-1°C) all the way up to 90°F (32°C)! Average household humidity is just fine.
Pests and Problems
Issues are rare with Sedum rupestre when their soil and light needs are met. Waterlogged soil can lead to rot, while inadequate light may cause stretching. Check for common pests like mealybugs or scale.
Pruning
Pruning isn’t strictly necessary for this hands-off plant, but you can spruce it up after winter by snipping off any dead or damaged growth. Pinching new stems in spring promotes denser, shorter growth.
Potting and Repotting
Sedum rupestre growing in containers will need to be repotted every few years when it outgrows its current home. Use a pot with drainage holes and refresh with new succulent soil at that time.
How to Propagate Sedum Rupestre
There are a few easy ways to get more of this little beauty! Here’s how:
- Division – Early spring is prime time to divide an overgrown plant into wedges, ensuring each section has growth buds. Replant and care for as usual.
- Cuttings – Take stem cuttings from a mature plant, allow them to dry for a couple days, then stick into well-drained soil and keep lightly moist. New roots will sprout in weeks!
- Seeds – Sow seeds in a seed tray filled with succulent soil mix. Keep soil lightly moist and be patient as they can take over a month to germinate.
With its cute looks and easygoing nature, Sedum rupestre makes an awesome addition to gardens, containers or even indoor succulent collections. Using our tips, you’ll have no trouble keeping this European jewel healthy and thriving for years of enjoyment. Give it a spot in your life – you won’t regret it!