Unveiling the Hatiora rosea: Secrets of the Captivating Rose Easter Cactus
Are you ready to unlock the enchanting world of the Hatiora rosea, also known as the Rose Easter Cactus? This striking succulent will captivate you with its vibrant, rose-hued blooms and distinctive jointed stems. Get ready to be spellbound as we unveil the secrets behind cultivating and propagating this tropical beauty!
About Hatiora rosea
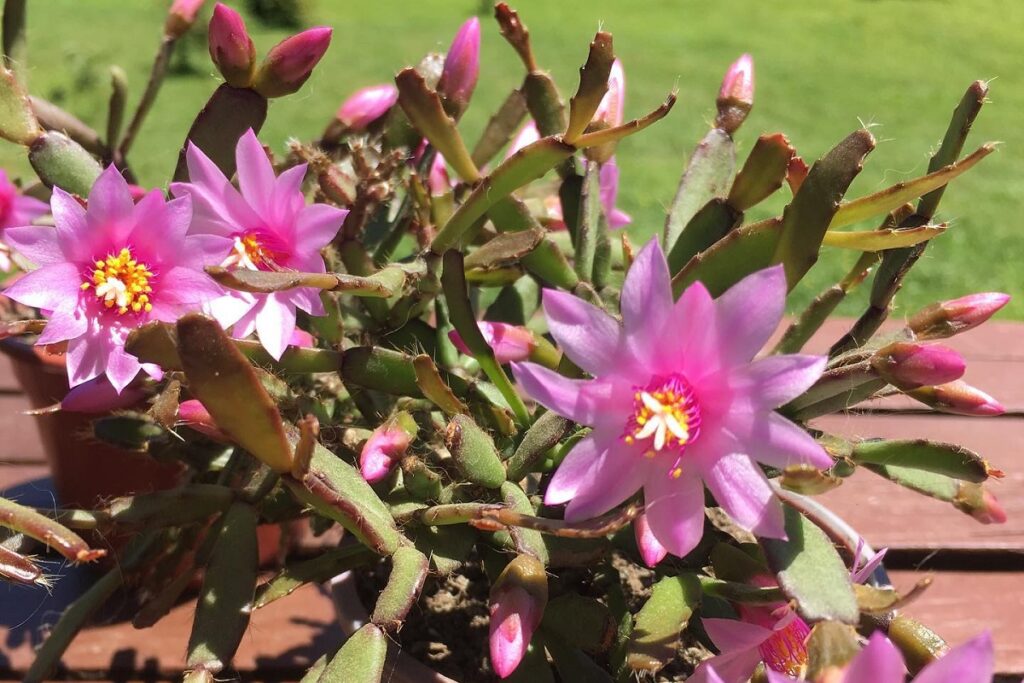
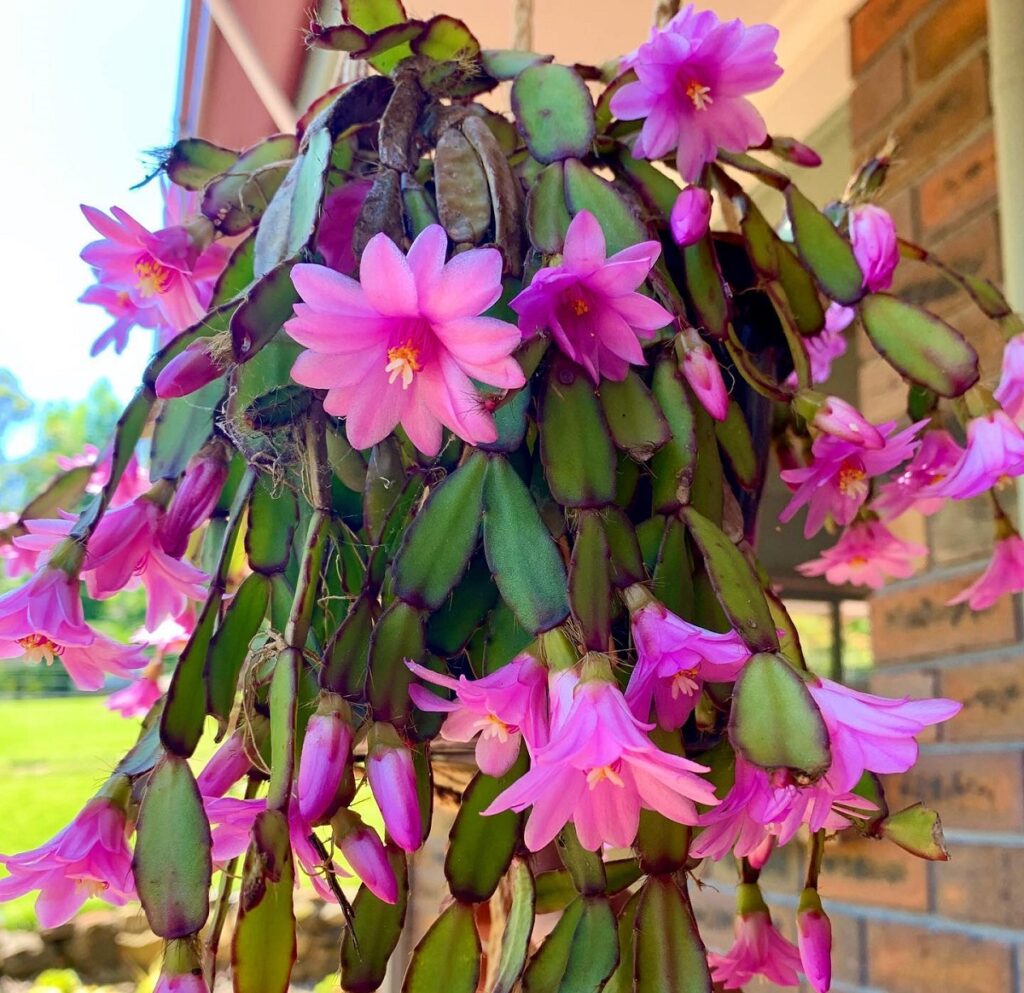
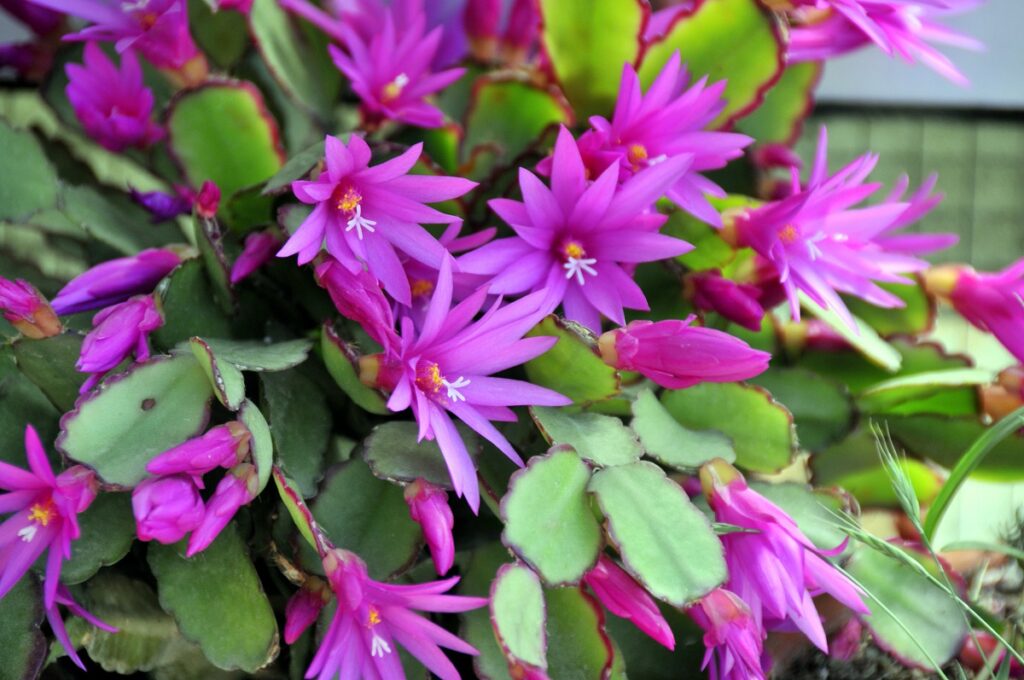
Originally an epiphyte (a plant that grows on other plants) from the lush rain forests of southeastern Brazil, the Hatiora rosea has evolved into a beloved houseplant worldwide. In its native habitat, it graces tree trunks and rocky surfaces with its presence. The fragrant, funnel-shaped flowers can reach up to an impressive 1.6 inches (4 cm) in length and diameter, blessing us with their rosy hues in spring, and occasionally granting a second bloom in the same year.
Read also:
1,000 Types of Cactuses with Pictures
How To Care For Hatiora rosea
Light Requirements
The Rose Easter Cactus thrives in bright, indirect light. While it can tolerate some direct sun, too much exposure can scorch its delicate stems and blooms. If you’re growing it indoors, positioning it near an east or west-facing window is ideal. For those with limited natural light, consider using a grow light to ensure your cactus receives the radiance it craves.
Watering Needs
Striking the perfect balance when watering your Hatiora rosea is crucial. During the growing season (spring and summer), keep the soil slightly moist but never waterlogged. A good rule of thumb is to water it every 7-10 days, depending on the potting mix and environmental conditions. In winter, reduce watering to allow for a well-deserved rest period.
Soil and Potting Mix
Like most cacti and succulents, the Rose Easter Cactus prefers a well-draining soil mix. A blend of potting soil, perlite or coarse sand, and a touch of compost will provide the perfect environment for its roots to thrive. Ensure the pot has ample drainage holes to prevent waterlogging.
Fertilizing for Vibrant Blooms
To encourage those stunning rose-colored blooms, feed your Hatiora rosea with a balanced, water-soluble fertilizer (such as a 20-20-20 blend) every 2-4 weeks during the growing season. You can also incorporate slow-release fertilizers or compost into the potting mix for a steady supply of nutrients.
Temperature and Humidity
This tropical gem appreciates warm temperatures between 60°F and 70°F (15°C to 21°C) and moderate humidity levels. Avoid placing it in drafty areas or near heating vents, as it can suffer from desiccation.
Pests and Problems
While generally resilient, the Rose Easter Cactus can occasionally fall victim to mealybugs, aphids, spider mites, or fungus gnats. Regular inspections and prompt treatment with insecticidal soap or neem oil can help keep these pests at bay.
Pruning for Healthy Growth
Pruning is essential for maintaining the desired shape and promoting new growth in your Hatiora rosea. Use clean, sharp scissors or pruners to remove any damaged or discolored stems. Trim back leggy growth to encourage a more compact, bushy appearance.
Potting and Repotting
When repotting your Rose Easter Cactus, choose a container just slightly larger than the previous one, as these plants prefer to be somewhat root-bound. Gently remove the plant from its old pot, shake off excess soil, and replant in a fresh potting mix.
Propagating Your Rose Easter Cactus
One of the most exciting aspects of owning a Hatiora rosea is the ease of propagation. With just a few simple steps, you can multiply your collection and share the love with fellow plant enthusiasts.
Propagation by Cuttings:
- Select a healthy stem with a few segments and make a clean cut just below a joint.
- Allow the cutting to callus over for a day or two before planting.
- Fill a well-draining container with a succulent or cacti potting mix.
- Insert the cutting vertically, about 1/2 inch deep into the soil.
- Place the pot in a bright, indirect light and water sparingly until roots form, typically within 3-12 weeks.
With its captivating blooms, low-maintenance care, and effortless propagation, the Hatiora rosea is a must-have for any plant lover’s collection. Unveil the secrets of this rose-hued marvel and let it transform your indoor oasis into a tropical paradise!