55 Cleistocactus Cacti You Need to Know (With Captivating Photos)
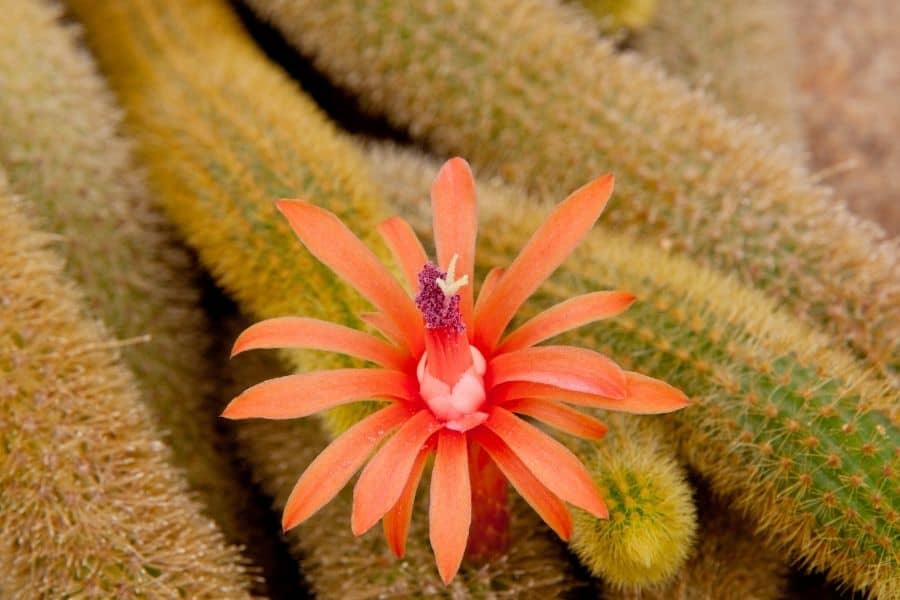
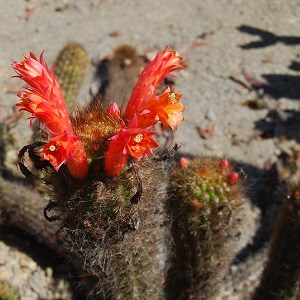
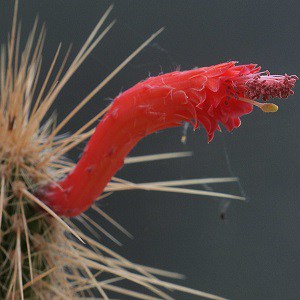
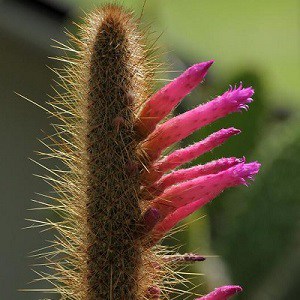
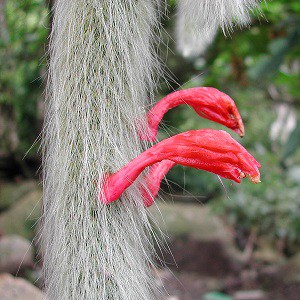
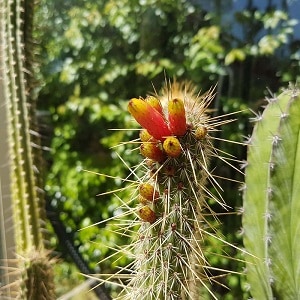
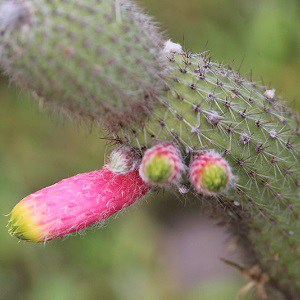
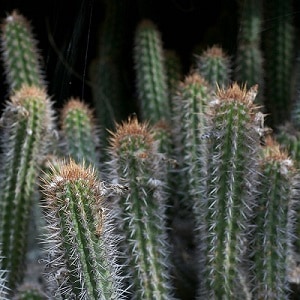
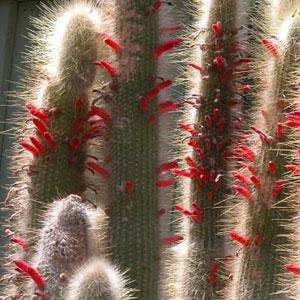
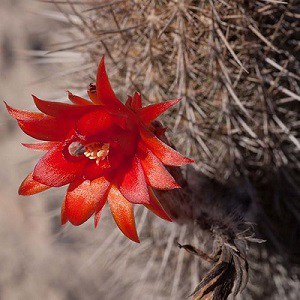
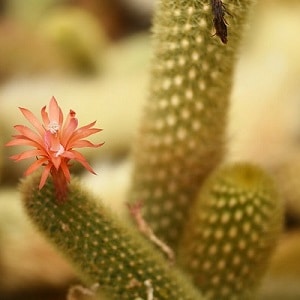
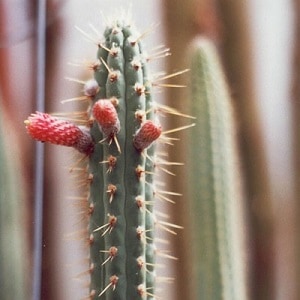
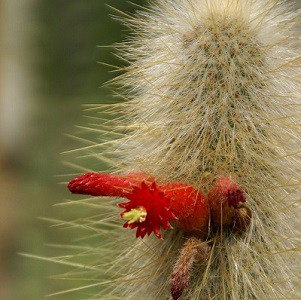
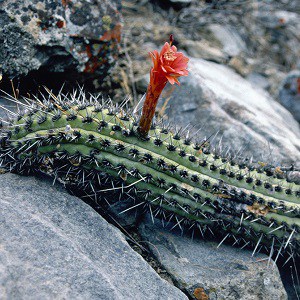
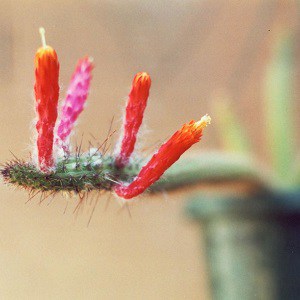
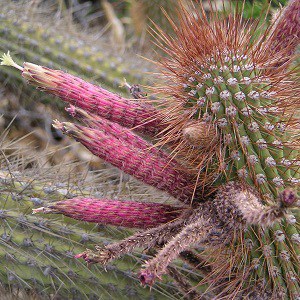
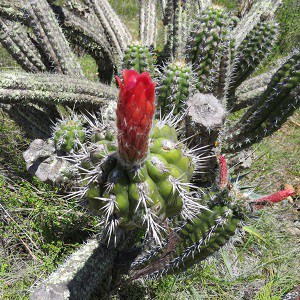
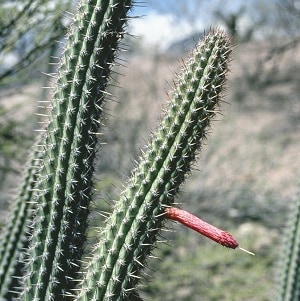
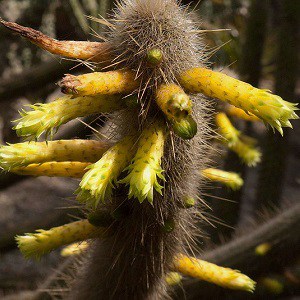
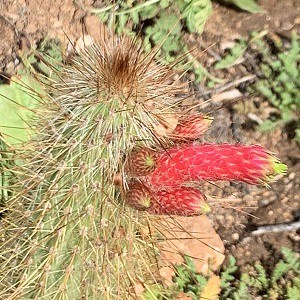
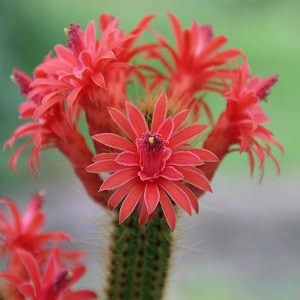
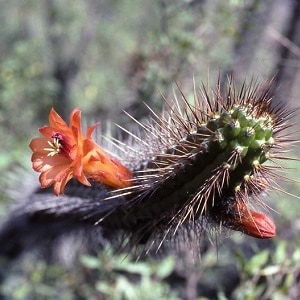
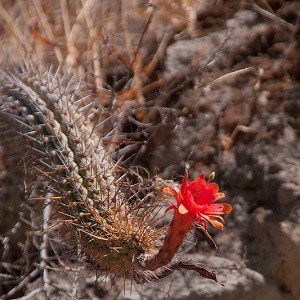
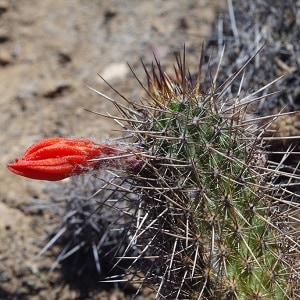
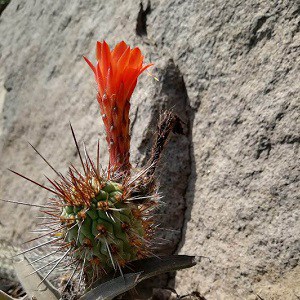
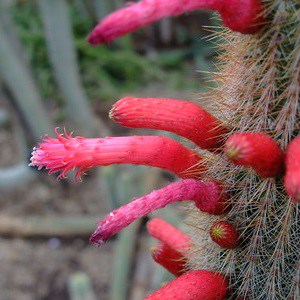
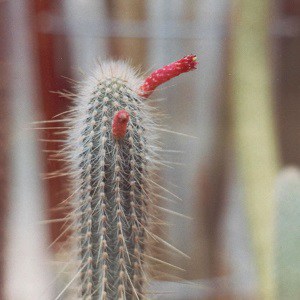
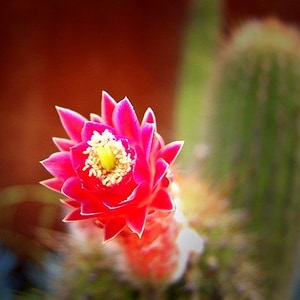
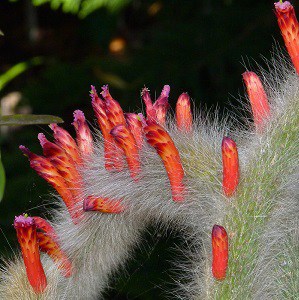
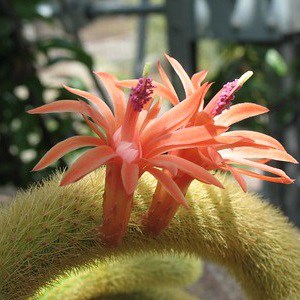
Cleistocactus, a genus of flowering plants belonging to the Cactaceae family, is a true gem native to the mountains of South America. With its clump-forming growth habits and alluring, barely-opening flowers, this cactus is sure to captivate any plant enthusiast. Let’s find out more about this, including how to grow and care for it.
List of Cleistocactus Lower Classifications
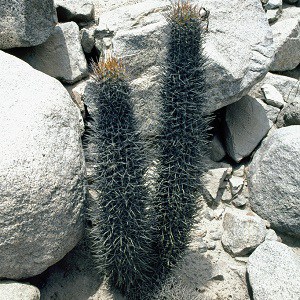
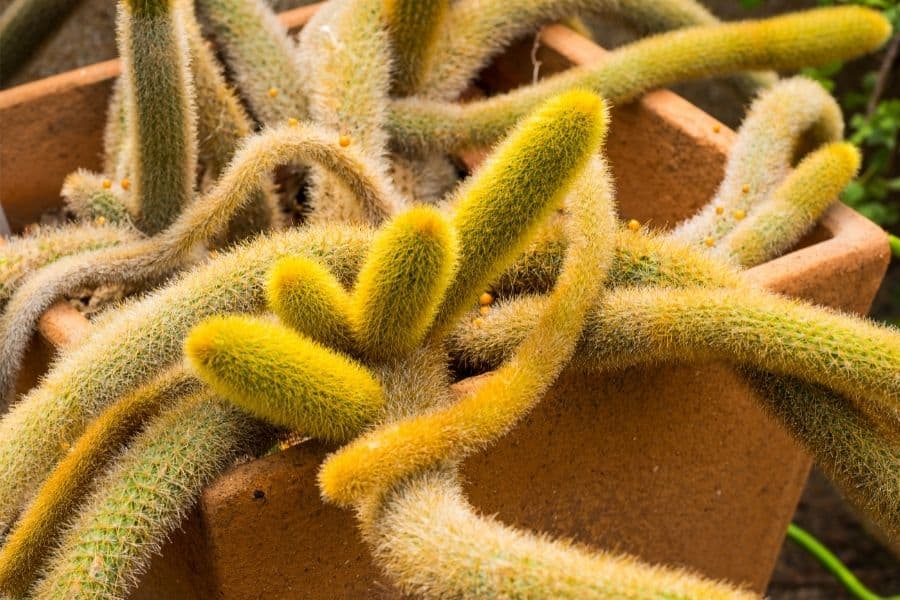
There are several species of the Cleistocactus that include the following:


Other species:
- Cleistocactus chotaensis
- Cleistocactus clavispinus
- Cleistocactus x crassiserpens
- Cleistocactus erectispinus
- Cleistocactus granditessellatus
- Cleistocactus grossei
- Cleistocactus hildegardiae
- Cleistocactus leonensis
- Cleistocactus longiserpens
- Cleistocactus luribayensis
- Cleistocactus muyurinensis
- Cleistocactus orthogonus
- Cleistocactus palhuayensis
- Cleistocactus parviflorus
- Cleistocactus peculiaris
- Cleistocactus piraymirensis
- Cleistocactus roezlii
- Cleistocactus roseiflorus
- Cleistocactus tenuiserpens
How to Care for Cleistocactus
Light
Cleistocactus thrives in bright, full sunlight, but if you reside in an extremely hot climate, provide some afternoon shade to prevent scorching. Morning sunlight is crucial, so ensure it receives ample exposure from sunrise. For indoor cultivation, consider using grow lights to mimic natural sunlight.
Water
During spring and summer, water your Cleistocactus regularly whenever the top inch of soil feels dry. In fall, reduce watering to once every 5 weeks after the soil dries out. Winter calls for minimal to no watering, as the combination of cold temperatures, dormancy, and wet roots can lead to rot.
Soil
Cleistocactus demands well-draining soil to thrive. Prepare a potting mixture using sterilized, porous materials like sand, perlite, and a small amount of peat moss to promote healthy root growth and air circulation. Alternatively, you can sterilize garden soil and amend it with the aforementioned ingredients.
Fertilizer
Slowly introduce fertilizer in spring, providing the plant with enough nutrients for the entire year. Opt for a fertilizer low in nitrogen, as excessive levels can be detrimental to your Cleistocactus.
How to Propagate Cleistocactus
Propagating these unique plants is a super cool way to expand your collection or share them with friends and family. It’s easier than you might think! Let’s explore the step-by-step process of propagating Cleistocactus from seeds and offsets.
Seed Propagation
- Prepare a well-draining potting mix by combining equal parts of sand, perlite, peat moss, and sterile potting soil.
- Fill a clean container with the potting mix, lightly compacting it.
- Gently sow the Cleistocactus seeds on the surface, spacing them about an inch apart.
- Cover the seeds with a thin layer of the potting mix, approximately 1/4 inch deep.
- Mist the soil with a spray bottle to moisten it without displacing the seeds.
- Place the container in a warm, sunny location or under grow lights, maintaining temperatures between 70°F and 80°F (21°C and 27°C).
- Keep the soil consistently moist but not waterlogged until seedlings emerge, which typically takes 3 to 4 weeks.
- Once the seedlings appear, reduce watering frequency and allow the soil to dry slightly between waterings.
- When the seedlings develop their first set of true leaves, transplant them into individual pots filled with a suitable cactus potting mix.
Offset Propagation
- Identify a healthy offset (also known as a pup) growing from the base of the mother Cleistocactus plant.
- Gently twist and detach the offset from the mother plant, ensuring you include some roots.
- Allow the offset to callus over for a few days by placing it in a warm, shaded area.
- Prepare a well-draining cactus potting mix in a new container.
- Create a small hole in the potting mix and carefully insert the calloused offset.
- Gently press the soil around the base of the offset to secure it in place.
- Water the potting mix lightly, taking care not to overwater the newly propagated offset.
- Place the container in a warm, sunny location or under grow lights.
- Water the offset sparingly until it establishes a robust root system, then follow the regular watering guidelines for mature Cleistocactus plants.
Whether you choose to propagate from seeds or offsets, patience and consistent care will reward you with new Cleistocactus plants to admire and cherish. Embrace the process, and enjoy watching these fascinating cacti thrive under your nurturing touch.