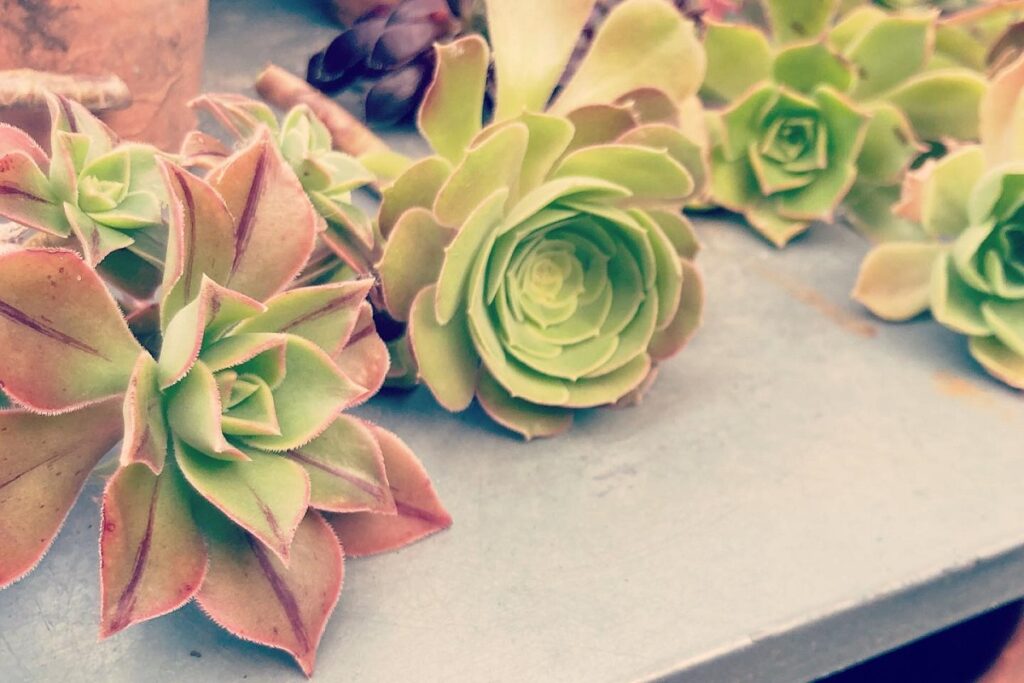
Aeonium Propagation: 4 Techniques For The Best Results!
Have you ever wanted to make more aeonium plants? Well, aeonium propagation is a super cool way to do just that and bring some greenery into your home. But let me tell you, it can be a bit tricky if you don’t know the right techniques. Don’t worry though, because in this article, I’m going to share some awesome tips on how to successfully propagate aeoniums and get amazing results every single time.
Okay, so at first, propagating aeoniums might sound a little scary, but trust me, anyone can do it if they know a thing or two about plants. There are actually many different methods you can use to propagate aeoniums, like taking cuttings or dividing the plants. Each method has its own pros and cons, and it’s important to understand them all in order to get the best results.
Now, I’ve been into aeonium propagation for years, and I’ve learned what works and what doesn’t. And guess what? I’m going to spill all my secrets right here in this article. So get ready to learn my top tips for success, no matter which aeonium propagation method you choose. Let’s jump right in and discover the wonders of these fascinating succulents!
Contents
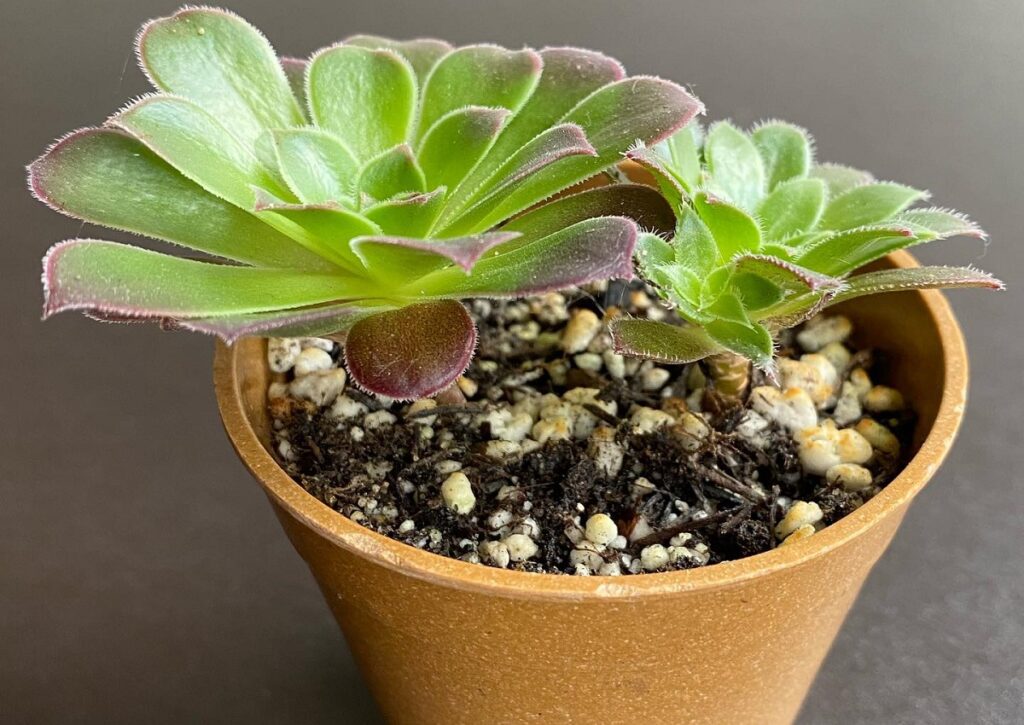
Aeonium Propagation through Stem Cuttings
Creating more beautiful Aeonium plants using stem cuttings is a fantastic method. With the right steps, you can easily grow healthy new plants from the ones you already have. Here’s how you do it!
- Step 1: Choose sturdy and healthy stems for propagation. Look for plump and good-looking ones. You’ll need small pots or seed trays filled with potting mix, and rooting hormone powder or liquid (optional).
- Step 2: Use clean scissors or garden shears to cut about 4 inches of the stem. Dip the bottom part in rooting hormone and plant it in your containers. Make sure the containers have drainage holes for proper water drainage. Place them in a shaded area and wait 5 to 7 days before watering. After a week, give light watering to keep the soil moist but not soaked.
- Step 3: It takes a few weeks for roots to grow. Check occasionally by gently tugging on a cutting. If you feel resistance, roots have developed. Once rooted, move the containers to a place with bright, indirect light and water when the soil is dry. Avoid letting the plants sit in waterlogged soil to prevent rot.
- Step 4: Be patient and give your newly propagated Aeoniums time to adjust before repotting or taking further steps. With proper care, they’ll reward you with lush foliage year after year!
Benefits Of Stem Propagation
Let’s explore the advantages of propagating Aeoniums with stem cuttings. This method is:
- Easy and quick: Stem cuttings are a popular choice because they are simple to do and don’t require much effort or experience.
- High success rate: Stems readily develop roots when planted in the soil, leading to a higher chance of success compared to other techniques.
- Option to use rooting hormone: Using rooting hormone can further increase your chances of success, helping the cuttings establish roots more effectively.
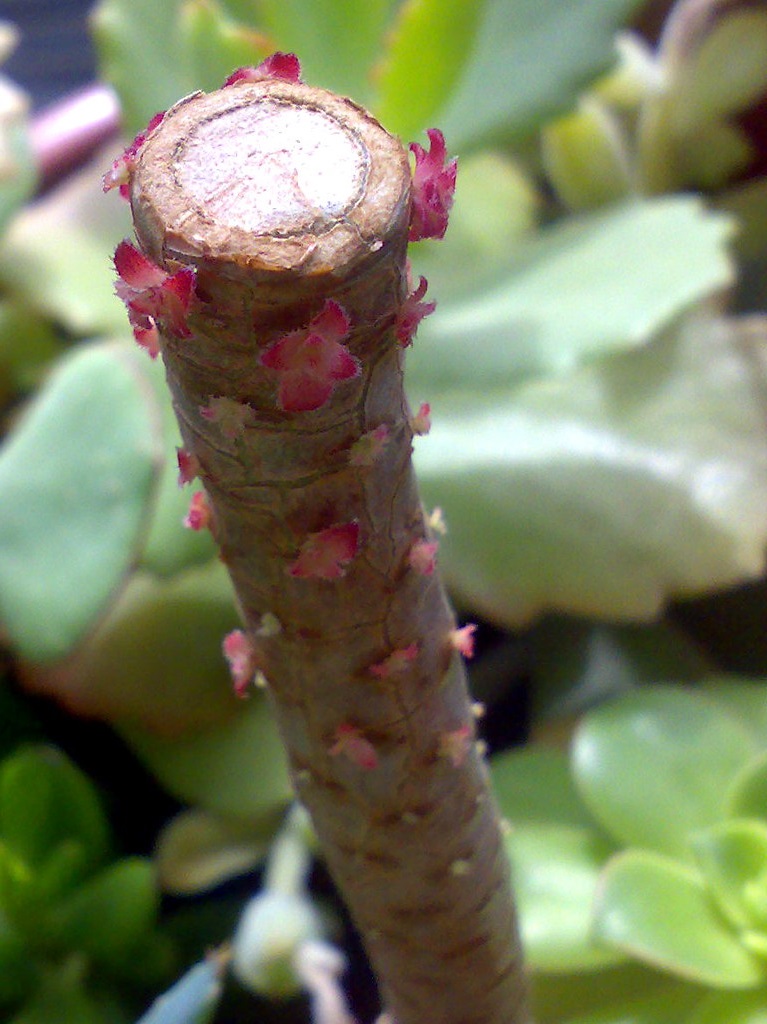
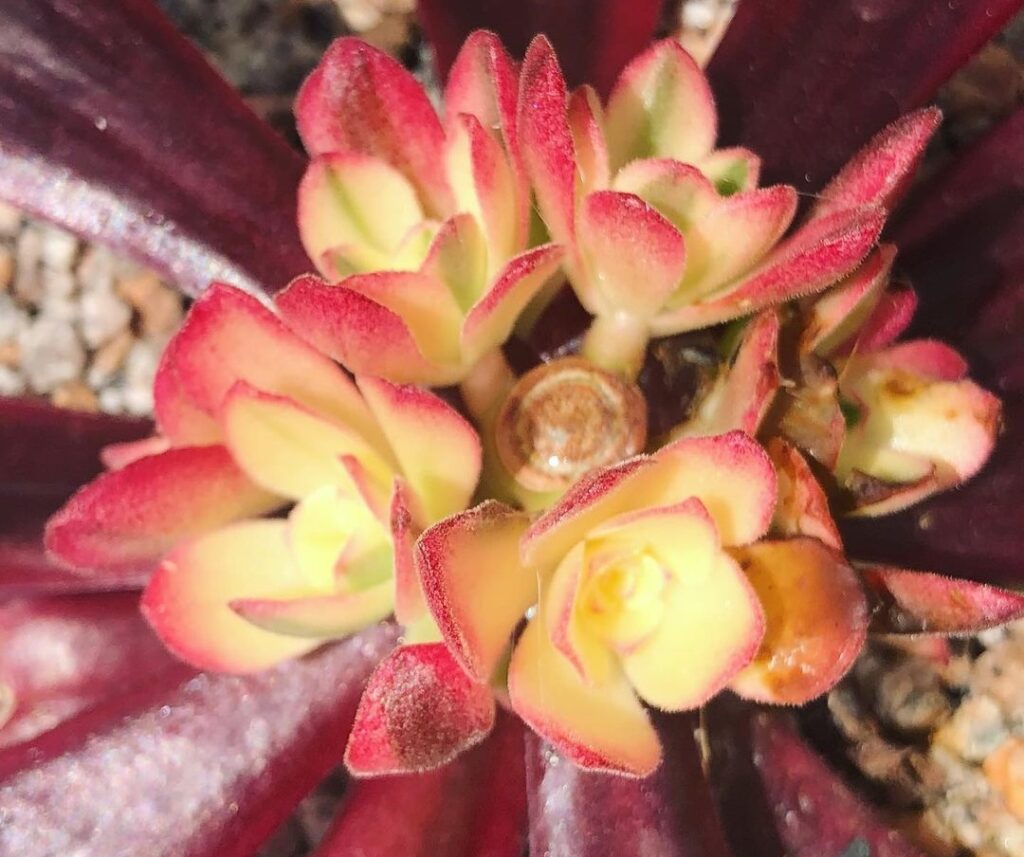
Aeonium Propagation through Beheading
Beheading is a fantastic technique for propagating Aeonium plants. Here’s how you can do it:
- Step 1: Gather the necessary tools, such as clean scissors or pruning shears. Identify mature branches of your Aeonium plant with rosettes and cut off the tops.
- Step 2: Transplant the cuttings into containers filled with succulent soil. Avoid watering them until they establish themselves.
- Step 3: Place the top cuttings in a shaded area until roots form. After that, move the containers to a well-lit spot and increase watering frequency.
- Step 4: Care for the newly planted cuttings by keeping the environment moist but not overly wet. Provide adequate sunlight, aiming for about four hours of direct sunlight per day. If cuttings dry out quickly, move them to indirect light.
Remember, be patient and allow the cuttings time to grow roots and produce new foliage. With proper care, your Aeonium cuttings will thrive!
Pros And Cons Of Beheading Propagation
Beheading propagation comes with its own advantages and disadvantages. Let’s take a closer look:
Pros:
- Quick results: Beheading provides almost instant results, with new plants appearing within days or weeks after cutting off the head.
- Minimal requirements: You don’t need special equipment or expertise—just sharp scissors or shears and maybe some rooting hormone if desired.
Cons:
- Risk of shock: Beheading involves removing part of the plant, which can cause shock and potential damage if not done correctly.
- Limited number of cuttings: With beheading, you can only obtain one cutting per plant, unlike other techniques where multiple cuttings are possible.
Despite the downsides, beheading remains popular due to its convenience and speed. Keep a close eye on your cuttings after propagation, providing adequate light and water for the best results!
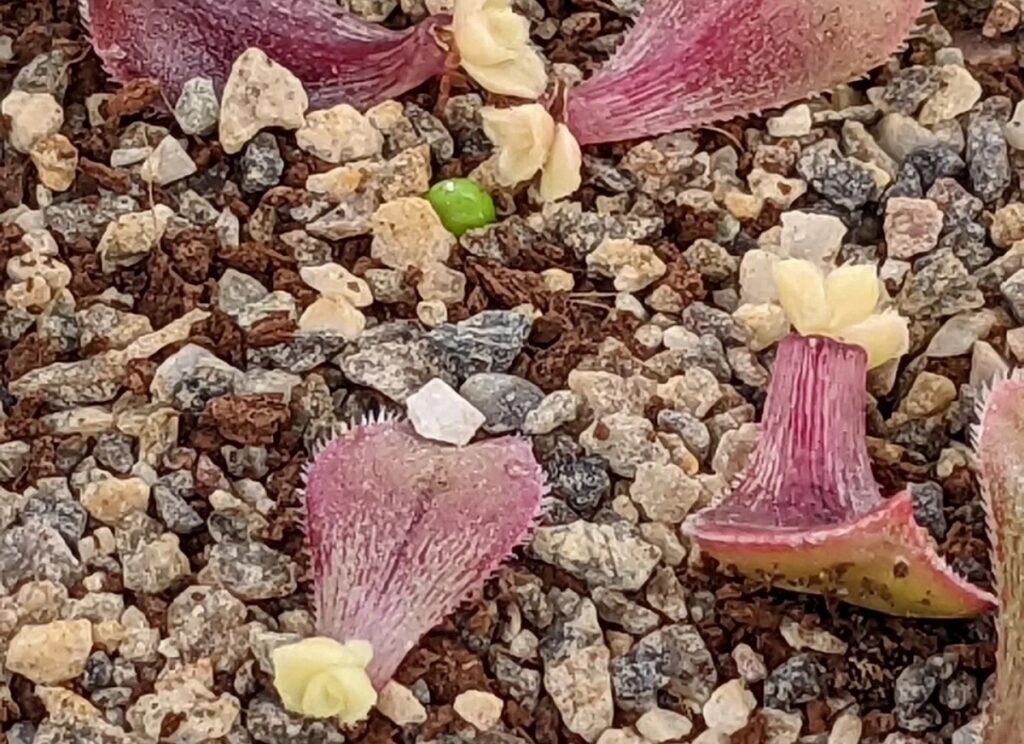
Aeonium Propagation with Leaves
Propagating Aeoniums using leaves is one of the easiest methods. Let’s dive into the step-by-step process:
- Step 1: Carefully pluck several healthy Aeonium leaves from the base of an existing plant. Ensure they are clean cuts without any blemishes. Let the leaves dry in a cool place for about three days until calluses form over the cut areas.
- Step 2: Gently press each leaf into moist soil in pots with your preferred potting mix. Keep the soil slightly damp, but not overly wet. Within a few weeks, you should see new growth!
- Step 3: During the rooting period, provide bright filtered light for your leaves. Aeoniums love sunlight! After 4-6 months, when the leaves have established and grown, you can transplant them into larger pots or outdoors.
Pros And Cons Of Leaf Propagation
Let’s weigh the pros and cons of propagating Aeoniums from leaves:
Pros:
- Simplicity: Leaf propagation is very easy, requiring only healthy leaves and containers. Minimal care is needed after planting.
- Variety options: Leaf propagation allows for more variety selection, as different species can be propagated this way.
Cons:
- Variable success rates: Not all leaves will survive and develop roots, resulting in lower success rates compared to other methods like stem cuttings.
- Limited offspring: Each leaf produces only one new plant, unlike stem cuttings, which can provide multiple new plants.
Remember, while leaf propagation is simple, it’s essential to consider both the advantages and disadvantages before choosing this method for Aeonium propagation.
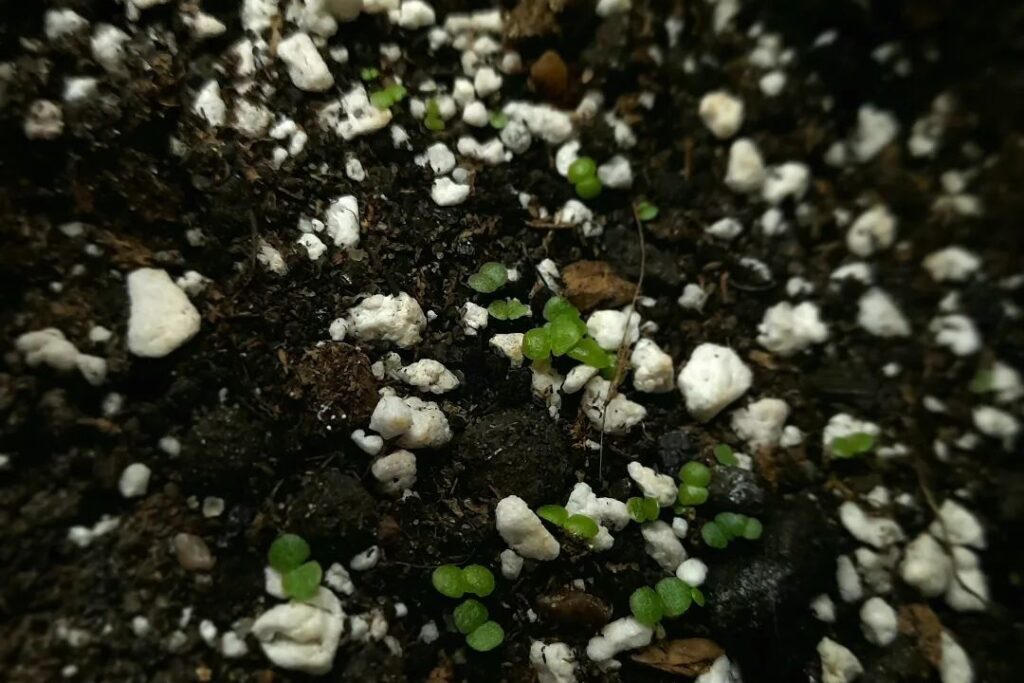
Aeonium Propagation through Seeds
Propagating Aeoniums using seeds is a rewarding and straightforward process. Follow these steps for the best results:
- Step 1: Prepare a light and airy soil mix for germinating Aeonium seeds. Moisten it thoroughly before sowing. Use a shallow container with drainage holes.
- Step 2: Scatter the seeds over the soil surface or spread them evenly in trays. Lightly cover them with more soil mix and press gently to ensure good contact. Mist the surface with water until it looks slightly damp.
- Step 3: Place the containers in a warm area (around 68-77°F) away from direct sunlight. Monitor moisture levels and keep the top layer of soil moist while waiting for germination, which usually takes around 10 days.
- Step 4: Once sprouts appear, reduce watering frequency. Gradually move the containers into brighter light. With patience and care, your new Aeonium plants will flourish!
Pros And Cons Of Seed Propagation
Let’s explore the pros and cons of propagating Aeoniums through seeds:
Pros:
- Cost-effective: Seeds are generally less expensive than other propagating methods, making them a budget-friendly option.
- Access to specific species: Some Aeonium species can only be propagated by seeds, allowing you to expand your collection.
Cons:
- Variability in germination: Different species and conditions can affect germination rates, requiring patience and careful monitoring.
- Time-consuming: It can take a while before you see the results of your seed propagation efforts.
Seed propagation can be a great way to propagate Aeoniums, but it requires favorable conditions and a bit of patience. Be prepared for the journey and enjoy watching your seeds grow into thriving plants!
Aeonium Propagation FAQs
Can you propagate Aeonium from a leaf?
Absolutely! You can propagate Aeoniums from a leaf. Here’s how: Remove a leaf from a mature Aeonium plant, let it dry for a day or two, and then plant it in well-draining soil. Keep the leaf in a warm and bright spot, watering it lightly until you see new growth.
Will Aeonium root in water?
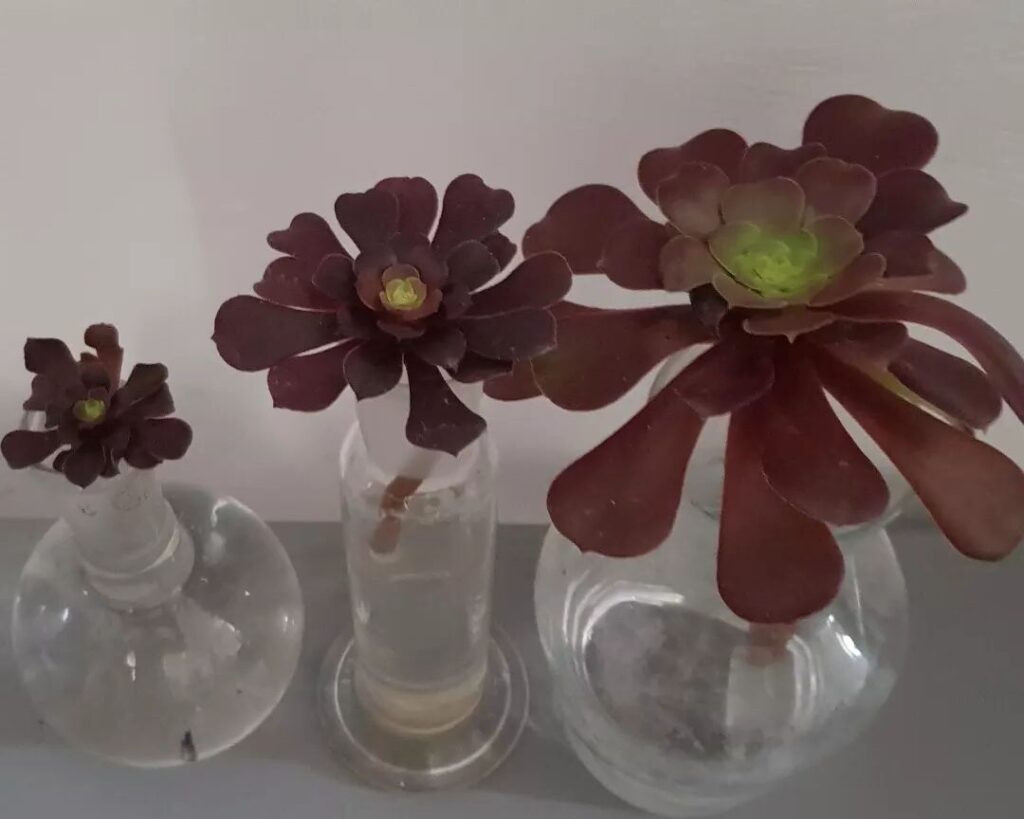
Yes, you can propagate Aeoniums in both soil and water, but they root faster and more reliably in soil. If you choose to root an Aeonium in water, take a stem cutting with a few leaves, remove the lower leaves, and place the cutting in clean water. Change the water regularly to keep it fresh. Once the roots appear, transfer the Aeonium to well-draining soil and care for it as usual.
Caring for a water-propagated Aeonium is similar to caring for one in soil. Provide bright, indirect light, water when the soil is dry, fertilize during the growing season, and repot as needed. With proper care, your Aeonium will grow new branches and leaves.
Should I water Aeonium cuttings?
Absolutely, watering Aeonium cuttings is essential for their healthy growth. Water them when the soil is nearly dry. You can check the moisture level by sticking your finger in the soil. If it feels dry, it’s time to water. Use light potting soil and avoid over-watering.
Remember to water the Aeonium cuttings in the morning, allowing the soil to dry before evening. This helps prevent root rot and other diseases. Provide adequate light by placing the cuttings in a warm, bright area with 6-8 hours of indirect sunlight per day.
How do I get Aeonium to branch?
Aeoniums naturally branch out as they grow, but you can encourage branching by pruning the top of the plant. The best time to prune is in early spring when the plant is actively growing. Use clean pruning shears to make neat cuts. You can use the cuttings to propagate new plants too!
Conclusion
When it comes to propagating Aeoniums, there are several techniques to choose from. Stem cuttings and beheading are easy and effective, while leaf propagation is a more natural approach. Propagating from seeds can be a challenge but can yield beautiful results.
No matter which method you choose, understanding the benefits and considerations will help you succeed. Pay attention to your plant’s needs, providing proper light, water, and fertilizer. With patience and care, you’ll soon have plenty of thriving Aeonium plants to enjoy!