Hylocereus polyrhizus: Characteristics and Care
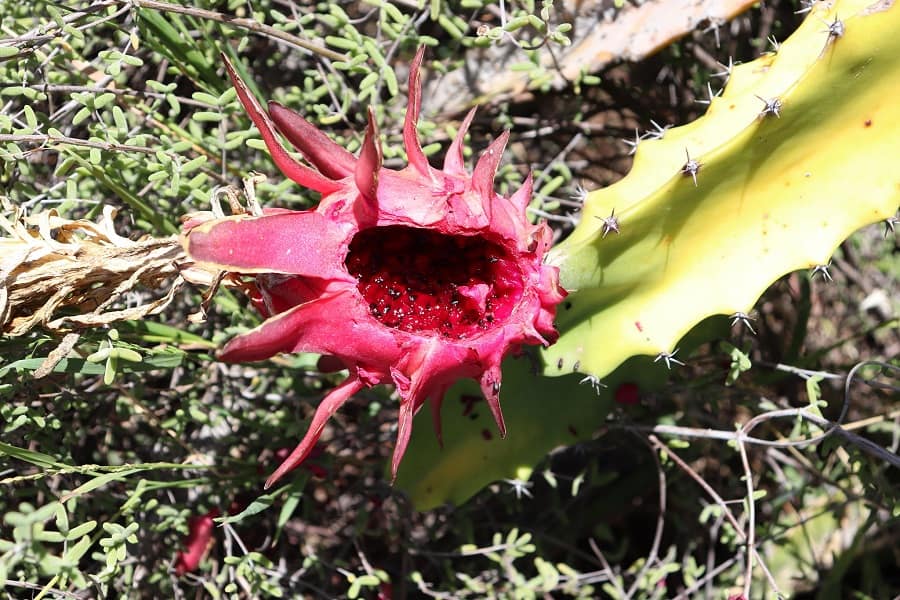
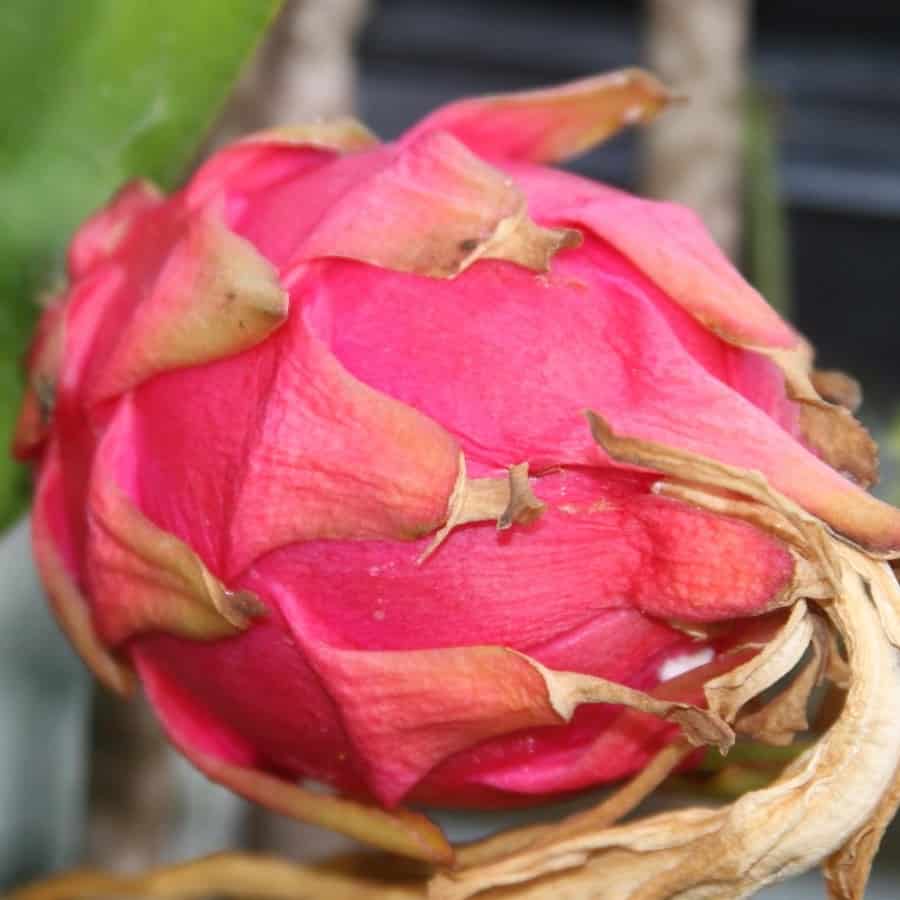
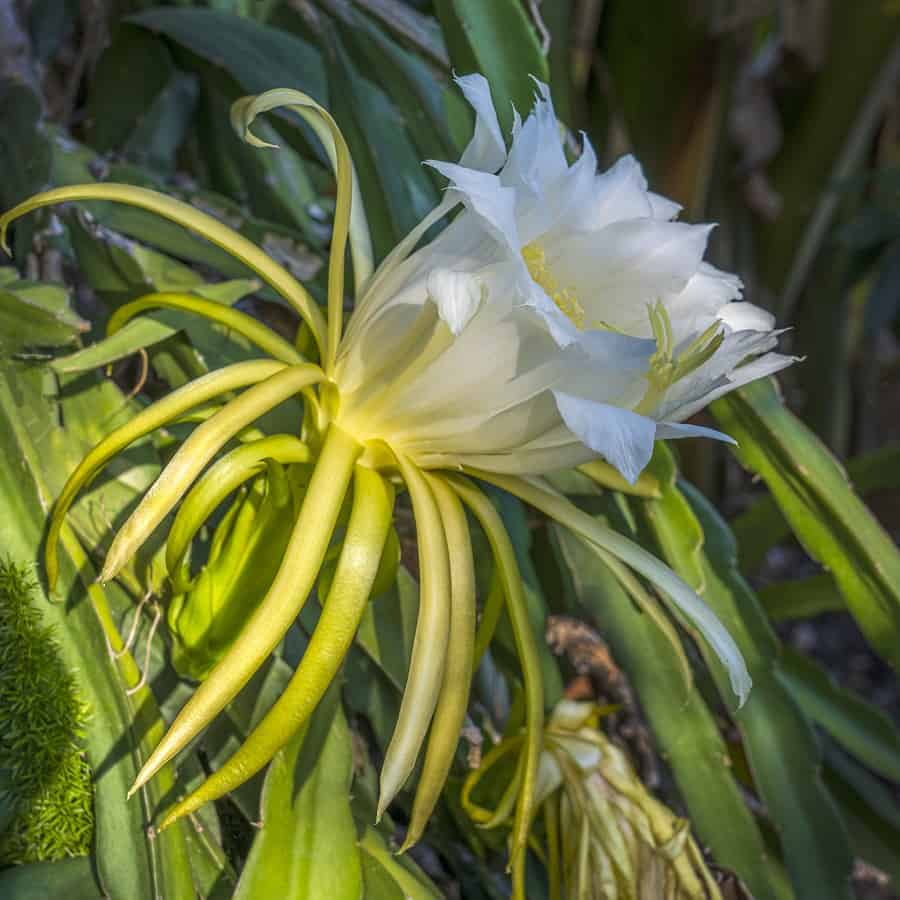
Have you ever heard of the exotic Red Pitaya fruit? It’s a delicious, fleshy dragon fruit that grows on the Hylocereus polyrhizus cactus. This unique plant, native to Panama and Colombia, is a stunner with its curving green stems covered in ridges and spines. And when it blooms, the flowers are a gorgeous mix of red, white, and yellow!
If you’re dreaming of growing your own Red Pitaya, you’re in luck! With the right care, this tropical beauty can thrive in your backyard or greenhouse. Let’s dive into everything you need to know.
Related Post:
13 Types Of Hylocereus Cacti [With Pictures]
How to Care for Hylocereus polyrhizus
Light it Up
Red Pitaya cacti are sun-worshippers! They need at least 6 hours of direct sunlight daily, especially when blooming. If temperatures soar above 80°F, provide some afternoon shade (about 50-60%). In cooler climates, you can use grow lights to supplement natural sunlight.
Water Wisely
Like their cactus cousins, Red Pitaya plants are drought-tolerant. Water them only when the soil is dry to the touch, allowing it to soak up moisture without getting waterlogged. During the fruiting and flowering season (spring to fall), water every 3-7 days. In winter, once a month is enough.
Soil Matters
These cacti prefer well-draining, slightly acidic soil (pH 6.1-7.5) with a sandy, organic base. If you don’t have sandy soil, mix in some perlite or bark to improve drainage. Avoid alkaline soils, as they can cause nutrient deficiencies.
Feed for Growth
During the growing season (spring and summer), feed your Red Pitaya with an organic fertilizer high in nitrogen, about once a month. Skip fertilizing when it’s blooming or dormant in winter. Add a layer of organic mulch around the base to retain moisture and insulate the roots.
Temperature Tactics
Red Pitaya cacti are happiest when temperatures range from 65-80°F. Anything below 40°F can damage the plant, so bring potted plants inside when it gets too chilly.
Pest Patrol
Keep an eye out for sap-sucking pests like aphids, mealybugs, mites, and thrips. Ants may also be attracted if aphids are present. Fungal infections can cause brown spots, while bacterial problems lead to soft rot. Overwatering can trigger root rot, and intense sun can sunburn the stems.
Pruning Power
Since Red Pitaya is a climbing cactus, it needs support as it grows. Remove side branches until the main stem is tall enough to reach a trellis or rope support (able to hold up to 250 lbs!). Once it’s high enough, cut the stem to encourage branching. Prune off any dead, diseased, or crowding stems, and those touching the soil.
Potting Pointers
Plant your Red Pitaya in a large (at least 15-gallon), well-draining pot or directly in enriched garden soil. Space seedlings 8 inches apart and use a sturdy post-and-top frame for support as they climb. You can also let the stems hang by planting in tall containers.
Repot only if the plant outgrows its current home or you suspect root rot.
Let’s Propagate!
One of the best things about Red Pitaya is that a single plant can produce fruit for 20-30 years! But you can multiply your bounty by propagating new plants.
From Seed
- Cut a ripe fruit in half and scoop out the seeds.
- Wash off the flesh and let the seeds dry overnight.
- Plant seeds near the soil surface, cover with plastic until they germinate (about 2 weeks).
- Transplant seedlings to a larger container.
From Cuttings (the easiest way!)
- In summer, take a 1-foot stem cutting from a mature plant (not the original mother plant).
- Cut it into 3-inch pieces and let them cure for 2-5 days until the tips turn white.
- Once the cutting tips have calloused over and turned white, you can plant them.
- Fill a well-draining container with cactus/succulent potting mix.
- Make a hole a few inches deep and place the cutting vertically into the hole.
- Gently firm the soil around the base of the cutting.
- Water sparingly after planting to avoid rot.
- Place the potted cuttings in a warm, bright location out of direct sun.
- In a few weeks, you should see new growth emerging – an exciting sign of success!
- Once the cuttings have rooted and sprouted a few inches, you can gradually introduce more sunlight.
- Within about 6 months, your new Red Pitaya plant should be established enough to transplant into a larger, more permanent container or planting area.
With just a little patience, you’ll have multiplied your Red Pitaya plants from those easy stem cuttings. Imagine all the fresh dragon fruit you’ll be harvesting in a couple years!