Efficiently Transplanting Big Cacti: A How-To Guide
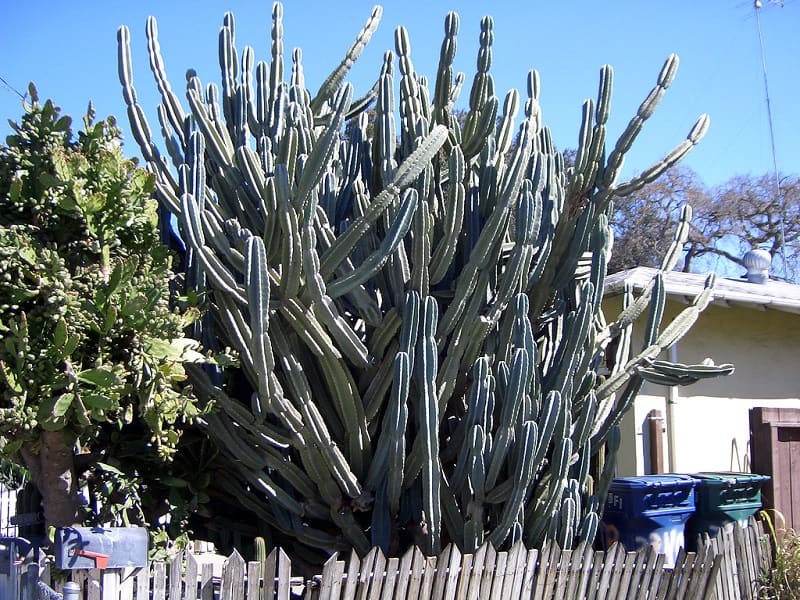
Cacti are fantastic additions to gardens that require less water or are resistant to drought. They not only look beautiful but are also low-maintenance, with countless varieties to choose from to add some excitement to your landscaping. However, the thought of moving a mature cactus can be intimidating for many homeowners, and understandably so. These plants often have thick spines or thorns that can easily prick your skin.
But fear not! With the right precautions, you can safely rearrange your garden and relocate large cacti to create a more stunning visual impact. In this blog post, we will guide you through the process of transplanting a big cactus in your garden and ensure its flourishing growth afterwards. Get ready to learn the secrets of successful cactus transplantation and transform your garden into a captivating oasis!

When is the Best Time to Transplant a Cactus?
You can move a mature cactus almost any time of the year, especially if you live in a warmer place. Big, mature cacti can handle changes in temperature and watering better than smaller or younger cacti, so they have a higher chance of surviving after being transplanted.
However, it’s important to avoid moving cacti when it’s too cold. It’s best to wait until the temperature rises above 60°F. If it’s colder, the cactus may have trouble growing new roots, and that can make it wilt and die.
Before Moving Your Cactus
Not all cacti are suitable for transplanting in your yard. Cacti that are weak or sick have a lower chance of surviving compared to healthy and strong plants.
Look for a cactus without any visible signs of stress or disease, like spots or scratches. Avoid cacti that are turning yellow, as it means they’ve been damaged by the sun, or those that look like they’ve been nibbled on by pests.
When you’ve chosen your cactus, remember to mark one side and note its direction. When you move it, the cactus needs to face the same way as before so that it gets the right amount of sunlight. This helps protect the more sensitive parts of the plant from too much sun during the day.
Before you start moving the cactus, you might want to wrap it in an old blanket or cushion the spines to avoid getting pricked. Covering the cactus also safeguards it from getting bruises or puncture wounds during transportation.
Read also:
Why is my cactus falling over?
Finding the right spot to plant your cactus is just as important as choosing the right cactus itself. Pick an area in your yard that has similar conditions to its previous location. The soil, sun exposure, water levels, and temperature should be as close as possible.
If the new planting site is very different from the old one, you might need to prepare the area. For example, if it’s dry, you can add extra water in certain spots, and if it’s too sunny, you can create some shade. If the soil is sandy, mix in about 25% compost to improve it. On the other hand, if the soil has too much clay, adding pumice or perlite can help with drainage.
Step-by-Step Guide: How to Transplant a Tall Cactus
Step 1: Dig a Trench
- Start by digging a trench around the cactus, about one to two feet away from the plant to avoid damaging the roots.
- Cacti usually have shallow roots, so you don’t need to dig too deep. A depth of around 18 inches should be sufficient to get under the root ball.
Step 2: Remove the Plant
- Once you’ve dug the trench, use a shovel to gently loosen the cactus by prying up around it. Be careful not to damage the root system.
- Once loosened, use a hose for leverage. Wrap a thick garden hose below the middle part of the plant, ensuring a snug fit without harming the base.
- If the cactus is heavy, use two hoses and ask for assistance.
- Lift the cactus out of the ground using the hoses, either placing it on its side or into a cart or dolly for easier transport. Take care to protect the roots from damage during this step.
Step 3: Dry the Roots
- After digging up the cactus, give the roots time to air dry and scab over for at least two days. This helps prevent diseases and ensures healthier growth.
- Remove any damaged or decaying roots that could negatively affect the plant’s health.
Step 4: Plant Your Cactus
- If you haven’t already prepared the transplant site, do so while the roots are drying. Dig a wide and shallow hole with good drainage.
- Gently place the cactus into the hole, ensuring it is oriented correctly using your previous markings.
- Backfill the hole with loose and healthy soil, firmly packing it down around the roots.
- For cacti taller than five feet, consider staking them for stability.
By following these simple steps, you can successfully transplant a large cactus and ensure its healthy growth in its new location. Remember to take necessary precautions and seek assistance if needed, especially when dealing with heavier or prickly varieties. Happy transplanting!
After Moving Your Cactus
Moving a cactus is just the first step. To ensure its survival, you need to provide proper care and attention after the transplant. This is especially important because the process can be stressful for the plant. Here’s what you need to do during the first month:
- Watering: In warm weather, water your cactus twice a week for the first month after transplantation. This helps the plant adjust and establish its roots in the new location. However, if the temperature drops below 60°F, hold off on watering for at least four months, as long as there’s enough natural precipitation.
- Sun Protection: During sunny days, it’s important to protect the newly transplanted cactus from too much direct sunlight. Cover it with shade cloth or a temporary cover for the first month or until it becomes established. This prevents sunburn and helps the cactus adapt to its new surroundings.
By giving your cactus the right care and attention after transplantation, you can ensure its successful growth in its new garden spot. Remember to observe these guidelines for at least a month before returning to your regular care routine. Happy gardening!