How to Repot Snake Plants
Snake plants need repotting now and then. This guide covers when to do it, what you need, and how to properly transplant your plant into a fresh pot. Follow these tips to help your snake plant flourish after repotting.
Contents
Signs It’s Time to Repot

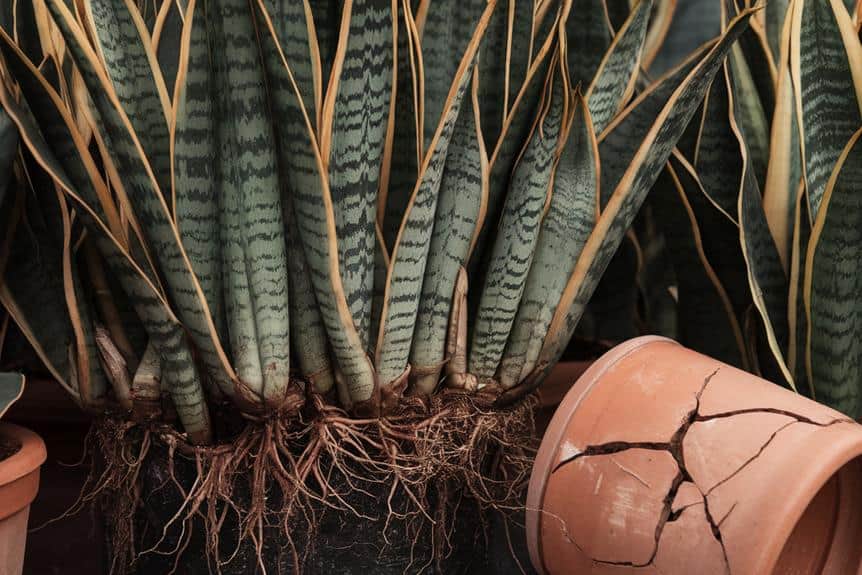
Occasionally, your snake plant will show signs that it’s ready for a new home. Look for roots growing through drainage holes or pushing the plant up out of its pot. If you notice the soil drying out quickly after watering, it’s a sign that the roots have filled the container. Yellowing or drooping leaves can indicate overcrowding or poor drainage. When your plant’s growth slows noticeably, it may need more space to thrive. Check if the plant has become top-heavy or if it’s breaking apart its current pot. If you see a white crust forming on the soil surface, it could be salt buildup, suggesting it’s time for fresh potting mix. By recognizing these signs early, you’ll maintain your snake plant’s health and allow it to continue purifying the air in your space.
Gathering Essential Materials
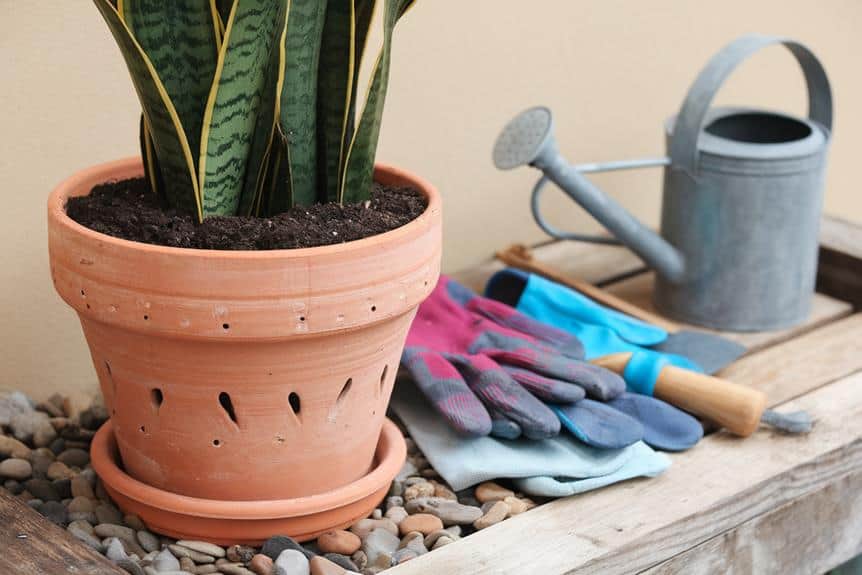
Once you’ve identified that your snake plant needs repotting, it’s time to gather the necessary materials. You’ll need a new pot that’s 1-2 inches larger in diameter than the current one, with drainage holes. Choose a well-draining potting mix specifically designed for succulents or cacti. Grab a pair of clean, sharp scissors or pruning shears for trimming roots if needed. Don’t forget protective gloves to keep your hands safe while handling the plant. You’ll also need a small trowel or spoon for scooping soil, and newspaper or a drop cloth to protect your work surface. Finally, prepare some water for moistening the soil after repotting. Having these items ready will facilitate a smooth and efficient repotting process, allowing you to give your snake plant the care it deserves.
Preparing the New Pot

With your materials at hand, it’s time to prepare the new pot for your snake plant. First, guarantee the pot has adequate drainage holes to prevent water from pooling. If needed, add a few extra holes using a drill or hammer and nail. Next, place a layer of small stones or pottery shards at the bottom of the pot to improve drainage further.
Mix your potting soil with perlite or sand to create a well-draining medium that suits snake plants. Fill the pot about one-third full with this mixture. Gently tap the pot on a flat surface to settle the soil and remove air pockets. This preparation will provide a stable foundation for your snake plant and help prevent root rot, ensuring it thrives in its new home. You’re now ready to transplant your snake plant with care.
Removing and Replanting

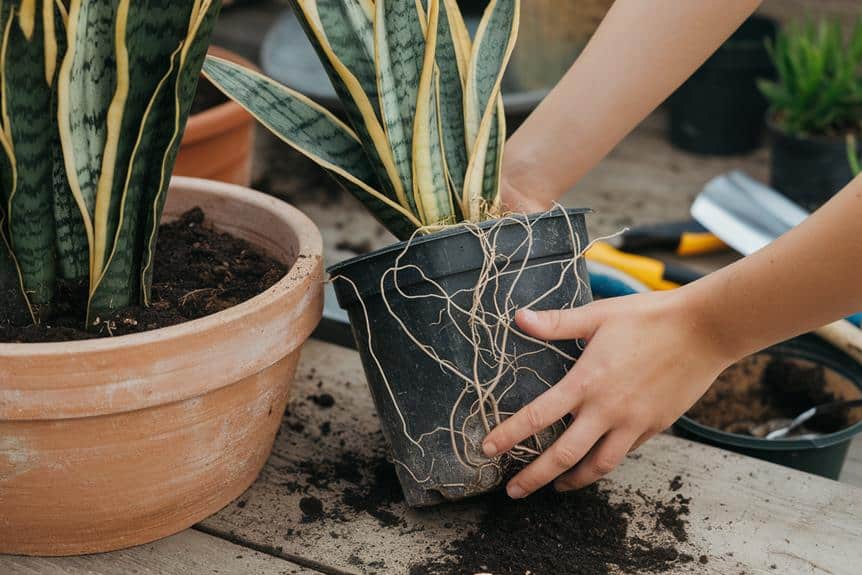
Carefully removing your snake plant from its current pot is the first step in the replanting process. Gently tilt the pot and support the plant’s base as you ease it out. If it’s stuck, tap the sides of the pot or run a knife around the edge to loosen the roots.
Inspect the roots, trimming any that are damaged or overly long. Shake off excess soil, being mindful not to harm the healthy roots. Place your snake plant in the new pot, ensuring it’s centered and at the same depth as before. Fill in around the roots with fresh potting mix, pressing gently to eliminate air pockets. Leave about an inch of space at the top for watering.
Water thoroughly after repotting to help settle the soil and reduce transplant shock. Place the newly potted plant in a suitable location with indirect light.
Aftercare for Newly Repotted Plants

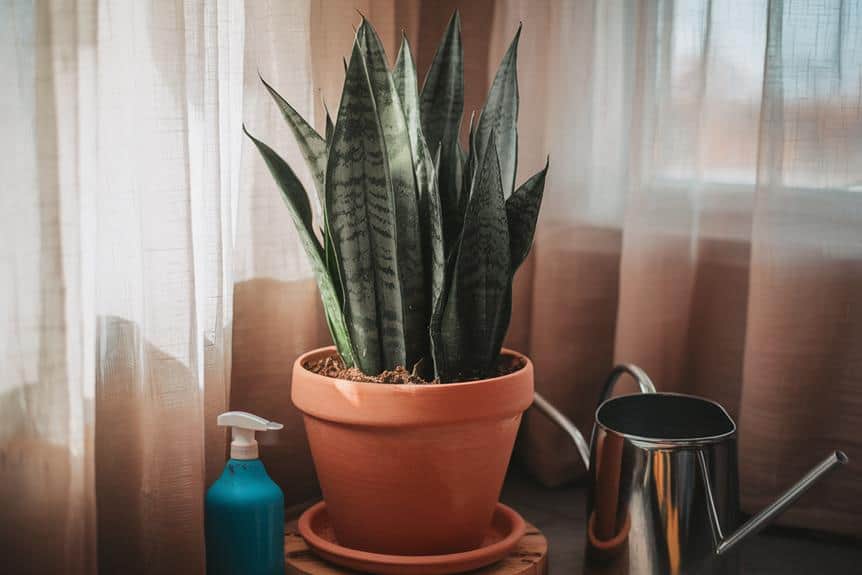
After repotting, your snake plant needs special care to thrive in its new home. Place it in a spot with indirect light and maintain a temperature between 60-80°F (15-27°C). Don’t water immediately; wait 1-2 weeks to allow any damaged roots to heal. When you do water, do so sparingly, as overwatering can lead to root rot. Mist the leaves occasionally to increase humidity, but avoid getting water on the soil. Keep an eye out for signs of stress, such as yellowing leaves or drooping. If you notice these, adjust your care routine accordingly. Avoid fertilizing for the first month to prevent overwhelming the plant. After this period, you can resume regular care, but always monitor your snake plant closely to guarantee it’s adapting well to its new container.
