Sedum Propagation 101: The Ultimate Guide
Sedum is a genus of succulents that are quite hardy and very easy to grow. You can propagate these plants at home to expand your garden or for giving as gifts. Here’s how to propagate sedum by 3 different methods: leaves, cuttings, and division.
Contents
How to Propagate Sedum from Leaves
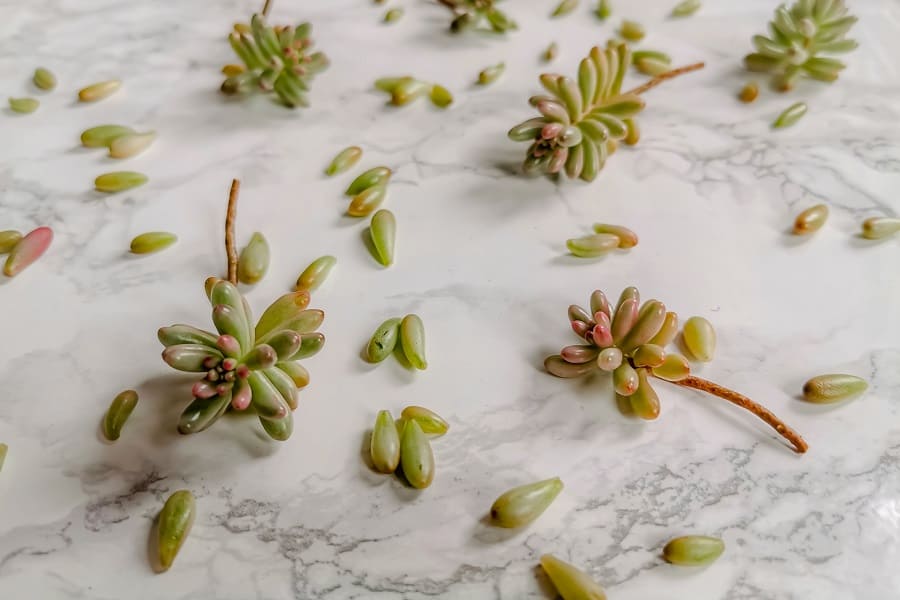
Propagating Sedum from leaves is quite easy. Pick healthy leaves from the plant and cut them off with a pair of gardening shears. Get as much of the stalk as you can.
Let the wound heal over and form a callus. If you plant the Sedum prematurely, you run the risk of developing root or stem rot.
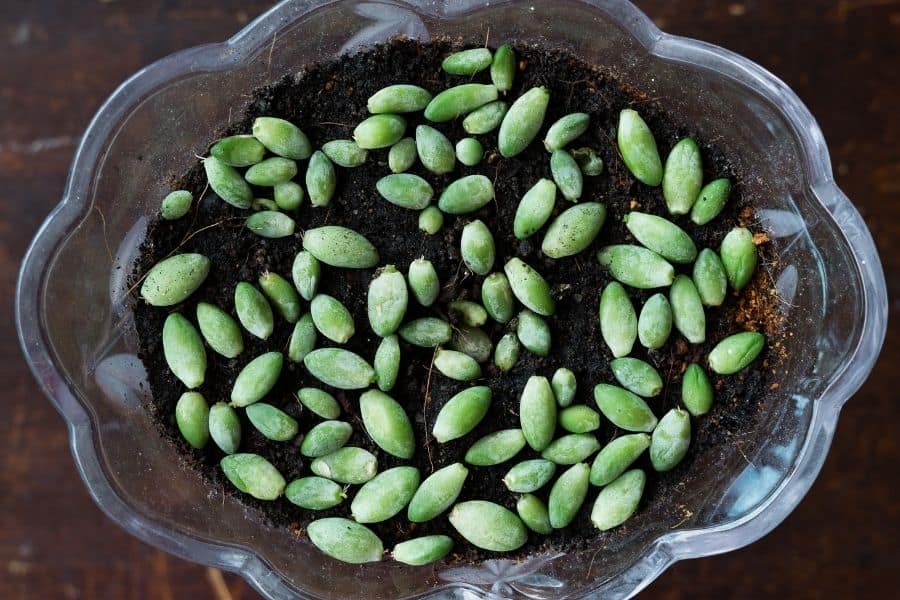
Find a pot with a draining hole and fill it with a cactus soil mix. Plant the callused leaf cuttings into the soil. The stalk should be stuck into the soil while the leaf shouldn’t be touching the soil.
Place the pot in an appropriate spot and water the plant as necessary. The leaves will develop roots in about 2-3 weeks and will start sprouting baby leaves too.
How to Propagate Sedum from Cuttings
Propagating Sedum from cuttings is a good way to get consistent results. All the new plants will share their characteristics with the parent plant, so you know what they will look like. This isn’t possible while using seeds to grow new plants.
You can take cuttings from the tip or stems to propagate Sedum.
How do you take cuttings from sedums?
Taking cuttings from a Sedum plant is quite easy. Here’s how to take cuttings of different parts of a Sedum plant:
Tip Cuttings:
To take a cutting from the tip of the Sedum, cut a 6-inch long piece from the tip of the plant.
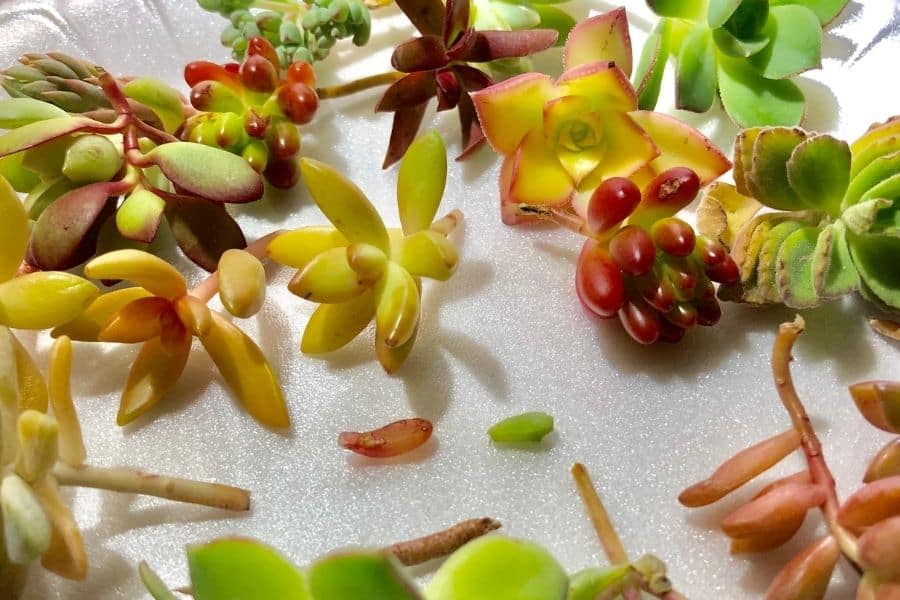
Remove the leaves on the bottom and stick this end into moist soil. Place the cutting in indirect sunlight and you will know within 2-3 weeks if the propagation was successful.
Stem Cuttings:
Stem cuttings are another good way of Sedum propagation. If you feel around the base of a mature plant, you will find new stems growing from the main stem.
Separate these from the parent plant and let them dry for a few days. Once they form calluses, they are ready to plant. Use a pot with good drainage and a succulent potting mix and you should have new plants in 2-3 weeks.
How long do sedum cuttings take to root?
It can vary depending on the part of the Sedum you have taken cuttings from. On average, you can expect to see results within 2-3 weeks of planting.
Gently tug on the propagated cutting to check if it has taken root. Do not use much force, as you might rip out the new roots. At this stage, the plant is quite fragile and needs to be handled delicately.
If you feel a slight resistance, the plant has probably taken root. You will also start to see new leaves sprouting above ground soon. If you are unsure, wait till a month has passed before you decide that the propagation was unsuccessful.
How to Propagate Sedum by Division
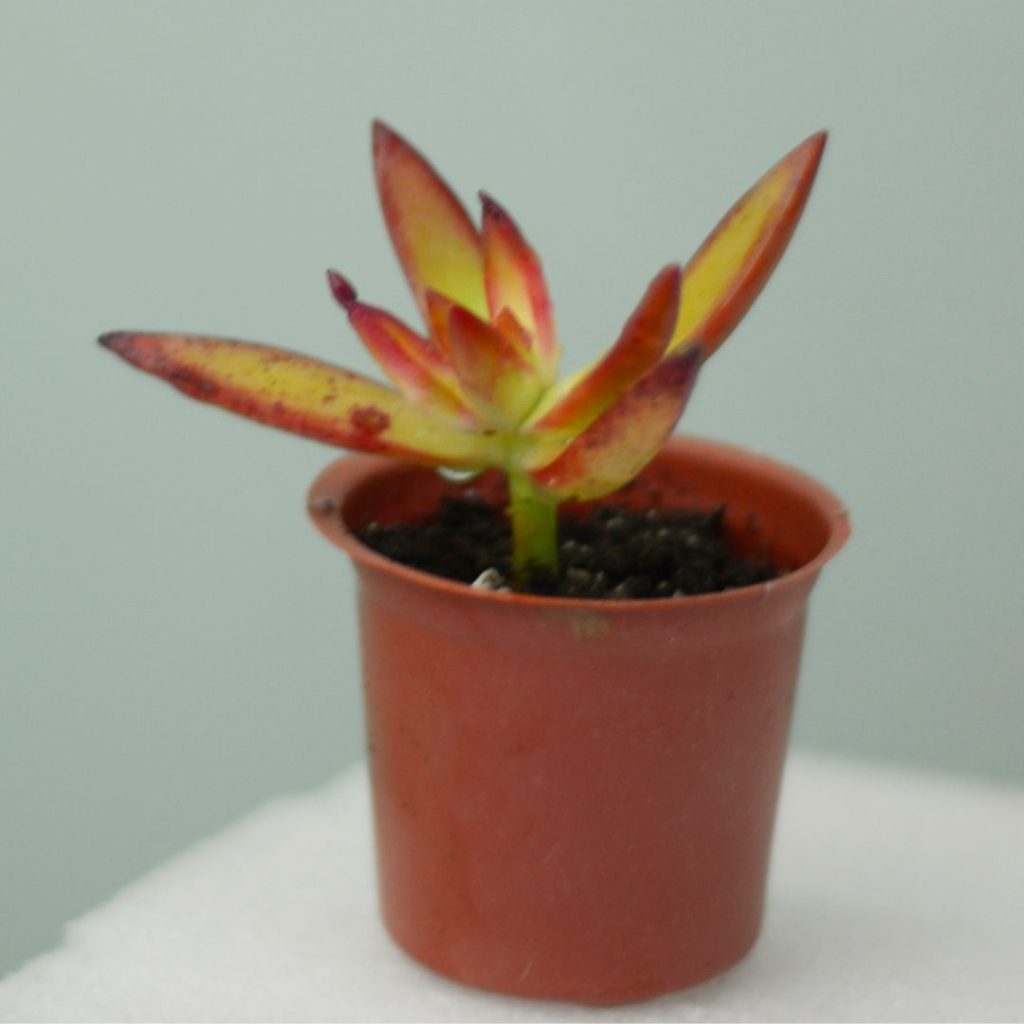
The division method is good for both propagations and for keeping your gardening area tidy. Springtime is the best time period for propagation by division. If the weather is too hot or too cold, the divisions might not survive.
Dig around a Sedum plant and extract it without damaging the root system. You can use a shovel for a clean extraction—the root system will just come up intact like a ball.
Lay the plant down on a clean surface and divide the plant into smaller sections. Make sure each section has a lot of roots and a few buds to make them viable.
Now, replant these divisions in a similar potting mix as the parent plant. Keep the soil moist but not completely soaked. Make sure the divisions get about 6 hours of indirect sunlight every day and spritz the soil whenever it gets dry.
How to Root Sedum in Water
You can also propagate sedum using water as a medium. To increase the likelihood of successful sedum propagation in water, it’s crucial to select a parent plant that is in excellent health.
While extracting or cutting the plant, use sterile gardening shears and knives to prevent disease. Here are two ways to root Sedum in water:
Leaf Cuttings
Propagating sedum leaves in water is possible but a lot of people avoid it because it is a little finicky.
Pick healthy leaves and snip them off the plant. Always use clean scissors to reduce the risk of transmitting diseases. Let the leaves dry on a clean surface. Once they have formed calluses, transplant them in water.
Take a clear container and fill it with clean water. You need a very small container as the leaves are quite small themselves. A vase or jar won’t do, you need something roughly the size of a shot glass.
Here comes the troublesome part—you need to suspend the leaves in the water. The leaves themselves should not get wet.
You can use mesh or toothpicks to accomplish this. The simplest way is to lay a piece of mesh on top of the container and stick the leaves in the mesh. The fleshy part will stay above and the stem will reach the water.
Once the roots come in, you can either move the cutting to a new container or let it continue growing in water.
Stem Cuttings
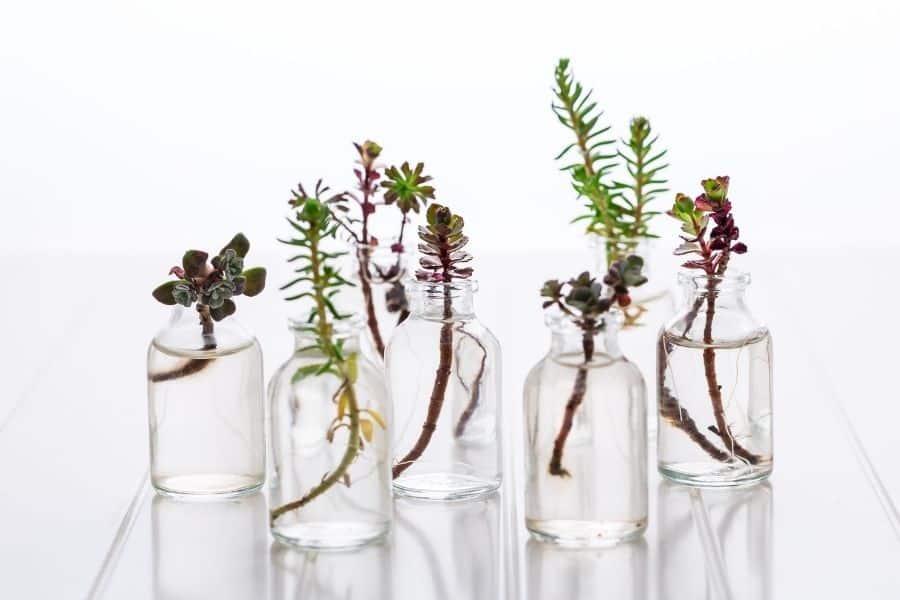
Cut a piece of healthy stem at least 6 inches long from the parent plant. Clear the bottom part of any leaves.
Take a suitable clear container and fill it with clean, room-temperature water. Place the stem cutting in the water. The part that has leaves should stay above water.
Change the water every couple of days so that the plant doesn’t stagnate. Spots like window sills or shaded patios are good for placing the cutting as they get a lot of indirect sunlight.
In 2-3 weeks, you will have a viable Sedum propagation ready for transplanting.
