Agave Seed Propagation: A Beginner’s Guide to Successful Cultivation
Agave plants, indigenous to California, are stunning, drought-tolerant succulents with pointy leaves. They are not only associated with tequila and twine but also thrive in rocky, native soils, from coastal areas to higher elevations.
This blog post will guide you through the process of growing agave from seeds and caring for these plants. While it may be time-consuming, propagating agave plants from seeds is quite easy.
Agave plants come in various sizes, from large varieties over 10 feet tall to small, dish-sized plants. Their colors range from blue-green to gray-green, and some even have white or gold markings. Some varieties grow in warm, arid regions, while others thrive in colder climates.
The best time to plant these slow-growing plants is in spring or early fall. It takes several years or even decades for agave plants to mature and produce a tall flower stalk with bell-shaped blooms in colors like yellow, white, and green. After flowering, most agave species produce seed pods before dying.
The flat, black agave seeds vary in size, determining the mature plant’s size. If you plan to grow agave indoors, choosing smaller seeds is advisable.
Growing Agave from Seeds
Let’s explore the steps to grow agave plants from seeds:
1. Prepare the Container
First, thoroughly wash the pots or trays you’ll use to grow the agave plants. Make sure they have holes at the bottom for proper drainage. Let them dry for 1-2 days before starting.
Next, fill the containers with a sterilized starting mix. This mix should be half inorganic material like pumice, sharp sand, or perlite, and half organic matter like vermiculite, coco coir, sphagnum moss, or fully composted material (without animal manure).
To sterilize the starting mix, bake it for 30 minutes at 350°F (177°C). You can also use a commercially available sterilized starting mix. Fill the containers with the sterilized mix.

2. Sow the Agave Seeds
Once the containers are filled, scatter the agave seeds on the surface. You can leave them completely exposed to light or lightly cover them with sand to keep them in place. Don’t cover the seeds completely, as they need sunlight to germinate.
3. Water the Containers
To water the containers with agave seeds, place them in a shallow pan filled halfway with distilled, sterilized, or warm water. When the top of the potting mix is moist, remove the pots/pans from the drip tray and let the excess water drain.
If using tap water, let it sit for around 24 hours to allow chemicals to dissipate. Then, boil the water for about 5 minutes and let it cool completely. Pour the boiled and cooled water from a height of 3 feet to aerate it.
4. Cover with Plastic Wrap
After draining excess water, cover or seal the planting container with plastic wrap or a plastic bag. This will help preserve moisture levels during germination.
5. Maintain a Steady Temperature
Keep the planting container in a warm, bright place with indirect or diffused sunlight, like a windowsill. Maintain a consistent temperature between 65°F (18°C) and 70°F (21°C).
The seeds will germinate in 2-3 weeks, depending on the agave variety. You should see sprouts within 14 to 21 days. Once the seedlings appear, remove the plastic wrap or bag.
6. Water Carefully
Water very sparingly, about 1-2 times a week. Aim to keep the soil moist but not soggy. Use a spray bottle to water the seeds and seedlings to prevent dislodging them.
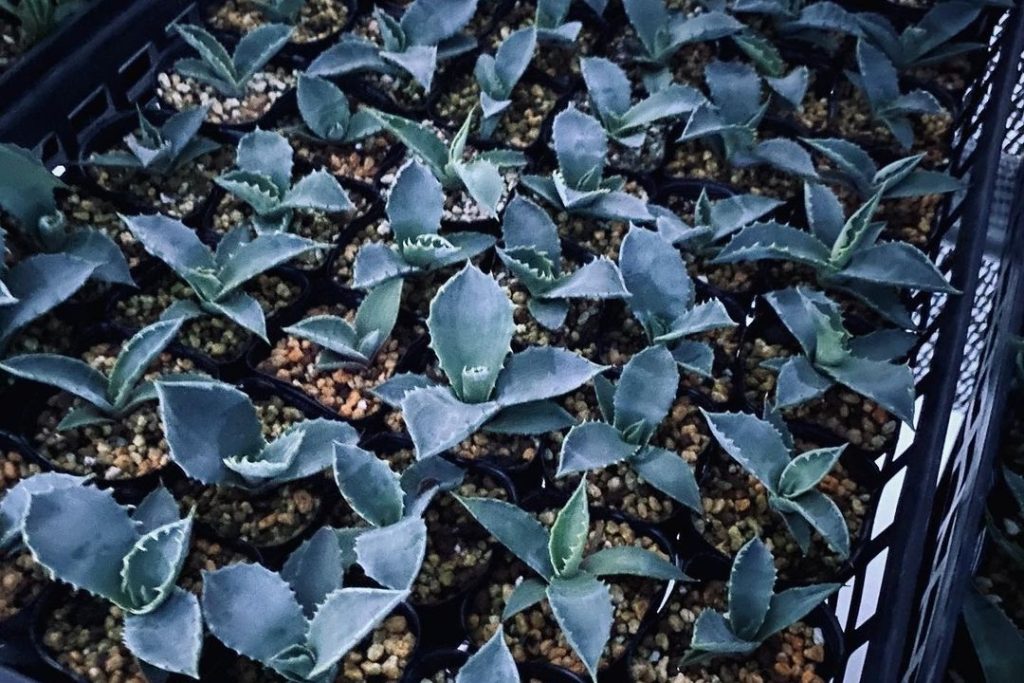
7. Transfer the Agave Seedlings
When the seeds germinate, the seedlings will emerge as a single leaf with a thicker base. When the seedling has 2-3 leaves, carefully transfer it to a larger pot. After a few days, you can plant the seedlings in your garden.

Conditions for Agave Plants
Once your agave seeds have germinated and you’ve planted the seedlings in your garden, here are the conditions they need to thrive:
Soil
Agave plants grow well in any well-draining soil, but they thrive in sandy or rocky soil. Poor drainage can lead to root rot, which can kill the plant.
Light
Agave plants flourish in direct sunlight but can tolerate some shade, especially in hotter climates.
Water
Full-grown agave plants are drought-tolerant and only need watering if there has been no rainfall and the soil is completely dry. When establishing a new plant, water it every 4-5 days for about a month. After that, extend the watering interval to 2-3 weeks, depending on rainfall in your area.
Temperature and Humidity

Most agave varieties can grow in USDA hardiness zones 8 or 9 and cannot tolerate frost. They also grow better in low humidity, as high humidity can cause crown rot.
Fertilizer
Agave plants typically don’t require fertilizer. In fact, fertilizing can encourage flowering, which leads to the plant’s death in most agave species.
Pest and Disease Control
Agave plants generally don’t have many pest or disease issues. The main problem is the agave snout weevil, which can burrow into the plant’s center, lay eggs, and cause the plant to collapse. If this happens, remove the affected agave plant to prevent the pests from spreading to other healthy plants nearby.