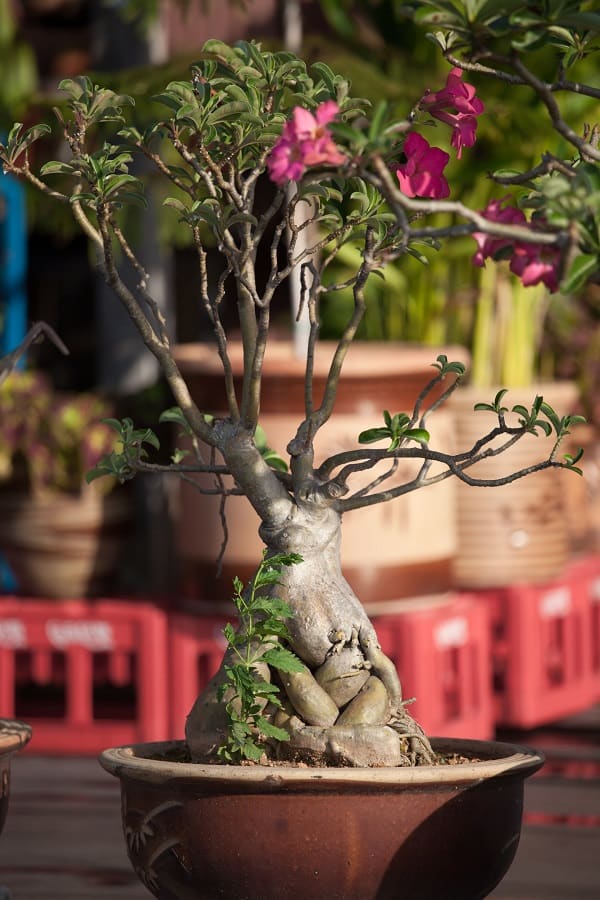
Grow Your Own Desert Rose: Mastering Adenium Seed Cultivation
Imagine transforming tiny seeds into breathtaking adenium plants, also known as desert roses. With their swollen, sculptural stems and vibrant flowers, these succulents add exotic charm to any garden. Growing adenium from seeds might seem daunting, but it’s a rewarding journey that’s easier than you think!

How to Grow Adenium from Seeds
First, Let’s Find the Seeds
Success starts with fresh, high-quality seeds. Seek them out from reputable nurseries, botanical gardens, or fellow adenium enthusiasts. Alternatively, you can harvest seeds from mature adenium plants you already own – just ensure you understand the proper techniques to avoid damaging the plant.
Once you’ve secured the seeds, don’t wait too long to sow them. Fresh seeds germinate faster, giving your adenium babies the best start in life.

Craft the Perfect Growing Medium
For adenium seeds to thrive, they need a well-draining, moisture-retentive medium that allows roots to spread freely. A blend of equal parts perlite (or potting soil) and coarse sand works wonders. You can even add a sprinkle of organic compost or fertilizer to nourish your future plants.
Mix your chosen ingredients thoroughly, then transfer the medium to a clean container with drainage holes at the bottom – a plastic pot is perfect. This helps prevent fungal issues later on.
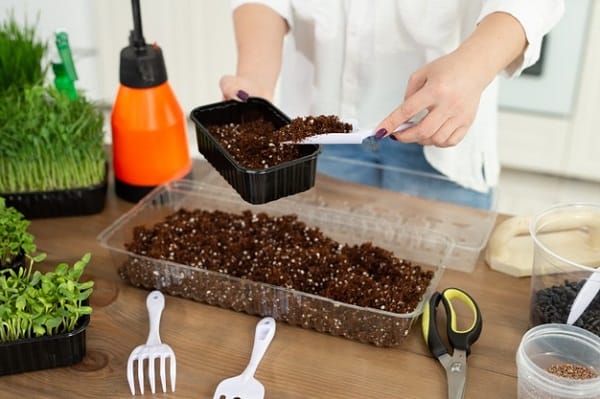
Time to Sow the Seeds
Lightly moisten the medium, then carefully place the seeds about an inch apart on the surface. Cover them with a thin layer of the medium, and place the container on a warm surface to encourage germination and root growth. A plastic bag draped over the top can help retain moisture, but skip this step if using an unsterile medium to deter fungal growth.
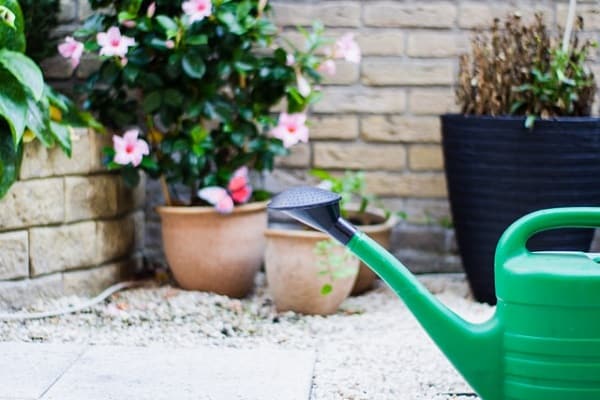
Stay Hydrated, Little Ones
After sowing, water the medium from beneath the seeds daily to prevent damping off (a fungal disease that can kill seedlings). Every three days, also water from above until the seeds sprout, usually within 5-7 days for fresh seeds (be patient if using older ones).
Once seedlings emerge, switch to watering from below only.
Transplanting Time
Within a month, your adenium babies will have grown their first true leaves – a sign they’re ready for their own pots! Carefully scoop out each seedling and transplant it into a clean pot filled with your prepared medium. Give them space to flourish by potting them individually.
Care and Patience Bring Rewards
From here, it’s all about consistent care. Water regularly, but take care not to overwater, especially in winter when growth slows. Ensure warmth and monitor for fungal issues by keeping pots clean. With time and attention, those tiny seedlings will transform into spectacular blooming adeniums!
Document your plants’ progress and revel in watching those swollen, sculptural stems and bright flowers emerge. Growing adenium from seed is an enriching journey, and the payoff – a striking desert rose to call your own – is worth every effort.