Drilling Holes in Clay Pots: The Ultimate DIY Tutorial
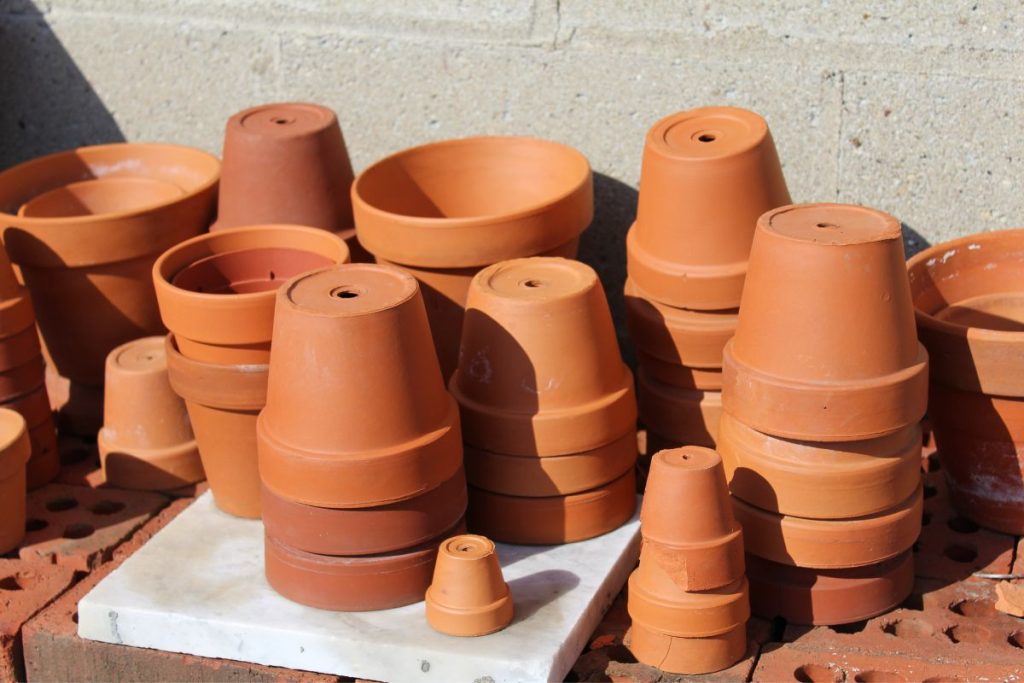
Clay pots are super handy for planting flowers and plants. They’re great because the clay lets water soak in and keeps the soil together. But here’s the catch: these pots need holes in the bottom so the water can drain out. Don’t worry, though, drilling a hole in a clay pot is easier than you might think, especially if you have the right tools. In this easy-to-follow guide, we’ll take you through the simple steps to drilling holes in clay pots. Get ready to give your plants a happier home! Let’s get started!
How to Drill a Hole in a Clay Pot
Step 1: Figuring out the Pot Material
First things first, we need to know what kind of clay pot we’re working with. Most clay pots are made of red clay that’s been baked slowly at low heat, which is easy to drill through. However, some pots are made of tougher clay. To figure out the material, we can look at the pot’s surface. If it’s shiny and varnished, we’ll need a special drill bit.
Step 2: Choosing the Right Drill Bit for Clay Pot
For regular clay pots and stoneware, we’ll use a masonry bit. But if we’re dealing with a varnished pot, we’ll need a drill bit designed for glass. It’s important to use a sharp, new drill bit to make the task easier and ensure a clean hole.
Step 3: Drilling in Baked Clay
To start drilling into a baked clay pot, place it upside down and mark where you want the hole. Position the drill bit at the center of the mark. Now, turn on the drill at a low speed and begin drilling. Check if the bit is making a visible mark on the pot’s surface. Pause occasionally to remove the bit and blow away any residue. Repeat this process until you’ve made a hole in the pot. Keep in mind that harder clay will require more time to drill through. Avoid using a drill hammer as it can damage the pot.
Step 4: Drilling in Raw Clay
If you’re lucky enough to be working with raw clay, drilling holes becomes much easier. However, this method is only possible if you’re making the pot yourself. Stick to the same drilling technique we used for baked clay pots, but this time, we don’t need a masonry bit. Drill the pot when it reaches the leather hardness stage during the drying process, with the bottom facing up.
Remember, with a little patience and the right tools, you can successfully drill holes in clay pots, whether they’re baked or raw.
How To Drill a Hole In Ceramic Pot
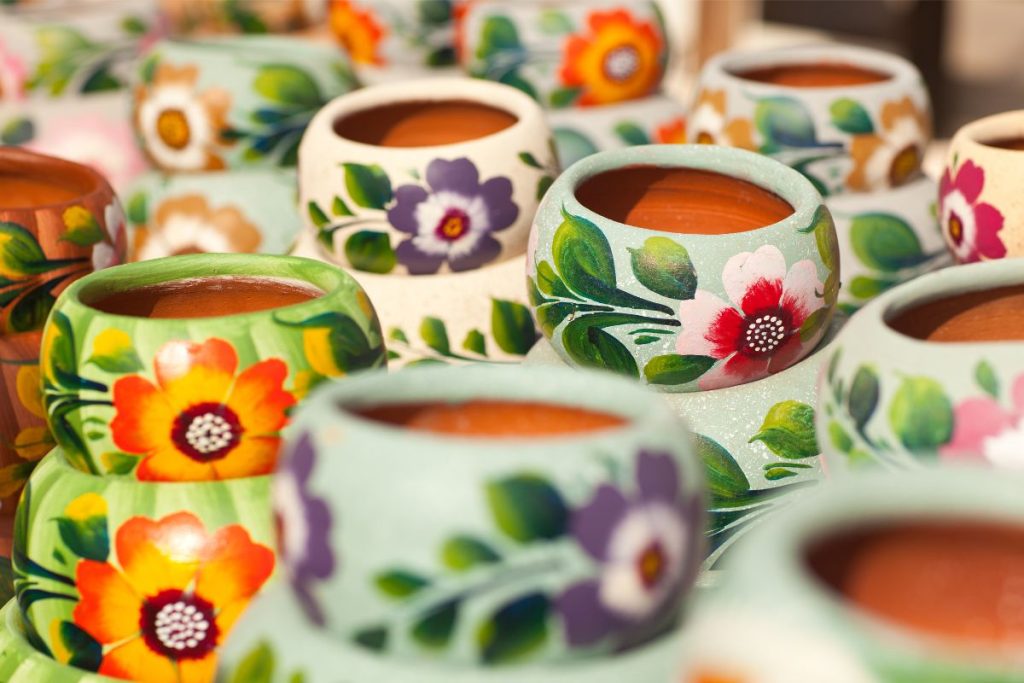
When it comes to ceramic planting pots, drilling holes can be a bit tricky. But don’t worry, we’ve got you covered with some essential tips and techniques to make the process smooth and hassle-free.
Step 1: Understanding Ceramic Hardness
Ceramics, like tiles, can vary in hardness. It’s crucial to consider the hardness level to drill holes successfully. Generally, tiles are made of earthenware with a medium-hard quality. However, porcelain stoneware, which is very hard, presents a greater challenge as it’s harder than diamond.
Step 2: Choosing the Right Drill Bit
To conquer the hardness of ceramic, diamond drills and diamond hollow drills are recommended. These tools work well for harder ceramics, including porcelain stoneware. For softer to medium-hard tile quality, you can find specialized ceramic drills at your local hardware store.
Step 3: Prepping the Ceramic Surface
Drilling becomes less complex when working with unglazed ceramics. However, if the surface is glazed, there’s a risk of the drill slipping on the smooth surface and causing damage. To ensure an optimal result, it’s important to prepare the ceramic properly. Begin by creating a small recess or groove slowly and carefully using the smallest drill diameter.
Step 4: Drilling into Ceramic Pots
To start drilling, securely position the chosen drill bit on the prepared area. Applying adhesive tape is a smart trick to prevent cracks and scratches on the glaze. Place a piece of tape over the recess and firmly press it. Now, with slow speed and gentle pressure, start drilling into the ceramic. This method helps to maintain control and avoid any mishaps.
Drilling a Ceramic Pot without a Drill
While many wish to avoid using a drill, unfortunately, it’s currently the most effective method. If you’re new to drilling or find it challenging, this article aims to provide guidance and empower you to drill ceramic pots with confidence.
Adding Drainage Holes to Plastic Planters

Did you know that all planters should have holes in the bottom? Having these holes allows water to drain out, preventing the roots from getting waterlogged and suffocated, which can lead to root rot. It’s pretty rare for plants to thrive in containers without drainage holes, except for some coastal plants. So, if you have plastic pots like margarine jars lying around, don’t worry – they can still be used for planting after we add some drainage holes!
Here’s how you can do it yourself:
- Flip the plastic container upside down and decide where you want the holes to be. For smaller pots, having a hole in the center is usually sufficient. However, bigger pots may need two to four additional holes near the edge of the base.
- Grab a pair of sharp scissors and try to cut holes into the plastic. If the plastic is too thick or strong for scissors, don’t worry. You have a couple of options. You can use a nail and a hammer to puncture the pot, or you can carefully drill the holes using a drill with a small drill bit.
- To avoid any mess, place the pot on a plate or saucer to collect any excess water. This will prevent it from flowing onto your floors, furniture, or windowsill. Now, your planter is all set and ready for your favorite plant!
By following these simple instructions, you can easily add drainage holes to your plastic planters and create a healthier environment for your plants. Happy gardening!