Echeveria Fans Are Going Crazy Over These 4 Propagation Hacks
Want to grow an unlimited supply of beautiful echeveria succulents without spending a dime? Well, you’re in luck! Propagating these stylish plants is insanely easy using just a few simple tricks. By the end of this blog, you’ll be an echeveria multiplication master ready to share your bounty with all your friends. Let’s get started!
Related Post:
200+ Echeveria Types With Pictures
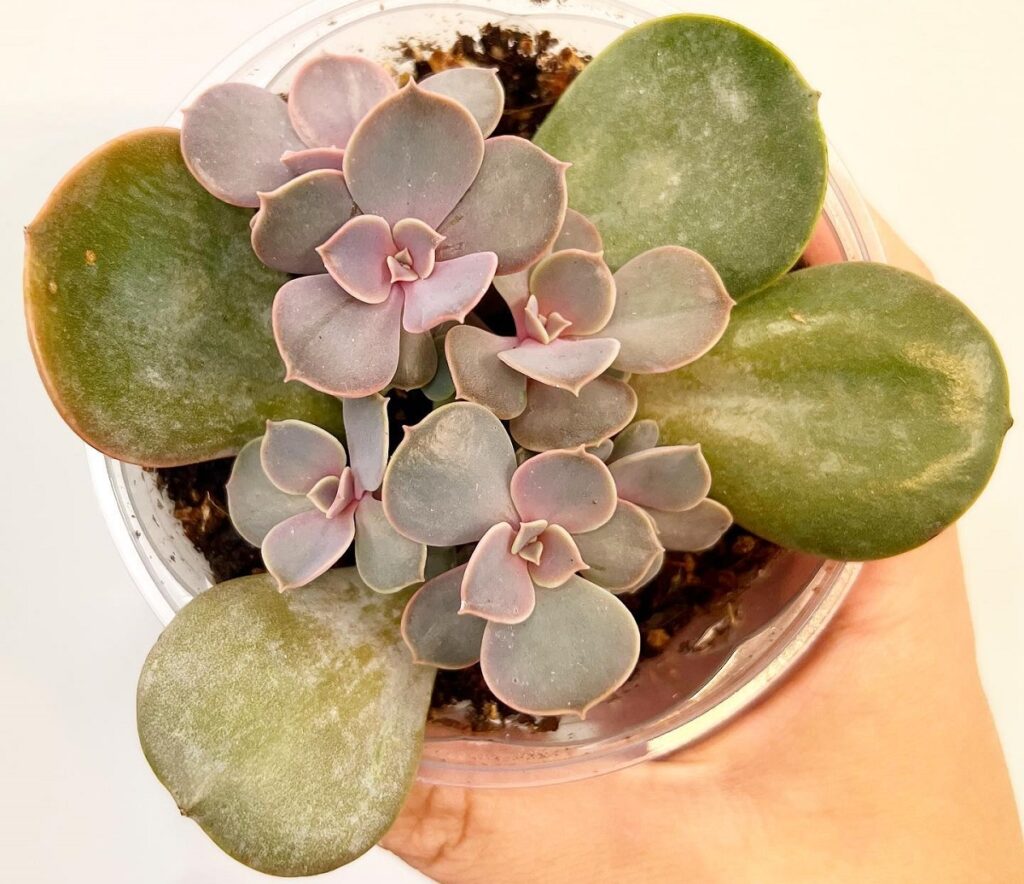
Echeveria Propagation Hack #1: Offsets
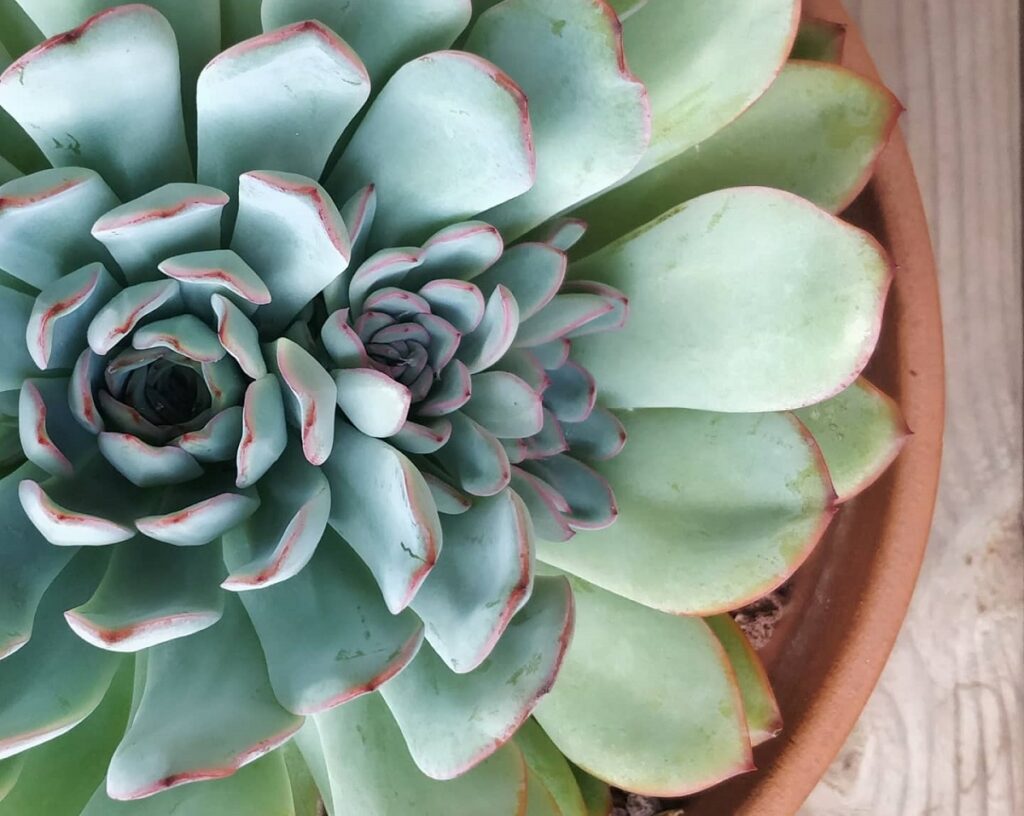
This method lets you clone your favorite echeverias with almost zero effort. Search around the base of your plant for little side pups or offsets growing out from the main stem. Once they’re a couple inches tall, you can pop them right off.
Grip the offset firmly and give it a gentle twist and tug until it detaches from the mother plant. Don’t feel bad – it won’t harm either one! If a stubborn offset won’t release, use clean scissors or pruners to snip it free.
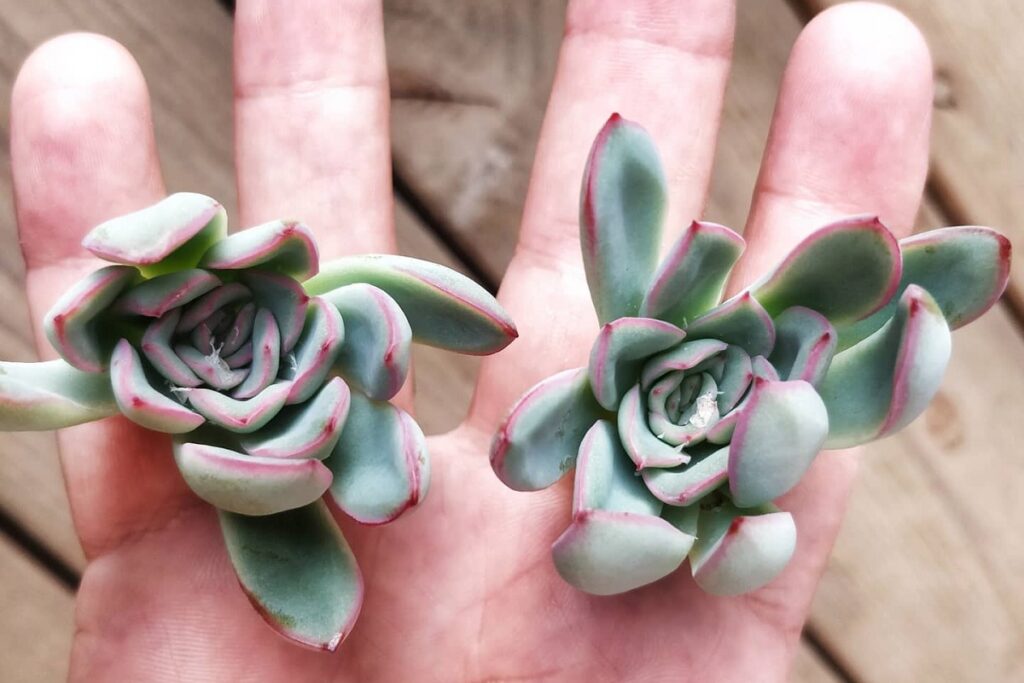
Next, knock off any old soil clinging to the offset’s roots. Pot it up in a well-draining cactus/succulent mix, giving it about 4 inches of space on all sides so it has room to grow. Water sparingly after planting. That’s it – you just doubled your echeveria collection!
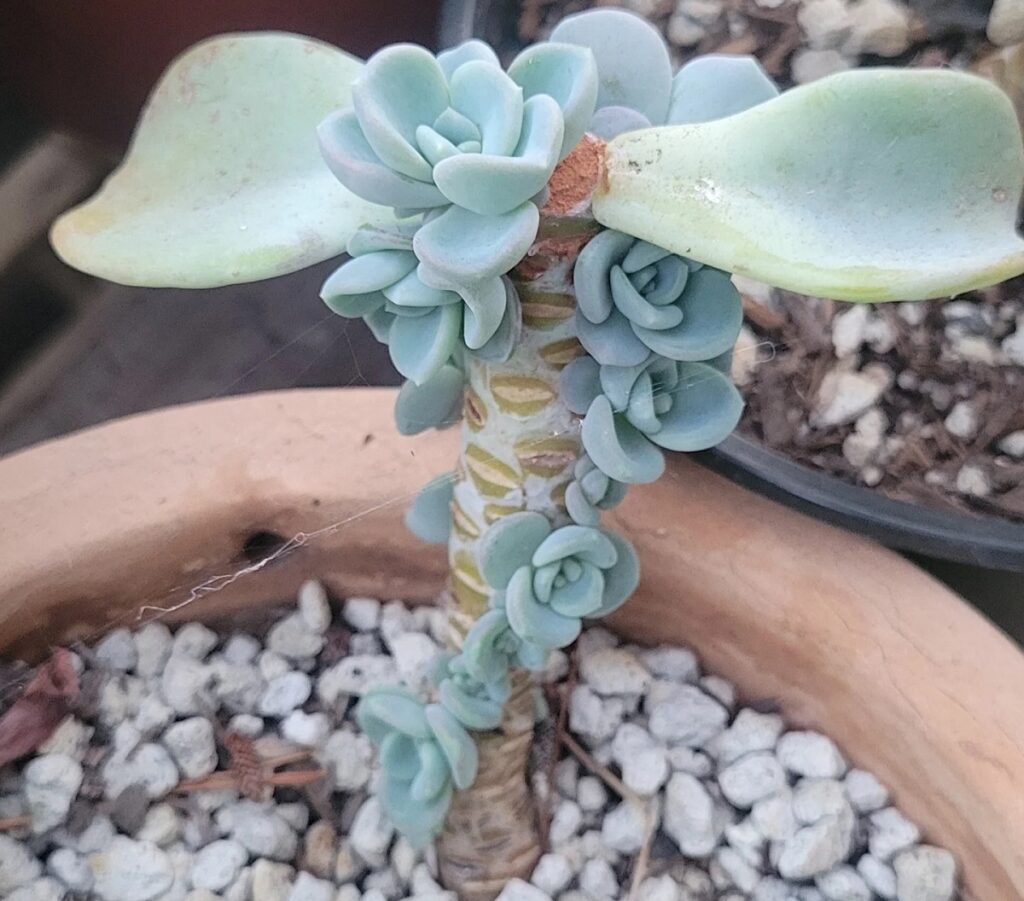
Echeveria Propagation Hack #2: Stem Cuttings
For this neat trick, you’ll need a sharp, clean knife or pruners. Carefully cut off a fresh, healthy stem from your echeveria, making sure it has at least a couple leaves attached. Allow the cutting to callous over for 3-4 days before the next step.
Once calloused, you can either stick the cutting directly into a well-draining soil mix or suspend it over a glass of water using a plant prop or recycled plastic bottle. If rooting in soil, just bury the bottom 1-2 inches of the cutting. If using water, refresh it weekly.
In 2-4 weeks, you should start seeing roots emerging! Once there is a good root system developed, you can pot up your new echeveria plants. A little rooting hormone powder can give cuttings an extra boost.
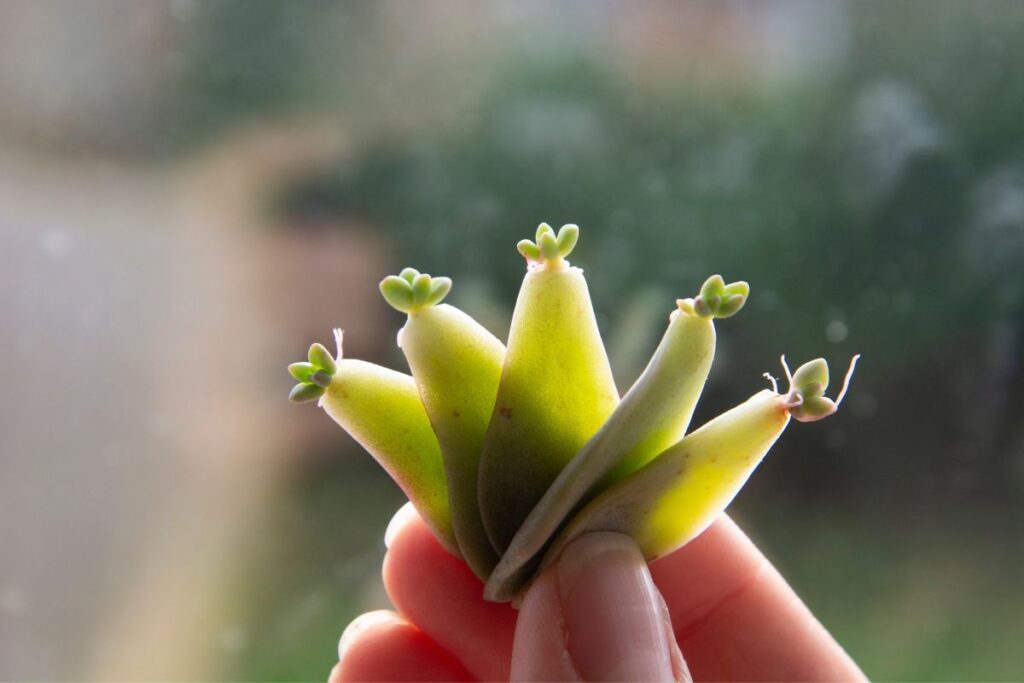
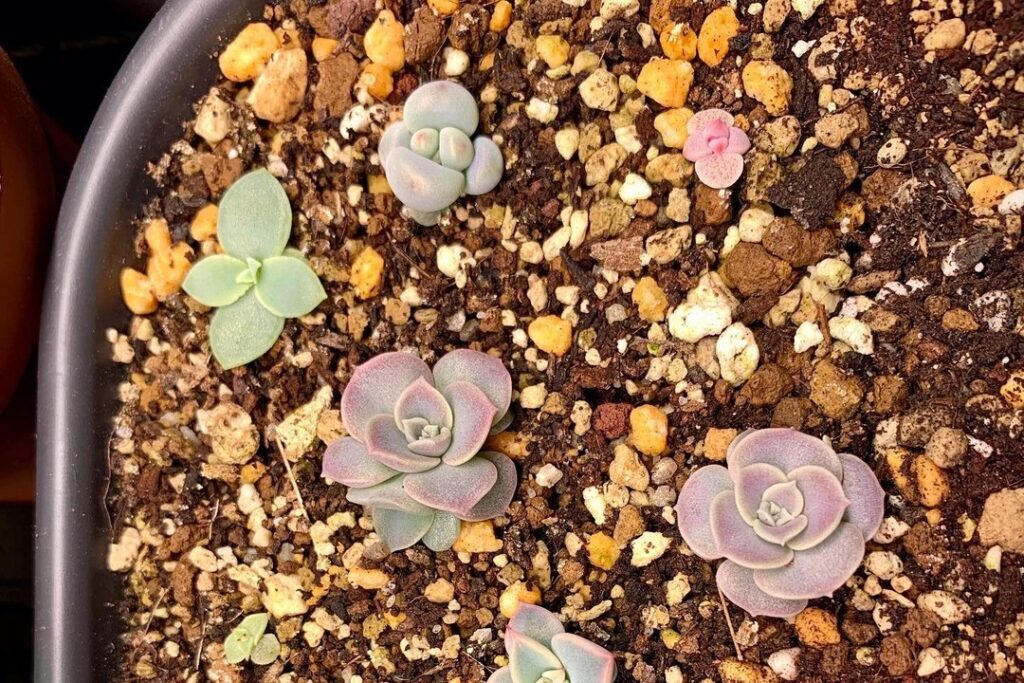
Echeveria Propagation Hack #3: Leaf Cuttings
This propagation method is just as easy as the others, but does take a bit more patience. Start by gently twisting and removing a plump, healthy leaf from the mother plant.
Allow the leaf to callous over for 5-6 days by letting it sit out in a cool, shaded spot. This helps prevent rotting when you go to propagate it.
Once calloused, simply place the leaf on top of a well-draining cactus/succulent soil mix in a pot or tray. Make sure the leaf is in contact with the soil surface.
Now the waiting game begins! In a few weeks, you should see little roots and a tiny rosette starting to form from the leaf’s base. Once it’s a couple inches tall with a good root system, you can replant your new offset into its own pot.
Be careful not to overwater leaf cuttings as they establish. Let the soil dry out completely between waterings. Also avoid direct sun at first until the new plant bulks up.
Echeveria Propagation Hack #4: Seeds
The final propagation hack lets you grow echeverias from seeds for an endless supply of new, unique plants! You’ll need to purchase fresh echeveria seeds and then sow them in a seed starting tray.
Use a well-draining cactus/succulent potting mix amended with some extra perlite or coarse sand for drainage. Moisten the soil and then spread the seeds out, covering them with just a thin layer of the soil mix.
Place the tray in a warm (65-80°F), bright spot but out of direct sun. Use a spray bottle to keep the soil lightly moist until the seeds sprout in 2-4 weeks.
Once the seedlings are a couple inches tall with roots forming, you can transplant them into their own small pots to let them continue growing into full plants over the next year or so.
So there you have it – four insanely simple echeveria propagation methods to try at home! Which hack will you attempt first? Don’t be afraid to experiment and have fun multiplying your echeveria collection.
7 Tips For Successful Echeveria Propagation
- Use a fast-draining cactus/succulent soil mix for best results when propagating. Regular potting soil stays too wet.
- Allow stem and leaf cuttings to develop a dry calloused end before propagating to prevent rot.
- Provide bright, indirect light to propagations. Too much hot sun can cause seedlings and cuttings to dry out quickly.
- Be patient! Echeveria propagations can take several weeks or months to really get established and grow larger.
- Use a sterile, sharp knife or pruners when taking cuttings to get clean cuts that callous over properly.
- Consider using a rooting hormone powder to stimulate faster root growth on cuttings.
- Make sure propagation containers have good drainage holes so excess moisture can escape.
Echeveria Propagation FAQs
Is Echeveria easy to propagate?
Yes! Echeverias are one of the easiest succulent varieties to propagate from cuttings, leaves, or seeds. They root readily with just some basic care.
How long does it take for Echeveria to root?
Stem and leaf cuttings can start developing roots in 2-6 weeks after callousing and propagating, depending on the environment.
Can you propagate Echeveria from a broken leaf?
Yes, you can propagate Echeveria from a broken leaf as long as the leaf is fully intact with no tears or damage to the base. Allow the broken leaf to dry out and callous over for 3-4 days before placing it on a well-draining soil mix. With time and patience, the leaf will eventually grow roots and a new rosette plantlet from the tip. Just take care not to overwater the propagating leaf.
Can you root Echeveria in water?
While possible, water propagation long-term can lead to rot. It’s better to root echeveria cuttings in a well-draining soil mix.
Why is my Echeveria cutting not rooting?
Overwatering, too little light, disease, or improper cuttings can all prevent rooting. Make sure conditions are favorable.
How often do you water Echeveria cuttings?
Allow the soil to fully dry out between waterings when propagating, only providing enough to keep it lightly moist – about every 1-2 weeks.
How can I make my Echeveria grow faster?
Providing bright light, warm temperatures, well-draining soil, light fertilizing, and adequate spacing helps echeverias reach mature size quicker.