Thriving Dudleya edulis: 7 Hacks for Effortless Care
Succulents are all the rage these days, and for good reason – they’re low-maintenance, drought-tolerant, and add a touch of natural beauty to any space. But have you heard of the Dudleya edulis? This quirky little plant, also known as “ladies’ fingers” or “mission lettuce”, is a succulent like no other. With its finger-like leaves and clusters of white flowers, it’s both charming and unique. And the best part? It’s a breeze to care for! Keep reading to discover our top 7 hacks that will have your Dudleya edulis thriving with minimal effort.

Related Post:
52 Types of Dudleya With Pictures
About Dudleya edulis
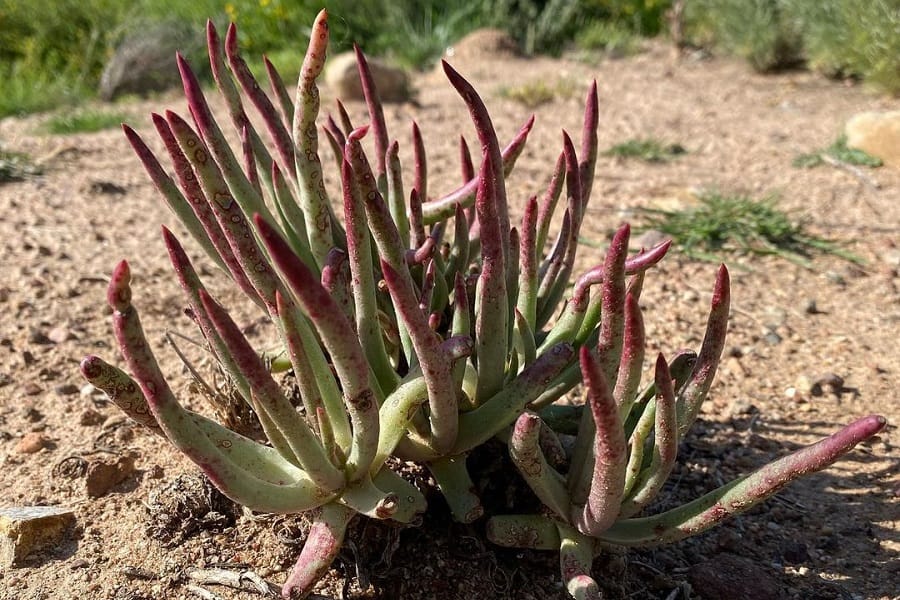
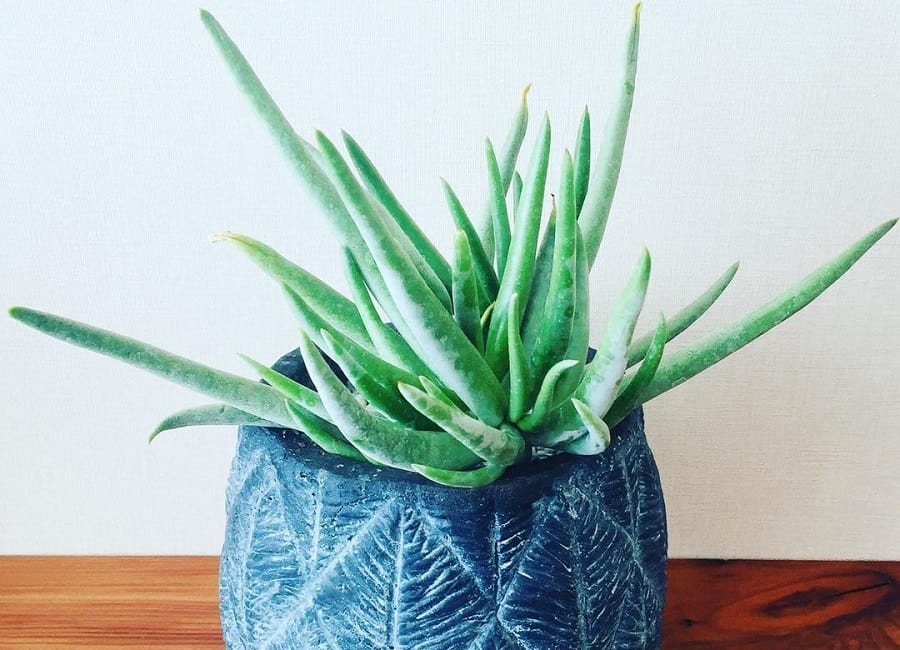
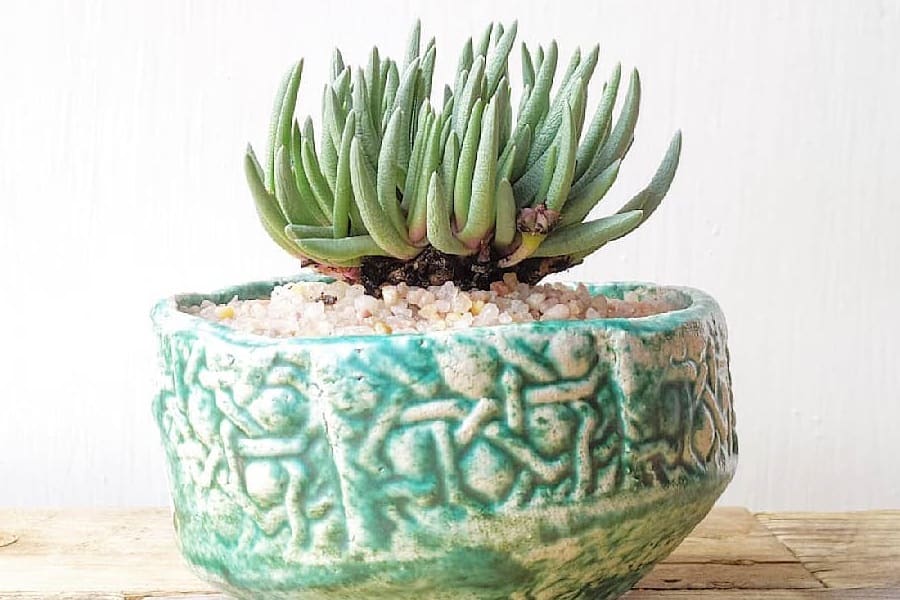
Native to the coastal regions of California and Baja California, Dudleya edulis is a perennial succulent that forms rosettes of fleshy, cylindrical green leaves up to 8 inches tall. Its flowers bloom in summer on tall stems that can reach up to 20 inches, adorned with clusters of creamy white blossoms. This hardy little plant is not only visually appealing but also drought-resistant and easy to care for, making it an excellent choice for both novice and experienced gardeners.
Dudleya edulis Care Hacks
1. The Sunlight Serenade
Dudleya edulis loves bright, indirect light. If grown outdoors in coastal areas, it can bask in full sun. But for those in hotter inland regions, partial shade is key to prevent sunburn. Aim for around 4-6 hours of bright, filtered sunlight each day for optimal growth and vibrant colors.
If you’re growing it indoors, supplement with a grow light during winter or if natural light is limited. LED or fluorescent grow lights placed 6-12 inches away for 12-16 hours per day will keep your succulent perky and prevent etiolation.
2. The Moisture Minimalist
This succulent is a pro at surviving droughts! During the summer dormant period, avoid watering completely. In the fall when new growth emerges, provide a light drink only when the soil is completely dry, about every 2-3 weeks. Signs it needs a sip? Dull, puckered leaves. But be careful – overwatering can cause rot.

3. The Soil Sorcery
Like a magic trick, well-draining soil will make your Dudleya appear happier than ever! A gritty cactus/succulent mix or 50/50 blend of potting soil and coarse sand provides the perfect base for these shallow-rooted beauties. The roots hate getting their feet wet, so fast-draining soil is an absolute must.
4. The Feeding Finesse
While not heavy feeders, a gentle, balanced fertilizer during spring and fall can give your ladies’ fingers a nutrient boost. Apply a balanced, water-soluble fertilizer every 4-6 weeks, avoiding cold winter months. And always water after feeding to help those roots soak it up!
5. The Climate Concierge
With origins along the mild, breezy California coast, Dudleya edulis favors temperatures between 60-80°F. It simply can’t abide extreme heat or cold. USDA Zones 5-11 offer the perfect Goldilocks climate. In hotter areas, treat it like a diva with afternoon shade.
6. The Repotting Rendezvous
These resilient plants actually enjoy a change of scenery every 2-3 years! When repotting, choose a container slightly larger with ample drainage and fresh cactus mix. Gently brush off old soil and replant at the same depth. A bigger home means more finger-like offsets can form.

7. The Pest Patrol
While generally pest and disease-free, mealybugs or fungal issues can occasionally plague Dudleya. Check regularly and isolate affected plants immediately. A stream of water or insecticidal soap tackles mealybugs, while fungicides halt fungal growth. With proper care, your plant will be healthy and pest-free!
Multiplying Your Dudleya Delight
One of the biggest joys of growing Dudleya edulis is how easily it can be propagated. Whether you want to expand your indoor succulent collection or share the love with friends, this plant readily produces offsets perfect for propagation. Let’s explore two simple methods:
Propagation by Cuttings
- In spring or early summer, select a healthy offset or side shoot without flowers from the mother plant.
- Using a clean, sharp knife, cut the offset off near the base, making sure to include a short stem.
- Allow the cutting to callus over for 5-10 days by placing it in a warm, dry spot out of direct sun until the cut end dries and forms a thin calloused layer.
- Once calloused, fill a small 4-inch pot with a well-draining 50/50 mix of cactus soil and perlite or pumice.
- Make a hole in the center and insert the calloused end, gently firming the soil around the base.
- Lightly mist the soil to settle the cutting.
- Place in a bright spot out of direct sun and mist occasionally to keep the soil lightly moist until roots form in 4-6 weeks.
Division of Offsets
- During spring repotting, gently brush away the topsoil to expose the base of the plant.
- Look for offshoots or small rosettes forming at the base.
- Using a clean, sharp knife, carefully separate these offsets from the mother plant, ensuring each has its own root system intact.
- Allow any damaged roots to dry and callus over for a few days.
- Pot up each division in its own container using a well-draining cactus/succulent mix.
- Water sparingly to settle the plants in their new homes.
With just a little patience, you’ll have plenty of new Dudleya edulis to admire or share in no time!
