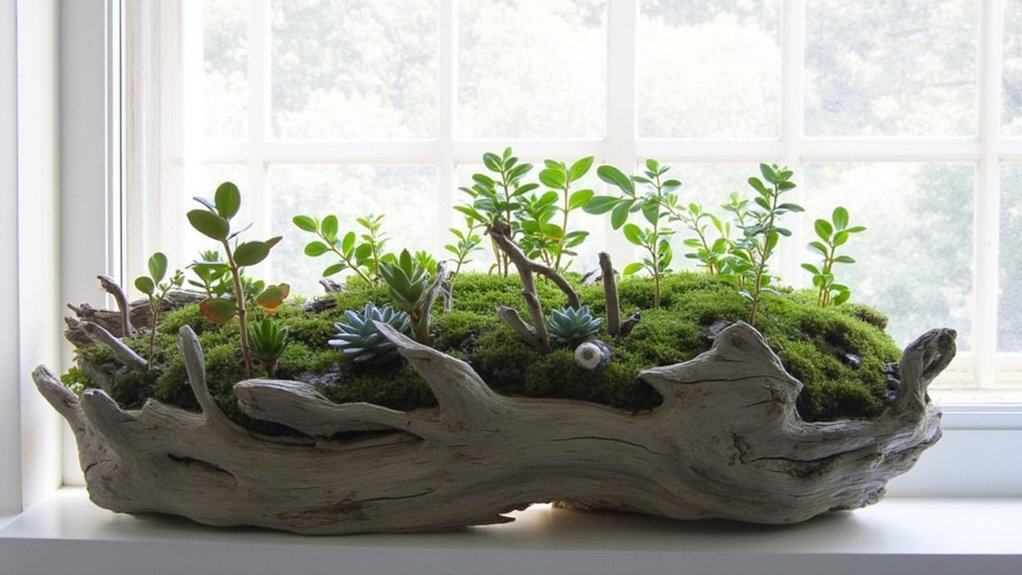
DIY Driftwood Succulent Planters With Step-By-Step Instructions for Coastal Decor
While creating coastal décor might seem complex, you’ll find that crafting driftwood succulent planters is surprisingly straightforward with the right approach. “The key is selecting properly weathered pieces that are 12-18 inches long,” explains master gardener Sarah Chen. Your home’s natural beauty can transform through this blend of organic materials and living plants – and you’re about to discover exactly how to bring this seaside charm indoors.
What You Will Need
The essential supplies for your driftwood succulent planter project fall into three main categories: natural materials, tools, and safety equipment. When planning your driftwood sourcing, look for pieces that are completely dry and measure 12-18 inches for ideal planting space. You’ll need basic tools for preparation and proper succulent care supplies to guarantee your plants thrive.
- Natural Materials: Driftwood piece, 2-3 small succulents, cactus potting soil
- Tools: Drill with wood bits, sandpaper (medium grit), hot glue gun, small cleaning brush
- Safety Items: Protective goggles, dust mask
Step-by-Step Guide
You’ll start by collecting well-dried driftwood pieces from the beach and smoothing any rough spots with medium-grit sandpaper. Next, put on your safety gear and carefully drill 2-inch deep holes in the wood where you want to place your succulents. Finally, you’ll need to thoroughly clean out the drilled holes with a small brush and waterproof them using hot glue before adding your soil and plants.
1. Gather Beach-Sourced Wood Pieces
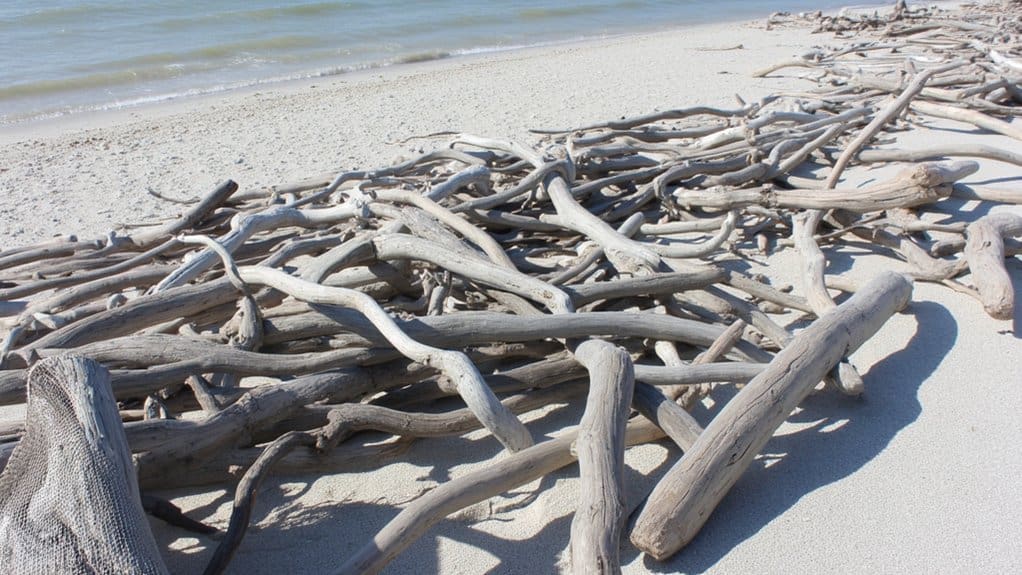
Successful driftwood hunting begins with identifying beaches known for their abundant wood deposits after storms or high tides. You’ll want to focus your driftwood sourcing efforts during early morning hours when fewer beachcombers are present.
Look for pieces that are:
- 12-18 inches in length
- Naturally weathered and gray in color
- Free from bark or loose material
- Completely dry and lightweight
When collecting these coastal treasures, choose wood that’s above the tide line and has dried in the sun. Check local regulations, as some beaches restrict driftwood collection. Transport your finds in mesh bags to allow continued air circulation.
2. Sand Rough Wood Edges
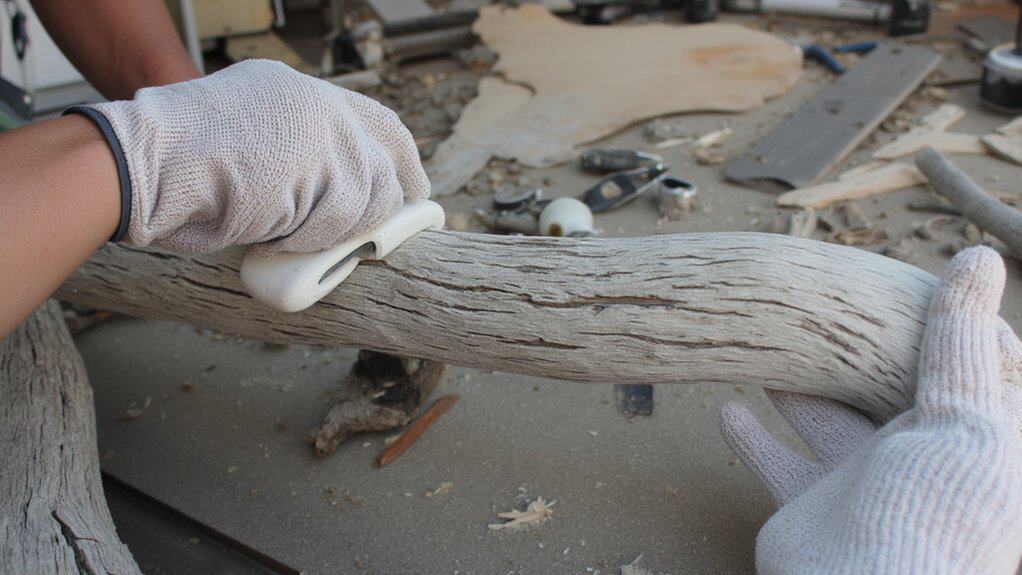
Properly sanded driftwood creates a smooth, splinter-free foundation for your succulent planter while preserving the wood’s natural character and weathered patina.
Follow these sanding techniques for ideal wood finishing:
- Put on your dust mask and safety goggles
- Start with medium-grit (120) sandpaper to remove major rough spots
- Work in the direction of the wood grain using firm, even strokes
- Focus on edges where your hands will touch the planter
- Wipe away dust with a clean cloth between passes
- Sand until the surface feels smooth but still maintains its natural texture
Don’t over-sand – you’ll want to keep the driftwood’s unique weathered appearance.
3. Drill Planting Holes Carefully
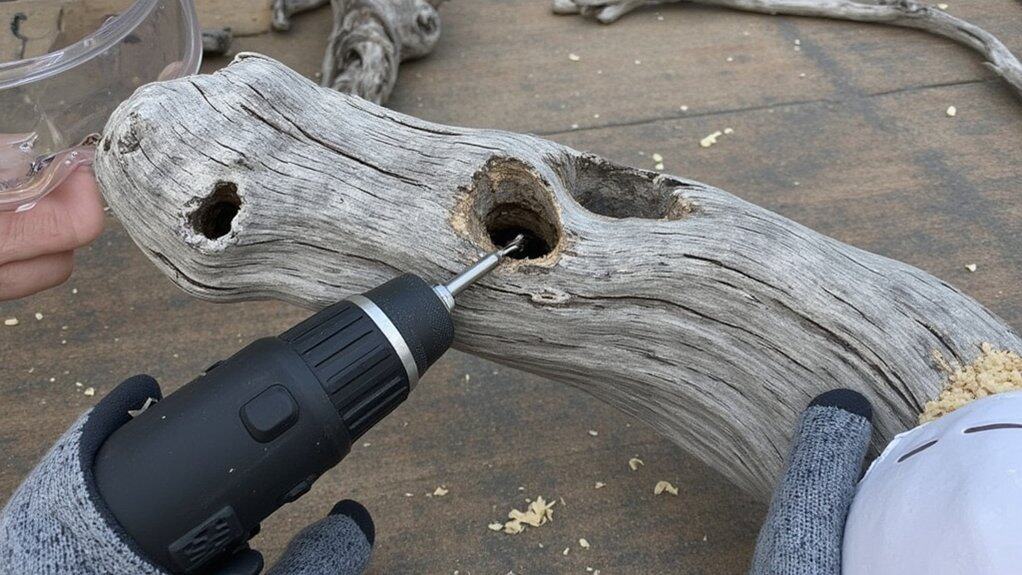
Creating planting holes in driftwood requires careful drilling technique to prevent splitting while ensuring proper drainage for your succulents.
Follow these essential drill techniques:
- Put on your safety goggles and dust mask
- Mark hole locations at least 2 inches apart
- Start with a small pilot hole (1/4 inch)
- Gradually increase to final size (1-2 inches wide)
- Drill slowly at medium speed
- Keep drill perpendicular to wood surface
- Clear debris frequently while drilling
“The right hole sizes are vital,” says woodworking expert Tom Davis. “Each hole should be about 2 inches deep and slightly wider than your succulent’s root ball.”
4. Clean Holes With Brush
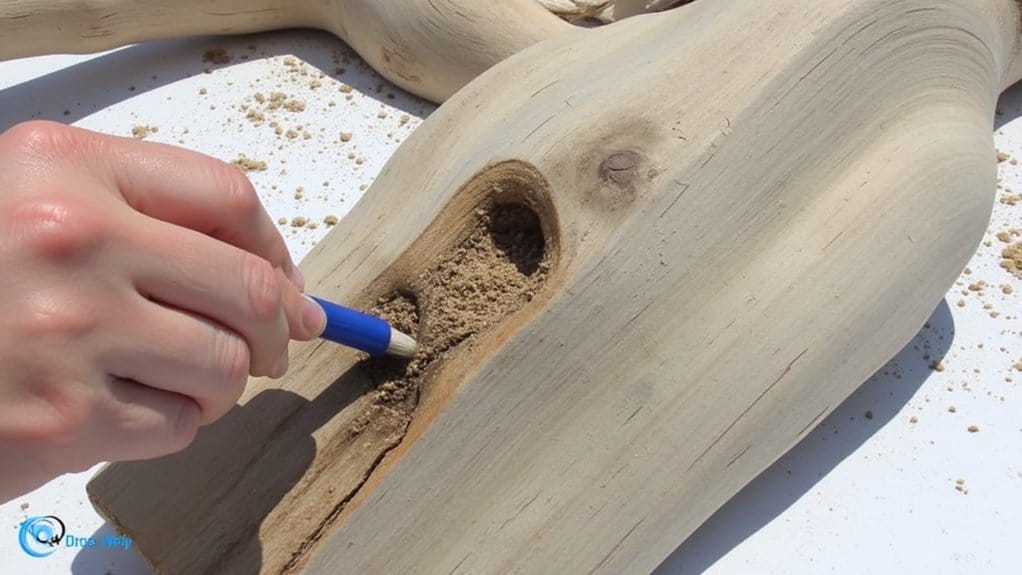
The hole-cleaning process forms a critical bridge between drilling and planting your succulent masterpiece. Here’s how to properly clean your drilled holes:
- Take your small brush and remove all wood debris using circular motions
- Switch to short, upward strokes to clear the deepest sections
- Wipe the rim of each hole with the brush to guarantee a smooth edge
“A thorough cleaning prevents wood particles from mixing with your soil and affecting plant health,” says master gardener Sarah Chen. Both natural bristle and nylon brushes work well, though nylon offers better reach into narrow spaces.
Test hole cleanliness by running your finger along the inner walls – they should feel smooth and debris-free.
5. Waterproof Holes With Glue
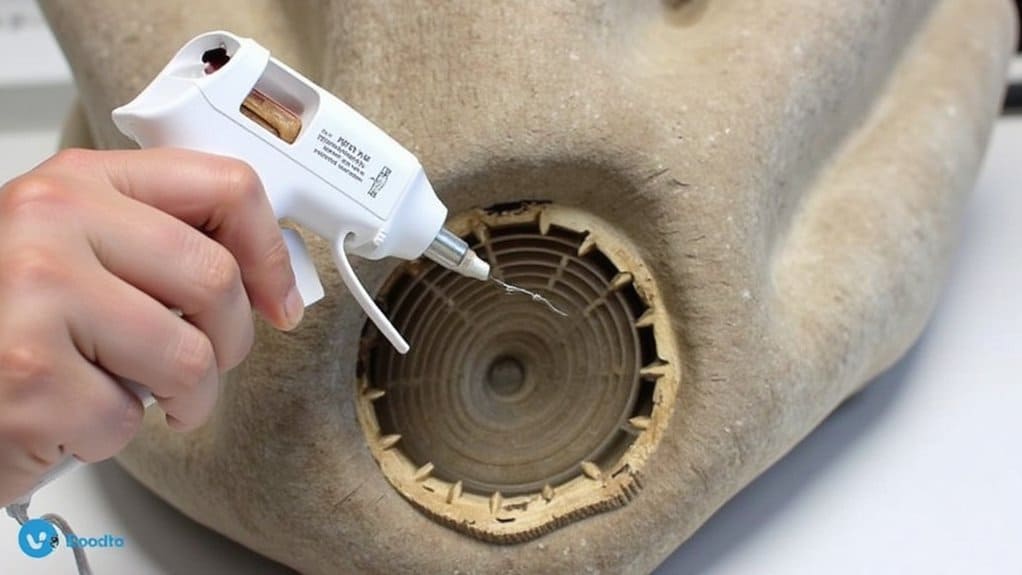
Once your holes are spotlessly clean, it’s time to make them waterproof with hot glue.
Essential waterproofing techniques include:
- Heat your glue gun to full temperature
- Apply a thick bead of glue around the inner rim of each hole
- Work in a spiral pattern, moving from top to bottom
- Add a second layer after 2 minutes of cooling
“Standard craft glue types won’t suffice – hot glue creates the best moisture barrier,” says DIY expert Sarah Chen. “Make sure you’ve sealed every spot where water might seep into the wood.”
Let the glue dry completely for 30 minutes before adding soil.
6. Add Soil and Plants
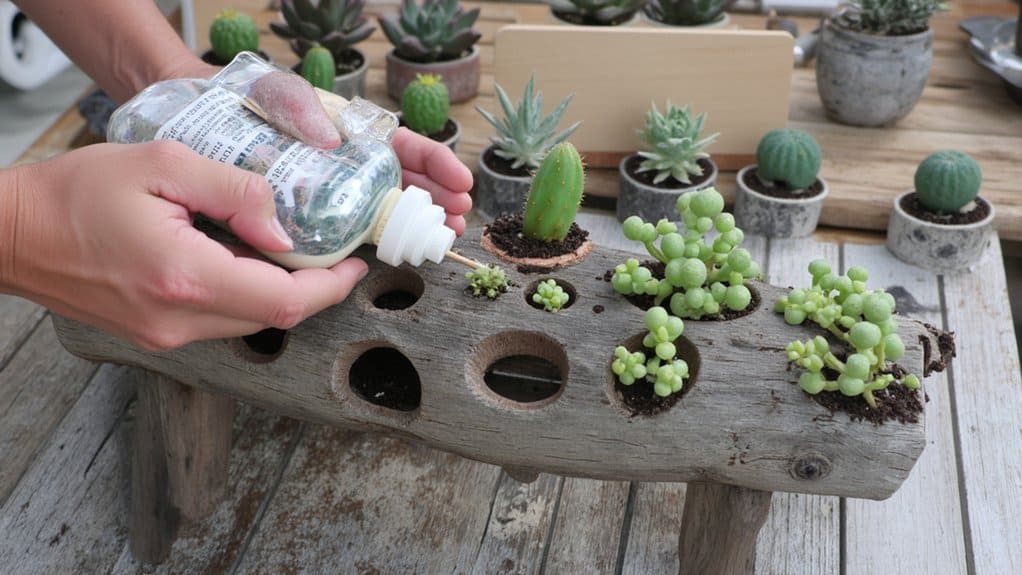
Pour your cactus potting soil carefully into each waterproofed hole, filling them about ¾ of the way to leave room for your succulent roots. “Well-draining soil is essential – regular potting mix will stay too wet and damage both the plants and wood,” explains horticulturist Maria Reeves.
Gently remove each succulent from its nursery pot and loosen any compacted roots. Position each plant in its designated hole, adjusting the soil level to keep the crown slightly above the wood surface. For ideal planter aesthetics, combine different succulent shapes and sizes. Add more soil around the roots, pressing lightly to eliminate air pockets. Basic succulent care includes minimal watering and bright indirect light.
7. Let Plants Settle Overnight
After planting your succulents, you’ll need to give them 24 hours to properly establish themselves in their new driftwood home. During this settling period, place your planter in a spot with bright, indirect indoor lighting to help your plants adjust.
Follow these plant care tips for the first 24 hours:
- Don’t water the succulents yet
- Keep the planter away from drafts and vents
- Maintain room temperature between 65-75°F
- Avoid moving or rotating the planter
“This resting period allows roots to settle and helps prevent transplant shock,” explains botanist Dr. Sarah Chen. “Your succulents will be ready for their first light watering tomorrow.”