7 Pro Styling Tips to Make Your Plants Insta-Famous in 24 Hours
I've discovered that stunning plant photos on Instagram come down to mastering a few key techniques. Start by tracking natural light movement and positioning your plants within 3 feet of windows for ideal brightness. Create dynamic compositions using odd-numbered groupings and varying heights. Choose backgrounds that contrast beautifully with foliage, then style with complementary props like ceramic vessels or vintage books. Use your phone's portrait mode with slightly decreased exposure to capture depth. Time your posts strategically, and you'll be amazed at how these pro styling secrets can transform your plant photos into social media gold.
Contents
- 1 Master Natural Light Angles
- 2 Create Dynamic Plant Compositions
- 3 Choose Strategic Backgrounds
- 4 Style With Complementary Props
- 5 Perfect Your Phone Camera Settings
- 6 Craft Engaging Plant Stories
- 7 Time Your Posts Strategically
- 8 Frequently Asked Questions
- 8.1 How Long Should I Wait Between Watering Plants Before an Instagram Photoshoot?
- 8.2 Which Plant Species Tend to Get the Most Engagement on Instagram?
- 8.3 Should I Remove Damaged or Yellowing Leaves Before Taking Photos?
- 8.4 Are Seasonal Plant Photos More Likely to Trend on Instagram?
- 8.5 What Filters Work Best for Showcasing Variegated Plant Patterns?
Master Natural Light Angles
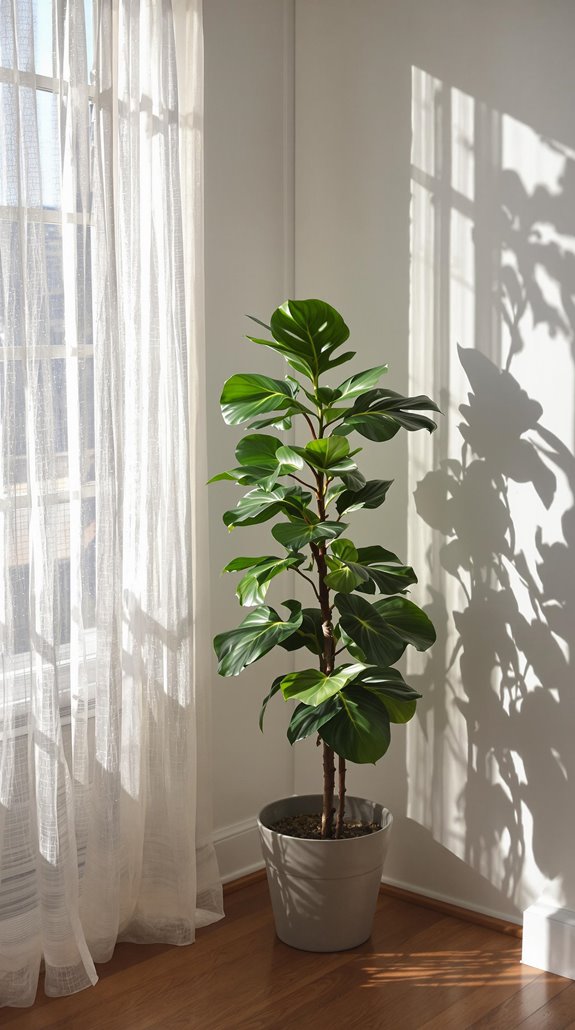
Understanding light patterns is essential for placing your plants strategically. I recommend tracking sunlight movement throughout your space for a full day, noting where direct rays hit and how shadows shift. South-facing windows provide the most consistent brightness, while east-facing ones offer gentle morning light.
I've learned that placing light-loving plants like fiddle leaf figs within three feet of windows maximizes their exposure. For indirect-light plants, I position them 4-6 feet back or filter intense rays with sheer curtains. Don't forget to rotate your plants weekly – I turn mine 90 degrees to prevent leggy, one-sided growth. For darker corners, I use mirrors to bounce light onto my shade-tolerant plants, effectively doubling their light exposure without moving them.
Create Dynamic Plant Compositions
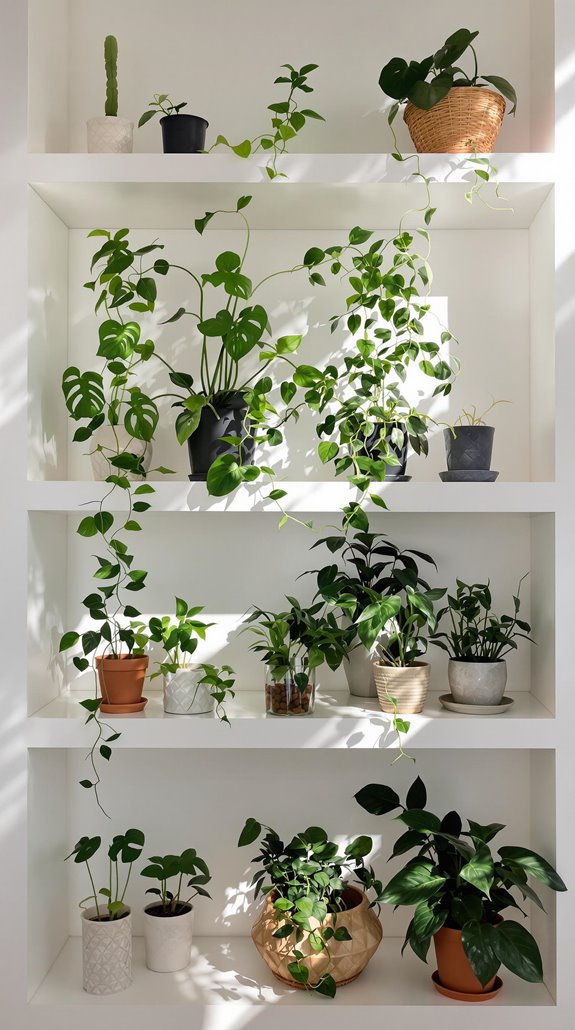
Now that you've mastered light placement, let's look at arranging your plants for visual impact. I recommend grouping plants in odd numbers – threes, fives, or sevens – to create natural-looking clusters that draw the eye.
Mix different heights and textures by combining tall, structural plants like fiddle leaf figs with cascading pothos and low-growing ferns. I place my tallest plants in the back, medium-height ones in the middle, and shorter varieties in front to create depth. When styling shelves, I alternate leaf shapes and sizes between each level.
Don't forget to ponder pot aesthetics – I use a mix of materials like ceramic, concrete, and woven baskets, but stick to a cohesive color palette. Leave some breathing room between groupings to prevent a cluttered look.
Choose Strategic Backgrounds
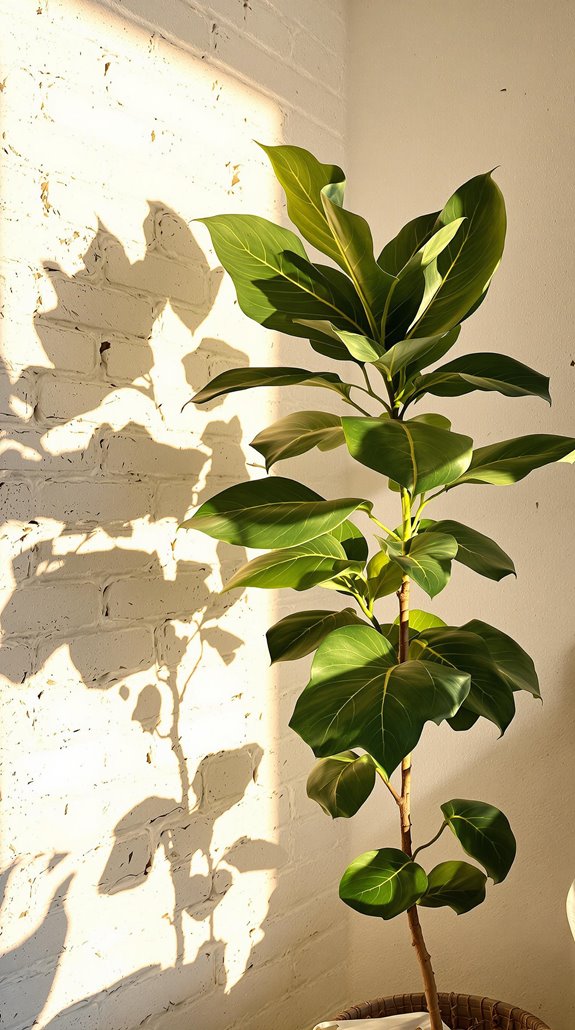
The backdrop against which you display your plants can dramatically enhance their visual appeal. I recommend selecting backgrounds that create striking contrast – think white walls for deep green foliage, or dark surfaces for lighter, variegated leaves. You'll find that textured walls, like exposed brick or wooden panels, add depth and interest to your plant photos.
For smaller plants, I suggest using solid-colored backdrops that won't compete for attention. Try positioning your plants against wallpaper with subtle patterns or painted accent walls that complement your plant's natural colors. Don't forget about outdoor backgrounds – natural stone, weathered fences, or even other plants can create stunning layered effects. Remember to keep the background clean and uncluttered, allowing your plant to remain the focal point.
Style With Complementary Props
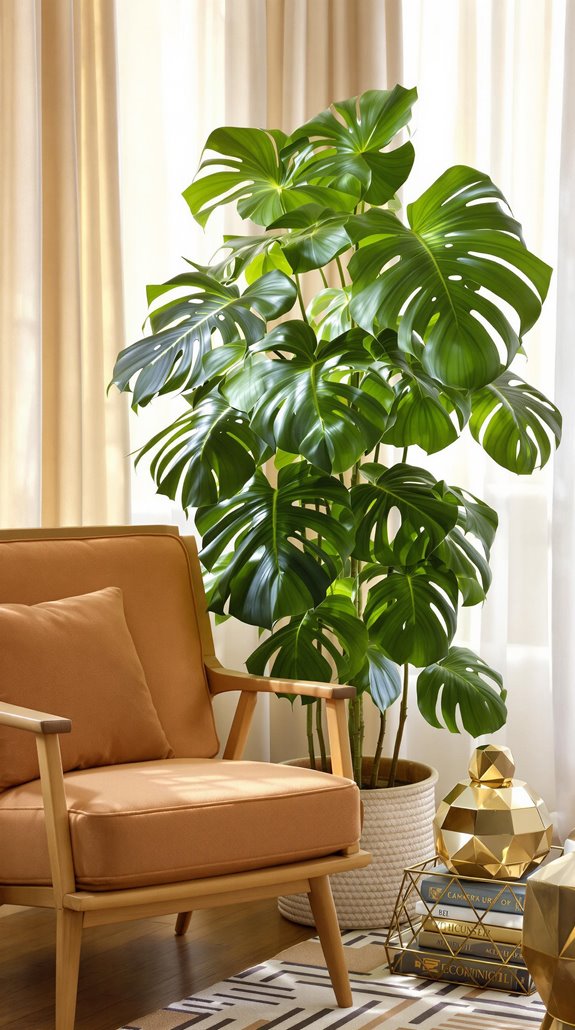
When styling your plants, carefully chosen props can elevate their presentation from simple to stunning. I recommend incorporating ceramic vessels, natural stones, or wooden elements that complement your plant's colors and textures. Consider using small brass figurines, vintage books, or artisanal pottery to create visual interest without overwhelming your plant.
I've found that macramé hangers and woven baskets add organic texture while providing practical support for trailing plants. Layer in meaningful objects like crystals, driftwood, or seashells to tell a story and create depth. Just remember to maintain balance – your props shouldn't compete with your plant for attention. I always guarantee there's enough negative space around each element, allowing my plant to remain the star while the props serve as thoughtful supporting actors in the composition.
Perfect Your Phone Camera Settings
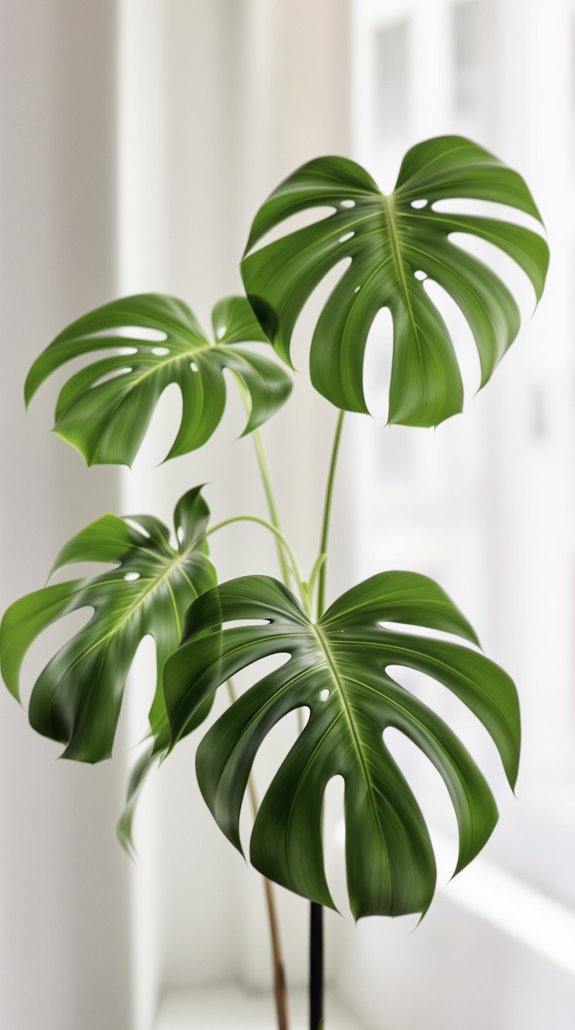
Mastering your phone's camera settings helps capture the true beauty of indoor plants. I recommend starting with portrait mode to create that professional depth-of-field effect, blurring the background while keeping your plant in sharp focus. For variegated leaves, I'll adjust the exposure slightly down to highlight those subtle color variations.
Natural light works best, but I've found that tweaking the white balance can enhance those vibrant greens without making them look artificial. I'll tap to focus on the most striking part of the plant, whether it's a new leaf unfurling or an interesting texture. For close-ups, I'll switch to macro mode if my phone has it. Don't forget to turn off your flash – it creates harsh shadows and unwanted reflections on glossy leaves.
Craft Engaging Plant Stories
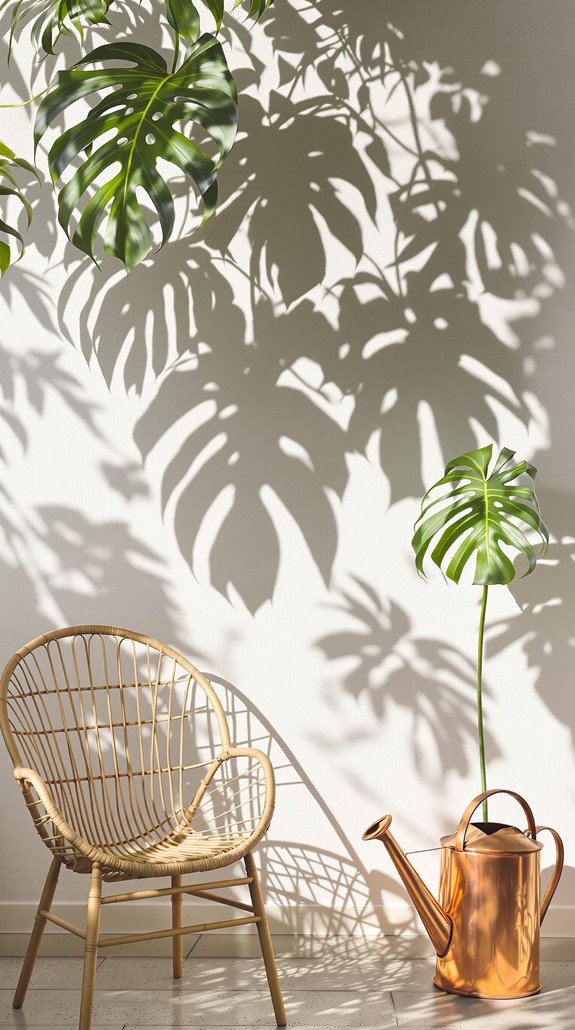
Every stunning plant photo deserves a compelling story behind it. When I share my plants on Instagram, I've found that authentic storytelling drives more engagement than just pretty pictures. I tell my followers about the day I rescued my monstera from a clearance shelf, or how my grandmother's jade plant inspired my collection.
I recommend focusing on three key storytelling elements: emotional connection, plant journey, and helpful tips. Share your struggles with fungus gnats, celebrate new leaf unfurling, or explain how you finally mastered watering schedules. Keep your captions personal but informative – I always include care tips alongside my stories. Don't forget relevant hashtags to reach fellow plant enthusiasts. I've noticed stories about plant rescue, propagation success, or seasonal changes tend to resonate most with my audience.
Time Your Posts Strategically
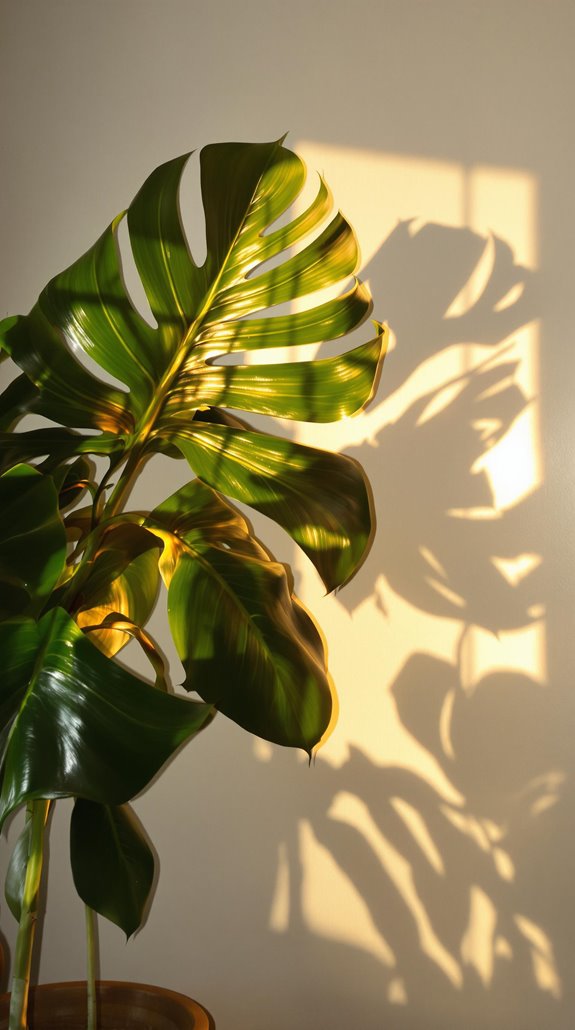
Smart timing can dramatically boost your plant content's visibility. I've found that posting between 6-8 AM and 6-9 PM typically generates the highest engagement, as that's when most plant enthusiasts are scrolling through their feeds.
I recommend posting your best content on Wednesdays and Sundays, which I've tracked as peak days for plant-related interactions. If you're targeting international audiences, schedule your posts during overlapping active hours across time zones. I use Instagram's analytics tool to identify when my followers are most active.
Don't forget to contemplate seasonal timing. Spring and early summer posts tend to perform exceptionally well as people get excited about new growth and outdoor gardening. I always align my content with these natural plant cycles to maximize impact.
Frequently Asked Questions
How Long Should I Wait Between Watering Plants Before an Instagram Photoshoot?
Fresh as a daisy, I'll tell you my secret about watering plants before photo shoots. I recommend waiting at least 24-48 hours between watering and taking pictures. This gives your plants time to absorb the water and look perky without any messy water spots on the leaves. I've found that slightly dry soil also photographs better than wet soil, creating a cleaner, more polished look for your shots.
Which Plant Species Tend to Get the Most Engagement on Instagram?
From my experience tracking plant trends on Instagram, I've noticed that Monstera deliciosa, fiddle leaf figs, and string of pearls consistently get the most likes and comments. I've also seen that variegated plants, especially pink princess philodendrons and Thai constellation monsteras, tend to go viral. If you're looking for guaranteed engagement, I'd suggest featuring rare succulents or colorful prayer plants – they're total crowd-pleasers on the platform.
Should I Remove Damaged or Yellowing Leaves Before Taking Photos?
Yes, I'd definitely recommend removing yellowing or damaged leaves before taking photos. Not only does it make your plant look healthier and more aesthetically pleasing, but it's actually good for the plant too. When you remove dead or dying foliage, you're helping the plant redirect energy to healthy growth. I like to do a quick inspection and gentle pruning about an hour before my photo sessions to guarantee everything looks fresh and vibrant.
Are Seasonal Plant Photos More Likely to Trend on Instagram?
You'd think winter's bare branches would be Instagram kryptonite, but I've found the opposite to be true! Seasonal plant photos absolutely crush it on Instagram because they tap into what everyone's experiencing right now. I've noticed my autumn photos with golden leaves get crazy engagement, and even my dormant plants in winter spark conversation. It's like people love seeing plants being, well, naturally imperfect through the seasons.
What Filters Work Best for Showcasing Variegated Plant Patterns?
I've found that natural filters work best for capturing variegated patterns in plants. I recommend using Gingham or Lark on Instagram, as they enhance white and cream variations without washing out the greens. If you're dealing with pink or purple variegation, try Mayfair to make those colors pop. Just don't overdo it – I always keep the saturation subtle since you'll want those natural color shifts to shine through authentically.
