15 Edible Plants You’re Accidentally Growing in Your Kitchen
Your kitchen holds untapped potential for growing fresh, nutritious food from everyday items you might normally toss out. I've discovered that sprouting garlic, potato eyes, and green onion roots can transform into thriving plants with minimal effort. Sweet potatoes and carrot tops provide edible greens, while wilting herbs like basil and mint can be revived in water to create new plants. Even that pineapple crown you're about to throw away could become a tropical houseplant. These common kitchen scraps and sprouting produce offer an easy gateway into growing your own fresh ingredients right on your windowsill.
Contents
- 1 Sweet Potatoes
- 2 Sprouting Garlic
- 3 Kitchen Counter Herbs
- 4 Green Onion Regrowth
- 5 Pantry Potatoes
- 6 Ginger Root
- 7 Leftover Celery Base
- 8 Avocado Pits
- 9 Lemongrass Stalks
- 10 Lettuce Hearts
- 11 Sprouting Onion Bulbs
- 12 Carrot Tops
- 13 Pineapple Crowns
- 14 Basil Water Cuttings
- 15 Bean Sprouts
- 16 Frequently Asked Questions
- 16.1 Are Accidentally Grown Kitchen Plants Safe to Eat if Mold Appears Nearby?
- 16.2 How Do Indoor-Grown Edible Plants Compare Nutritionally to Store-Bought Vegetables?
- 16.3 Can Pest-Infected Kitchen Plants Contaminate Other Food Items in Storage?
- 16.4 Which Accidentally Grown Plants Should Pregnant Women and Immunocompromised People Avoid?
- 16.5 Do Kitchen-Grown Plants Absorb Harmful Chemicals From Household Cleaning Products?
Sweet Potatoes
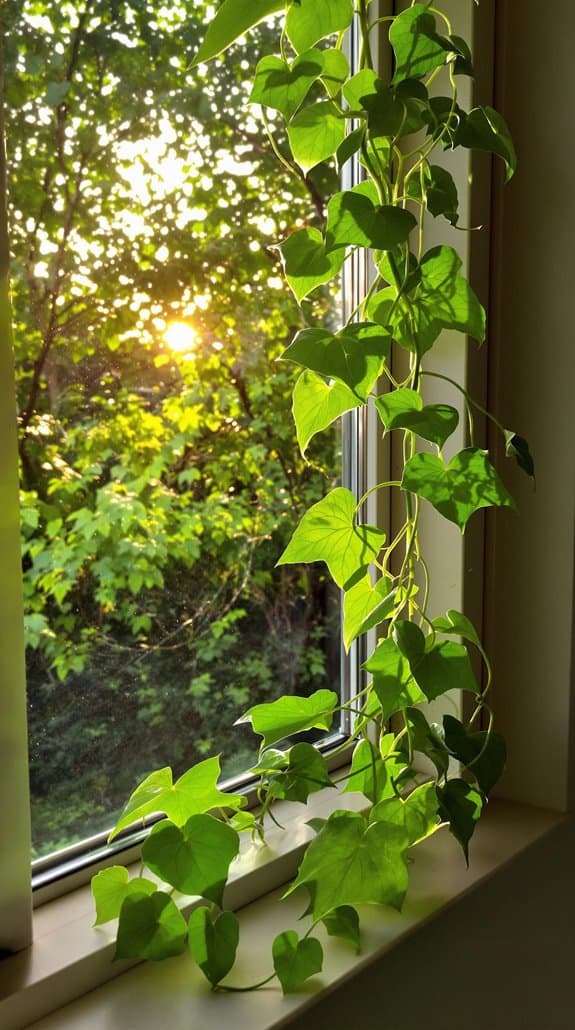
Sweet potatoes are among four commonly cultivated root vegetables you'll find in modern kitchens. I've noticed that when I leave these nutrient-rich tubers in my pantry for too long, they begin sprouting small green shoots from their "eyes." Instead of tossing these sprouting sweet potatoes, I can easily grow new plants from them.
I simply cut the potato into sections, ensuring each piece has at least one sprout, and plant them in moist soil about 4 inches deep. Within weeks, I'll see vines emerging, which will eventually produce new sweet potatoes underground. I've found that sweet potatoes thrive in warm conditions and need about 100-140 days to mature. They're not just tasty but also rich in vitamin A, fiber, and potassium, making them worth the growing effort.
Sprouting Garlic
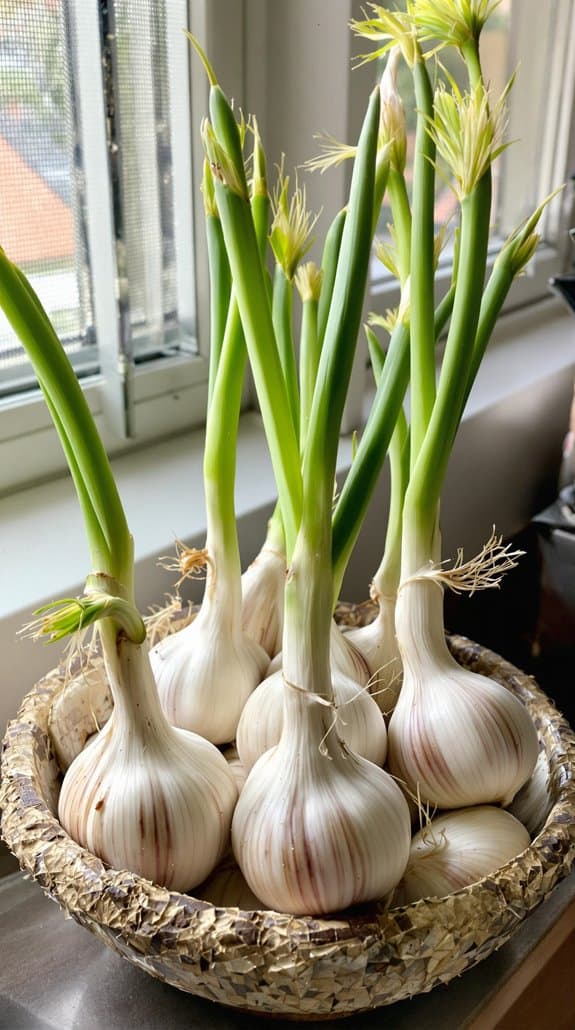
Like sweet potatoes, garlic can surprise you with unexpected growth in your kitchen. When garlic cloves sprout those long green shoots, don't toss them out – they're completely edible and nutritious. I've found these garlic sprouts taste milder than raw garlic, with a fresh, slightly chive-like flavor that's perfect for garnishing dishes.
You can plant sprouting garlic cloves in soil, where they'll grow into full garlic plants, or snip the green shoots to use immediately. I often chop them finely to add to salads, soups, or stir-fries. The sprouts are rich in antioxidants and contain higher levels of certain nutrients than unsprouted garlic. Even if you weren't planning to grow garlic, these kitchen-sprouted gems offer a free source of fresh, homegrown ingredients.
Kitchen Counter Herbs
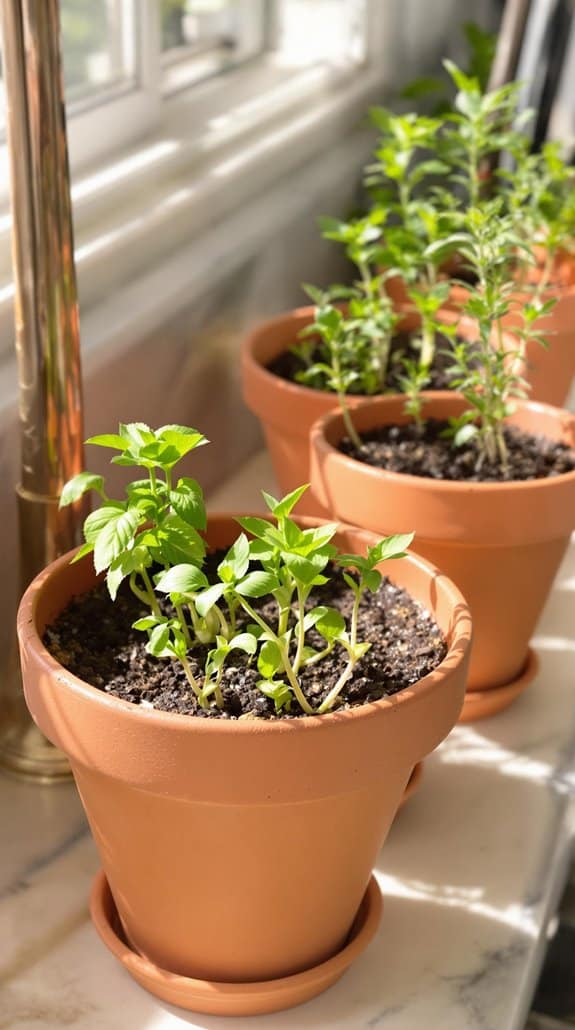
Growing fresh herbs on your kitchen counter provides constant access to flavorful ingredients while adding natural beauty to your space. I've found that basil, mint, and cilantro thrive particularly well indoors with minimal care. You'll need a sunny windowsill, well-draining pots, and quality potting soil to get started.
I recommend starting with basil, as it's one of the easiest herbs to maintain. When you notice store-bought herbs beginning to wilt, don't toss them – instead, trim the stems at an angle and place them in water. Once roots develop, transfer them to soil. Remember to pinch off flowering buds to encourage leaf growth, and harvest from the top down to promote bushier plants. Regular watering and six hours of daily sunlight will keep your indoor herb garden flourishing year-round.
Green Onion Regrowth
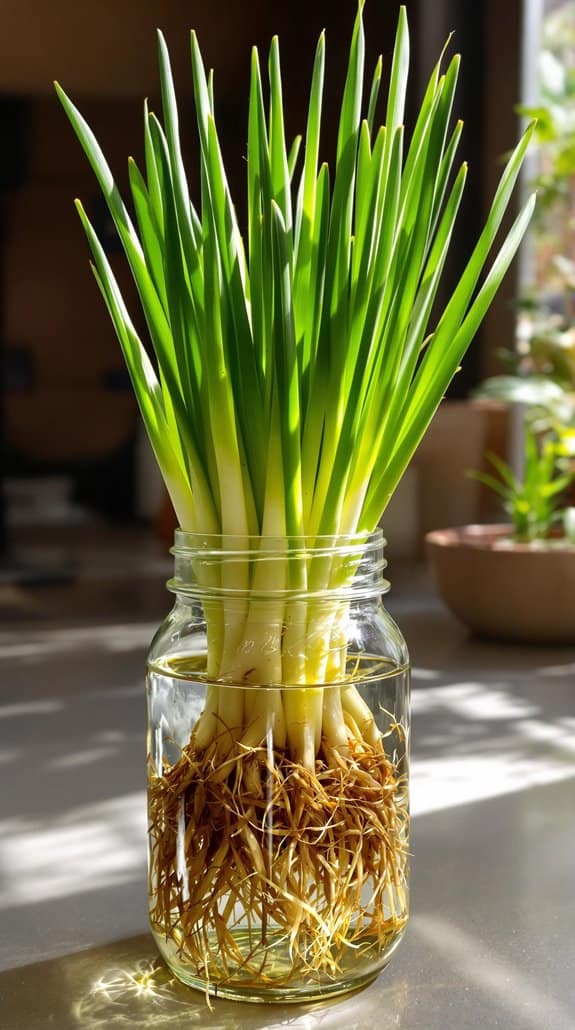
Beyond growing herbs from seed or cuttings, you can regrow certain vegetables from kitchen scraps. One of the easiest plants to regrow is green onions. I've found that all you need is the white root end with about an inch of the stem attached.
Place the root ends in a small glass with just enough water to cover the roots. I change the water every few days to keep it fresh. Within a week, you'll see new green shoots emerging from the center. Once they reach about 4 inches tall, you can transfer them to soil or continue growing them in water.
I've kept my green onions growing for months using this method, harvesting the green tops whenever I need them and letting them regrow repeatedly.
Pantry Potatoes
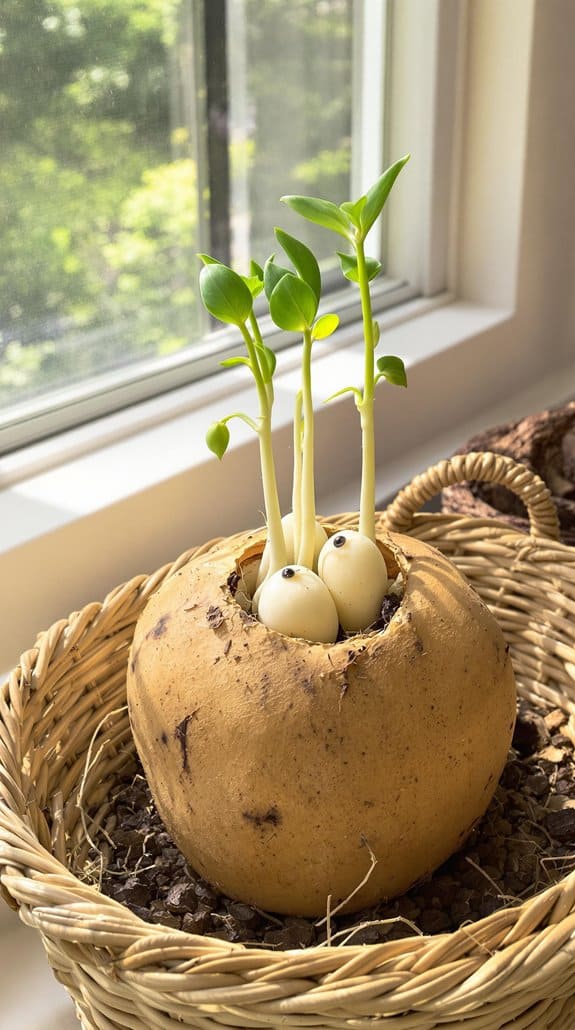
Ever notice those sprouting potatoes in your pantry? Those little shoots, called "eyes," are actually the beginning of new potato plants. I recommend against eating sprouted potatoes since they can contain high levels of toxic solanine, but you can use them to grow fresh ones.
When you find a sprouted potato, cut it into sections, ensuring each piece has 1-2 eyes. Let the cuts dry for 24 hours, then plant them 4 inches deep in well-draining soil. I've found that each piece can produce 5-10 new potatoes. Keep the soil consistently moist but not waterlogged. In about 2-3 months, when the plants yellow and die back, you'll have fresh potatoes ready to harvest. This works with any potato variety, from russets to sweet potatoes.
Ginger Root
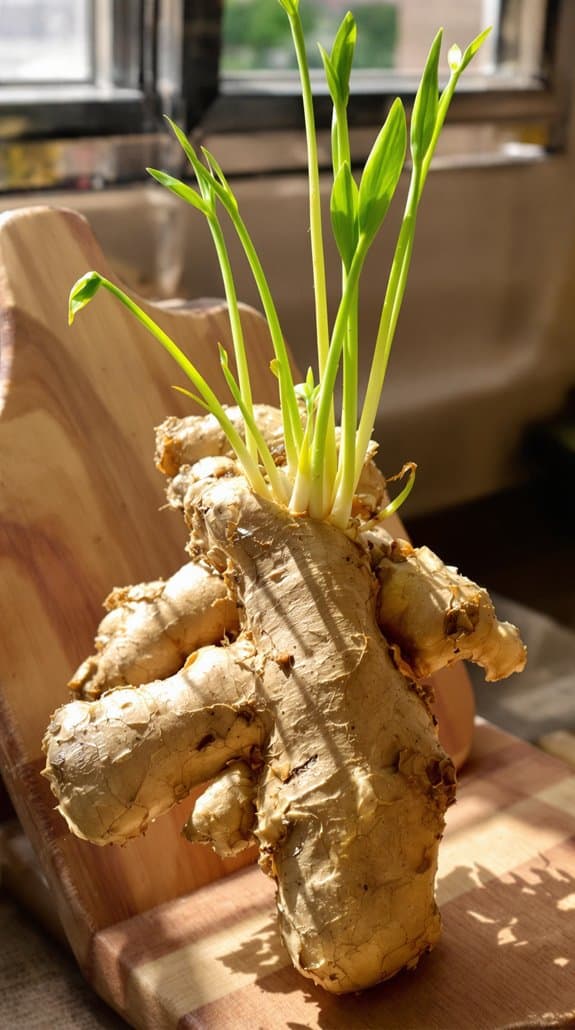
That knobby piece of ginger root sitting in your produce drawer can become your next houseplant. When you spot small buds or "eyes" forming on your ginger, you've got a perfect candidate for growing. I recommend selecting a piece that's fresh and plump, not wrinkled or dried out.
Simply plant the root about 1 inch deep in well-draining potting soil, with the buds pointing upward. Keep the soil consistently moist but not waterlogged, and place your container in bright, indirect light. In a few weeks, you'll see shoots emerging. The plant will develop into tall, reed-like stalks with narrow leaves. While it won't produce edible roots for about 8-10 months, you'll enjoy an attractive tropical plant that purifies your air in the meantime.
Leftover Celery Base
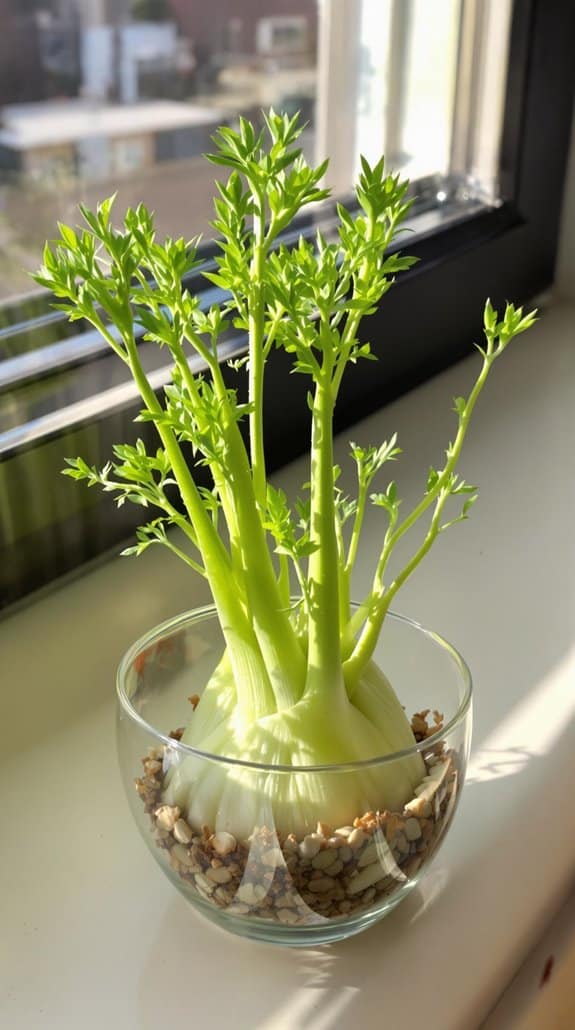
Like ginger, the often-discarded base of your celery stalk holds surprising potential for regrowth. I've found that you can easily grow new celery shoots by placing the base in a shallow dish of water. Simply cut the stalks about 2 inches above the bottom, and position the base so it's partially submerged.
Within a few days, you'll notice small leaves emerging from the center. I recommend changing the water every two days to prevent bacteria growth. Once you see substantial root development and new growth in the middle, it's time to transplant your celery into soil. Plant it in a container with well-draining potting mix, leaving the growing center slightly above soil level. Keep the soil consistently moist, and within weeks, you'll have fresh celery stalks ready for harvest.
Avocado Pits
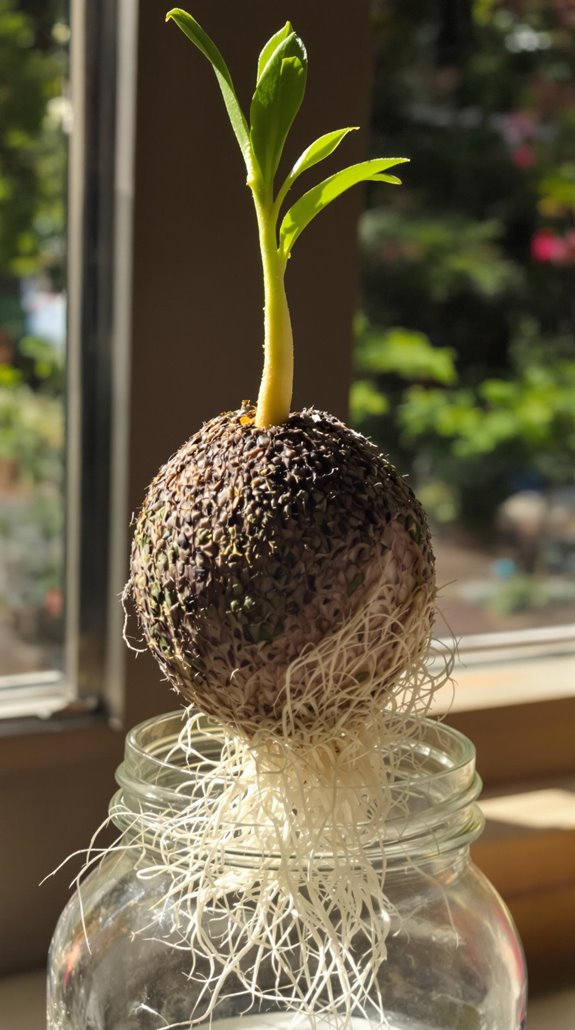
Avocado pits, often tossed in the trash, can transform into beautiful houseplants with minimal effort. I've found that starting them is as simple as cleaning the pit, inserting three toothpicks at equal distances around its middle, and suspending it over water in a glass. Make sure the bottom inch sits in water while the top remains dry.
Once you see roots developing after 2-6 weeks, transfer your pit to a pot with well-draining soil. I recommend placing it in bright, indirect light and keeping the soil consistently moist but not waterlogged. While it won't produce fruit for many years, if at all, you'll end up with a lovely tropical plant that can grow up to 20 feet tall indoors. Just remember to pinch back new growth to encourage bushiness.
Lemongrass Stalks
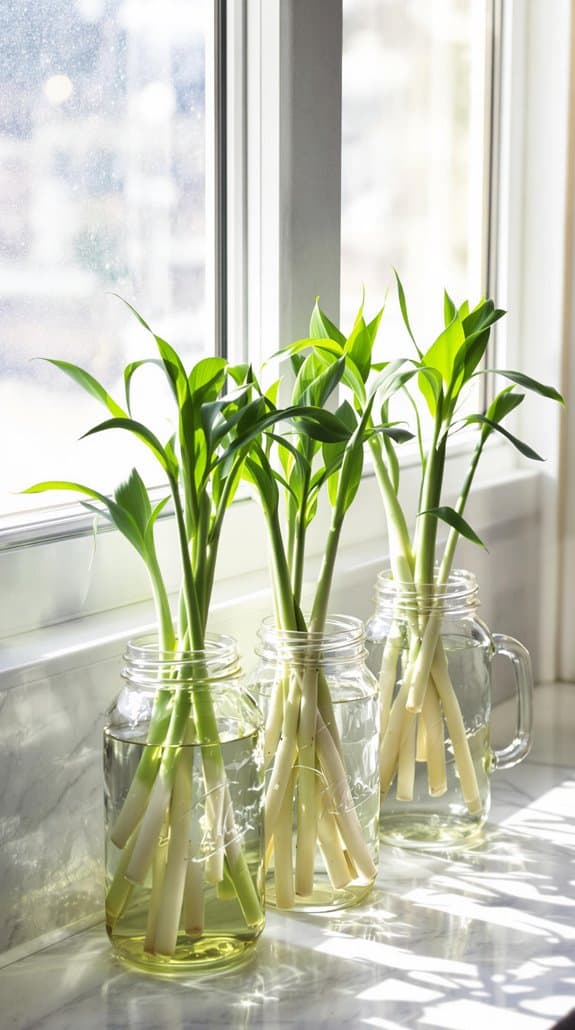
Similar to growing plants from kitchen scraps, lemongrass stalks can give you a continuous supply of this fragrant herb. When I buy fresh lemongrass from the store, I look for stalks with intact bases that haven't been trimmed too severely. After using the upper portion in my cooking, I place the bottom 2-3 inches in a glass of water on my windowsill.
Within a week, I'll see new roots developing from the base. Once these roots reach about 2 inches long, I transplant the stalks into potting soil. I've found that lemongrass thrives in full sun and well-draining soil, growing into thick clumps that I can harvest repeatedly. I just cut what I need, leaving at least 6 inches of growth, and the plant continues producing new stalks.
Lettuce Hearts
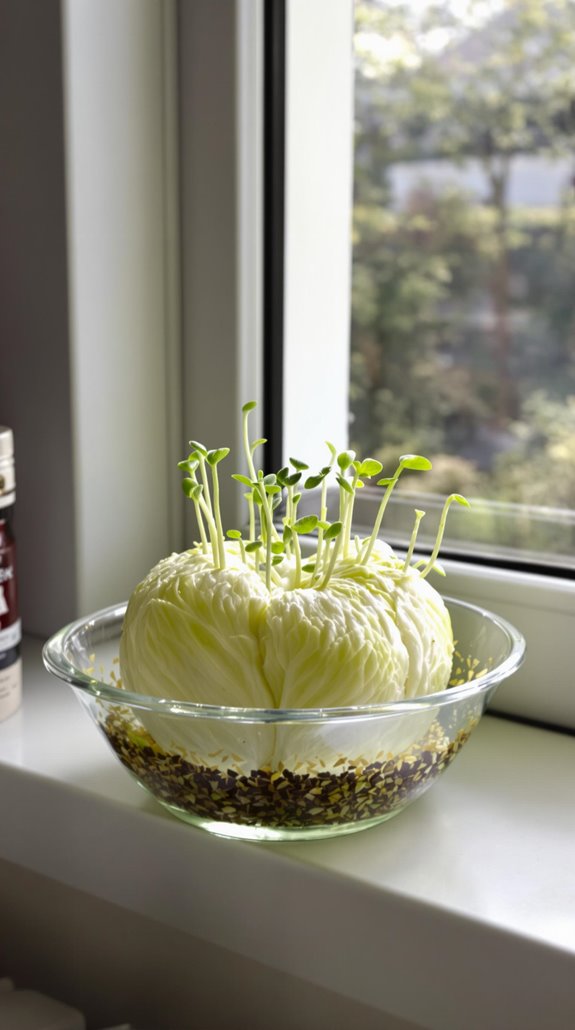
From the bottom of most lettuce heads, you can grow fresh greens for your salads. I've found that romaine lettuce hearts work particularly well for regrowing. Simply save the bottom 2-3 inches of the lettuce head, place it in a shallow dish with about ½ inch of water, and position it in a sunny spot.
You'll notice new growth emerging from the center within 3-4 days. I recommend changing the water daily to prevent bacteria growth. Once the new leaves reach about 4 inches tall, I transfer the lettuce heart to a pot with soil. While you won't get a full head of lettuce, you'll harvest enough fresh leaves for sandwiches and small salads. The leaves will continue growing for several weeks if you harvest them regularly.
Sprouting Onion Bulbs
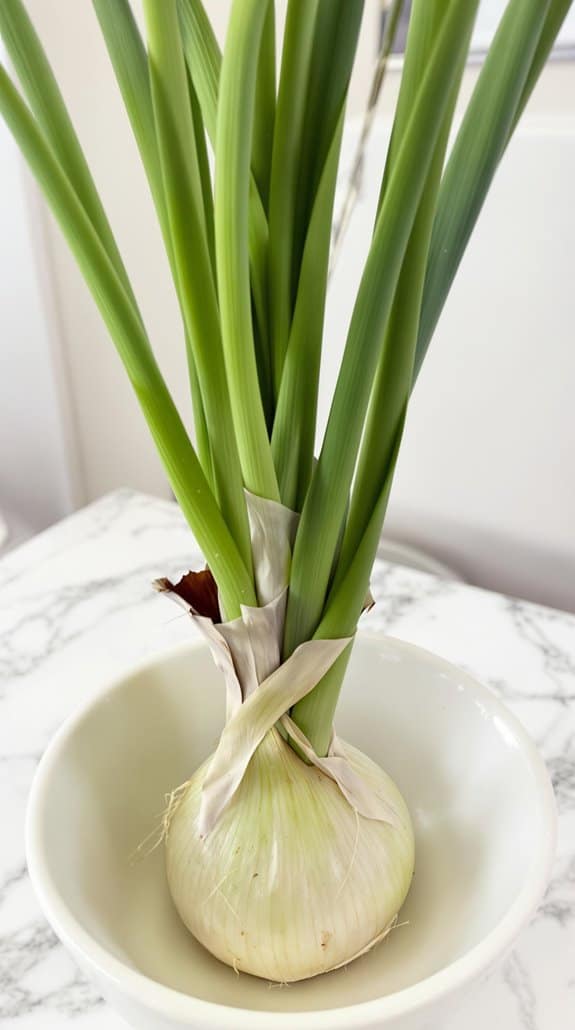
Most sprouting onions from your kitchen can create new plants with minimal effort. When you spot green shoots emerging from your onion's top, you've got a perfect candidate for growing. I recommend cutting the onion in half and planting the sprouted section in soil, leaving the green shoots exposed above ground.
You'll get the best results if you place the sprouting onion in well-draining soil and position it where it can receive at least 6 hours of sunlight daily. I've found that regular watering keeps the soil moist but not waterlogged. Within weeks, you'll notice new growth developing. While you won't get a full-sized onion immediately, the greens are perfectly edible and add a fresh, oniony flavor to salads, soups, and garnishes. It's an easy way to maintain a steady supply of onion greens.
Carrot Tops
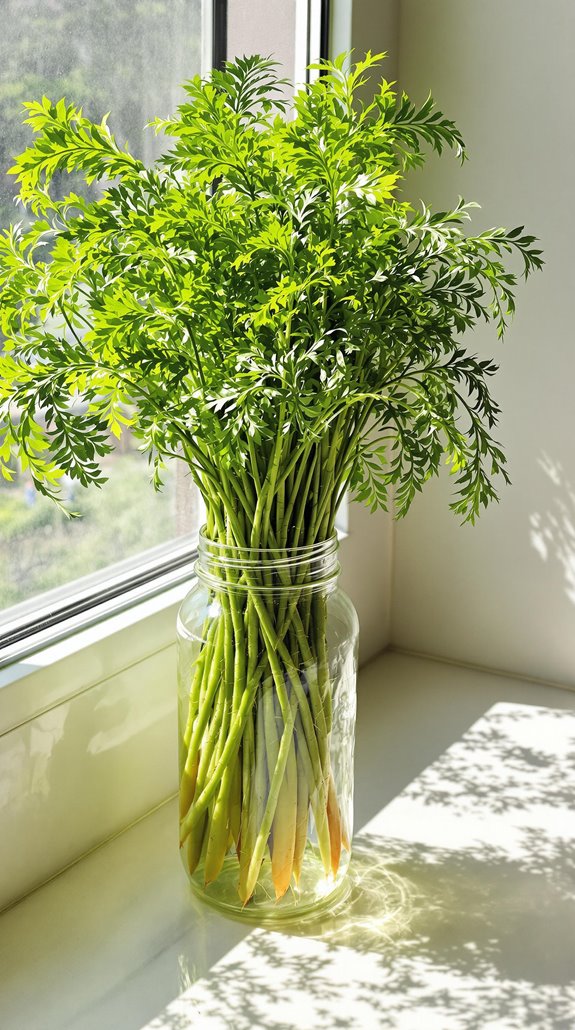
Growing carrot tops from kitchen scraps offers an easy introduction to indoor gardening. I'll show you how to transform those carrot tops you usually toss away into fresh, edible greens. Start by cutting about an inch from the top of your carrot, where the leaves were attached. Place this piece in a shallow dish with water, cut side down, and set it near a sunny window.
Within days, you'll see tiny green shoots emerging. I've found that changing the water daily prevents mold and keeps the growth healthy. Once the greens are about 2-3 inches tall, you can harvest them for salads, garnishes, or as an herb in soups. While they're slightly bitter, these greens pack impressive amounts of vitamin K and calcium. Don't expect new carrots – you're growing just the nutritious tops here.
Pineapple Crowns
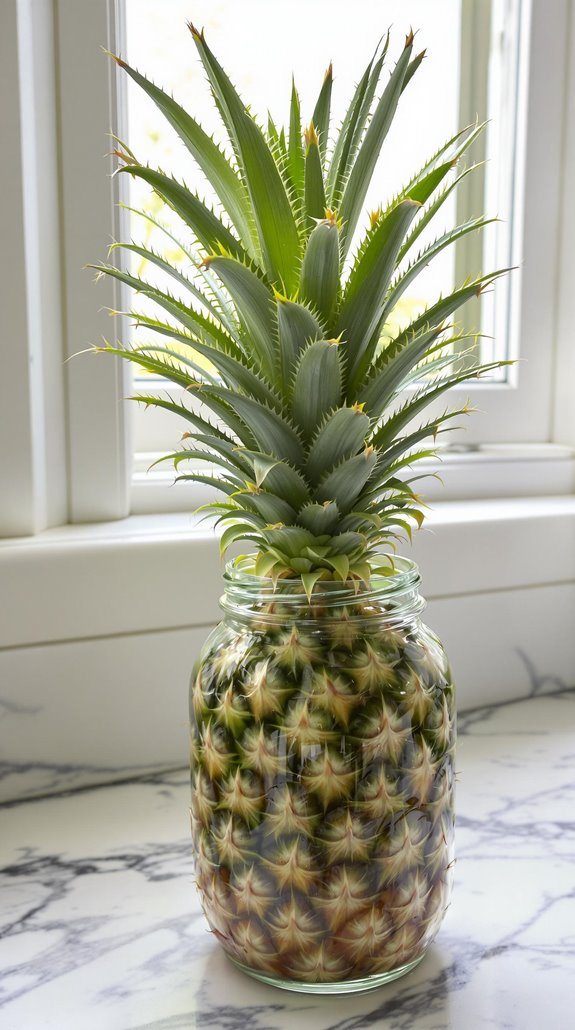
That pineapple crown you'd normally discard can transform into a striking houseplant and eventually produce a new fruit. I'll show you how to grow your own pineapple plant from the leafy top of your store-bought fruit.
First, I recommend twisting off the crown from a ripe pineapple, then removing some of the lower leaves to expose about an inch of the stem. Let it dry for two days to prevent rotting. Place the crown in a glass of water, ensuring the base barely touches the water. Within three weeks, you'll see roots forming.
Once the roots reach 2-3 inches, transplant your pineapple crown into well-draining soil. Keep it in bright, indirect sunlight and water when the soil feels dry. While it takes 2-3 years to fruit, you'll enjoy a unique tropical plant in the meantime.
Basil Water Cuttings
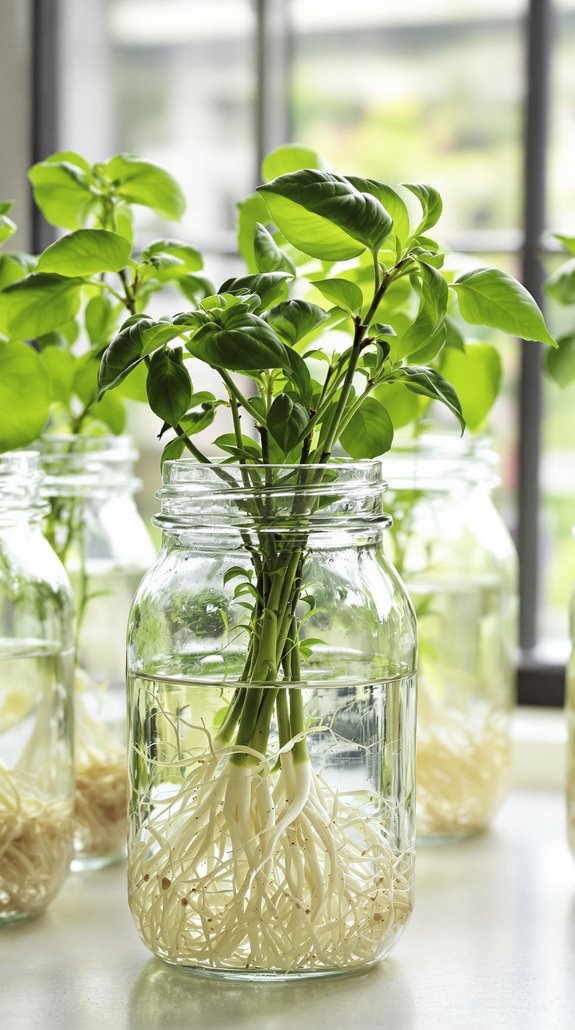
Fresh basil cuttings can grow into thriving plants with just water and patience. I recommend selecting healthy stems that are 4-6 inches long, removing the lower leaves, and placing them in a clear glass of water. Make sure the nodes (where leaves meet the stem) are submerged, as this is where new roots will emerge.
I change the water every few days to keep it fresh and prevent bacteria growth. Within 2-3 weeks, I'll see tiny white roots developing. Once these roots reach about 2 inches long, I transplant the cuttings into soil. I've found that placing the glass in bright, indirect sunlight speeds up the rooting process. This method works year-round and provides me with an endless supply of fresh basil plants for cooking.
Bean Sprouts
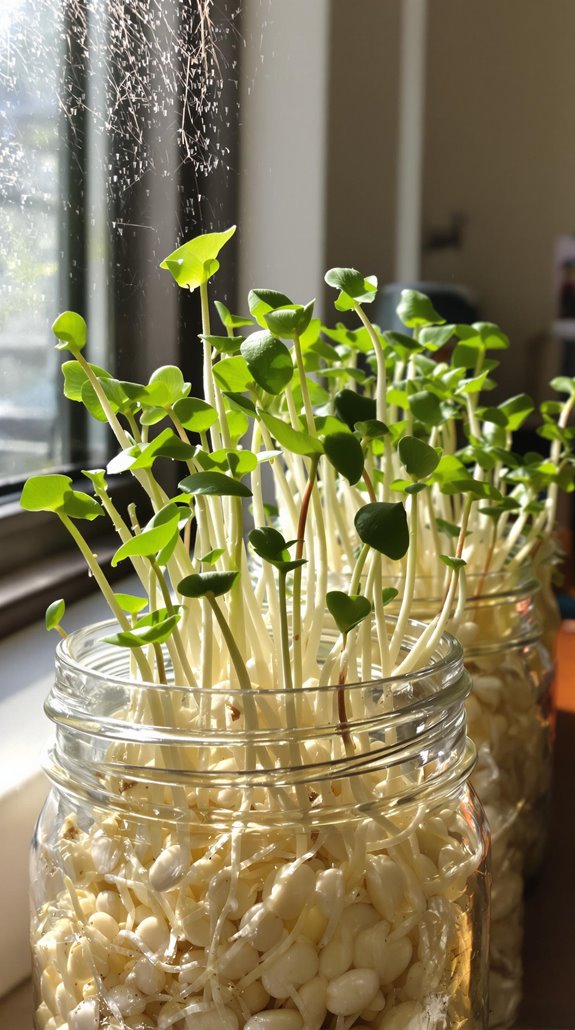
Did you know bean sprouts can be cultivated right on your kitchen counter? I've found that growing these nutrient-rich shoots takes just a few days and minimal effort. All you'll need are dried mung beans, lentils, or chickpeas from your pantry, plus a jar with drainage holes and some water.
I start by soaking my beans overnight, then drain and rinse them twice daily. I keep the jar tilted downward to prevent water from pooling, which could cause mold. Within 2-4 days, I'll see small white shoots emerging. Once they reach 1-2 inches long, they're ready to harvest. I love adding these crunchy sprouts to stir-fries, salads, and sandwiches. The best part? They contain more vitamin C and protein than their unsprouted counterparts.
Frequently Asked Questions
Are Accidentally Grown Kitchen Plants Safe to Eat if Mold Appears Nearby?
Ever wondered about those unexpected sprouts in your kitchen? I'll be direct: if there's mold near any plants you're growing, I strongly advise against eating them. Mold spores can spread invisibly and contaminate nearby food sources. While some plants might look fine, they could harbor harmful toxins from the mold. I recommend removing both the moldy area and nearby plants to keep your kitchen space safe.
How Do Indoor-Grown Edible Plants Compare Nutritionally to Store-Bought Vegetables?
Let me explain how indoor-grown veggies stack up nutritionally. I've found that when properly grown, indoor vegetables can be just as nutritious as store-bought ones. They're often fresher since you're eating them right after harvesting. However, the nutritional content really depends on your growing conditions – proper light, soil quality, and nutrients are essential. Without these elements, your homegrown produce might actually contain fewer nutrients than store-bought alternatives.
Can Pest-Infected Kitchen Plants Contaminate Other Food Items in Storage?
Did you know that 90% of kitchen pest infestations spread within just 48 hours? I'll tell you straight up – yes, pest-infected plants can absolutely contaminate your stored food items. When pests like aphids, mealybugs, or spider mites infest a plant, they'll quickly move to nearby food sources. I recommend immediately isolating any infected plants and storing your dry goods in airtight containers to prevent cross-contamination. Don't take chances with your food safety.
Which Accidentally Grown Plants Should Pregnant Women and Immunocompromised People Avoid?
If you're pregnant or immunocompromised, I'd strongly advise you to avoid consuming any accidentally sprouted plants, even if they seem edible. I'm particularly concerned about sprouts from potatoes, tomatoes, and eggplants, as they contain solanine, which can be harmful. Bean sprouts also pose risks due to potential bacterial contamination. It's better to purchase properly grown produce from reliable sources where safety standards are maintained.
Do Kitchen-Grown Plants Absorb Harmful Chemicals From Household Cleaning Products?
I know you're worried about toxic cleaners, but here's what I've learned: Yes, plants can absorb chemicals through their leaves and roots. When you spray cleaners nearby, they'll likely pick up those substances. That's why I always suggest keeping your edible kitchen plants away from cleaning zones and using natural cleaners like vinegar and baking soda near them. It's better to be safe than sorry.
