How to Revive a Snake Plant
Snake plants are incredibly resilient, but sometimes they need a little help to bounce back. If your once-thriving plant is looking worse for wear, don’t lose hope. This comprehensive guide will show you proven techniques to revive even the most struggling snake plant. From adjusting watering habits to providing proper lighting and tackling pests, you’ll find the steps to bring your beloved plant back to its former glory.
Contents
Assess Your Snake Plant’s Condition
Before you can revive your snake plant, it’s imperative to [examine] its current condition. Look for signs of distress such as yellowing leaves, brown tips, or mushy stems. Check the soil moisture; overwatering is a common issue. Examine the roots for any signs of rot or pest infestation. [Analyze] the plant’s location, ensuring it receives adequate indirect light. Note any recent changes in its environment that might have caused stress.
Evaluate the pot size and drainage to determine if repotting is necessary. Inspect the leaves for dust accumulation, which can hinder photosynthesis. Consider the temperature and humidity levels in the plant’s surroundings. By thoroughly [inspecting] your snake plant’s condition, you’ll be better equipped to address its specific needs and provide the care required for revival. This careful evaluation will guide your next steps in nursing your plant back to health.
Adjust Watering Habits
After evaluating your snake plant’s state, adjusting your watering practices is frequently the most critical step in revival. Overwatering is a common issue, so make certain you’re not drowning your plant. Allow the soil to dry out completely between waterings, which may mean watering only every 2-3 weeks. When you do water, thoroughly soak the soil until water drains from the bottom of the pot.
If your plant’s suffering from underwatering, gradually increase watering frequency. Don’t suddenly drench a dehydrated plant, as this can shock the roots. Instead, water lightly every few days until the plant shows signs of recovery. Always use well-draining soil and a pot with drainage holes to prevent water from pooling. By fine-tuning your watering routine, you’ll help your snake plant regain its health and vigor.
Provide Proper Lighting

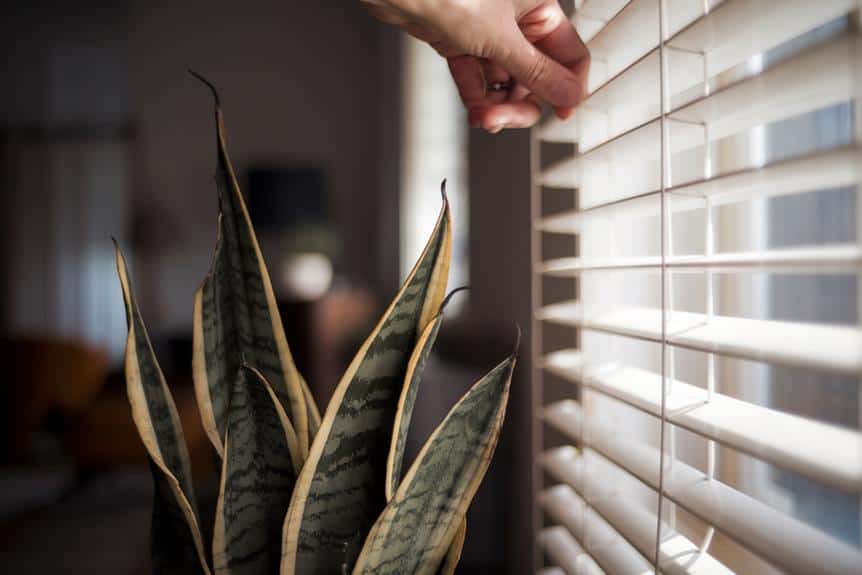
Proper lighting is essential for reviving a struggling snake plant. While these plants are known for their tolerance of low light, they still need adequate brightness to thrive. Place your snake plant near a window with indirect sunlight. East or west-facing windows are ideal, providing gentle morning or afternoon light. If you don’t have suitable natural light, consider using artificial grow lights to supplement.
Be cautious of exposing your plant to direct sunlight, as it can scorch the leaves. If you notice the leaves turning yellow or developing brown spots, it may be receiving too much light. In this case, move it to a slightly shadier spot. On the other hand, if the plant’s growth is slow and the leaves are drooping, it might need more light. Gradually increase light exposure to help your snake plant recover its vigor and health.
Address Soil and Drainage Issues

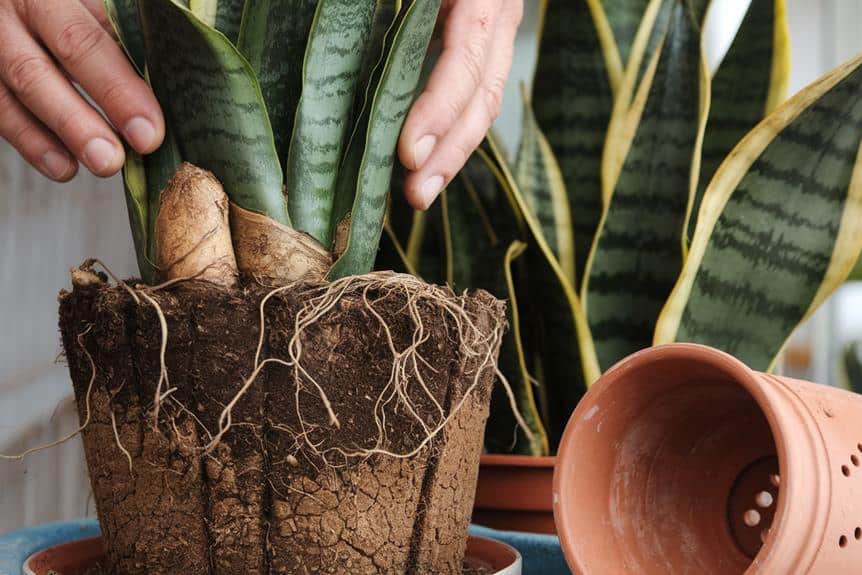
Soil health and proper drainage are crucial factors in reviving a struggling snake plant. Check if the soil is compacted or waterlogged, as these conditions can suffocate roots. Gently remove the plant from its pot and inspect the roots for signs of rot. Trim away any black or mushy roots using clean, sharp scissors. Repot your snake plant in fresh, well-draining soil specifically formulated for succulents. Guarantee the new pot has adequate drainage holes to prevent water from pooling. When repotting, place a layer of pebbles or broken pottery at the bottom of the pot to improve drainage. Water sparingly, allowing the soil to dry completely between waterings. Remember, overwatering is a common issue for snake plants, so err on the side of underwatering. By addressing soil and drainage problems, you’ll help your snake plant recover and thrive.
Tackle Pest Infestations
Pests can quickly derail your efforts to revive a snake plant. Common invaders include spider mites, mealybugs, and scale insects. To combat these pests, start by isolating the affected plant to prevent spread. Inspect the leaves and stems closely, looking for tiny webs, cottony masses, or hard shells. For minor infestations, wipe the leaves with a damp cloth or cotton swab dipped in rubbing alcohol. For more severe cases, use an insecticidal soap or neem oil spray, following the product instructions carefully. Treat the plant weekly until all signs of pests disappear. Don’t forget to check the soil for fungus gnats or root mealybugs. If present, consider repotting with fresh, sterile soil. By addressing pest issues promptly, you’ll give your snake plant the best chance at recovery and help protect other plants in your care.
Prune Damaged Leaves
When should you prune your snake plant’s damaged leaves? It’s best to remove damaged leaves as soon as you notice them. This helps prevent the spread of disease and allows the plant to focus its energy on healthy growth.
To prune, use clean, sharp scissors or pruning shears. Cut the damaged leaf at its base, close to the soil line. Be careful not to damage nearby healthy leaves. For partially damaged leaves, you can trim off just the affected portion, leaving the healthy part intact.
After pruning, dispose of the removed leaves properly to prevent pest spread. Keep the plant’s soil slightly moist and provide indirect light to encourage new growth. Remember, pruning is an act of care that helps your snake plant thrive. By removing damaged leaves, you’re supporting its overall health and appearance.
Propagate Healthy Sections
Propagation offers a fantastic way to multiply your snake plant and share its beauty. To begin, identify healthy leaves or stems from your existing plant. Cut these sections into 2-3 inch pieces using clean, sharp scissors. Allow the cuttings to dry for a day or two, forming a callus at the cut ends. Next, place the cuttings in a well-draining potting mix, ensuring the cut end is buried about an inch deep. Water sparingly and place the pot in bright, indirect light. Roots should develop within 3-4 weeks. Once established, you can transplant the new plants into separate pots. This method not only revives your snake plant but also creates new ones to share with friends or expand your collection. Remember, patience is key in propagation, so give your cuttings time to grow.
Maintain Optimal Growing Conditions

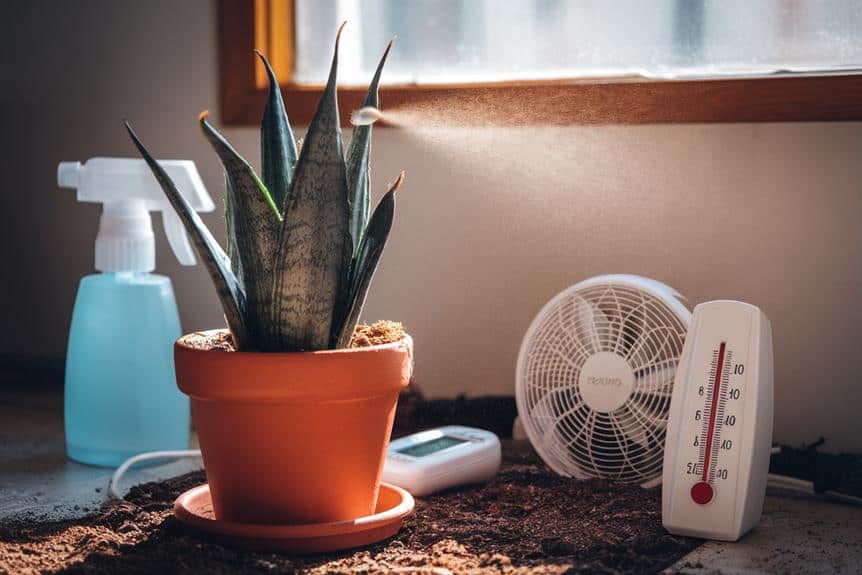
Ideal growing conditions are pivotal for your snake plant’s revival and long-term health. Place your plant in bright, indirect light, avoiding harsh direct sunlight that can scorch its leaves. Maintain a temperature between 60-85°F (15-29°C), as snake plants thrive in warm environments. Guarantee proper drainage by using a well-draining potting mix and a container with drainage holes. Water sparingly, allowing the soil to dry out completely between waterings to prevent root rot. Maintain moderate humidity levels, but don’t worry about misting, as snake plants are drought-tolerant. Fertilize lightly during the growing season with a balanced, water-soluble fertilizer diluted to half-strength. Regularly dust the leaves to keep them clean and able to absorb light efficiently. By providing these peak conditions, you’ll help your snake plant recover and flourish.
