Killing Soil Pathogens: Best Sterilization Techniques
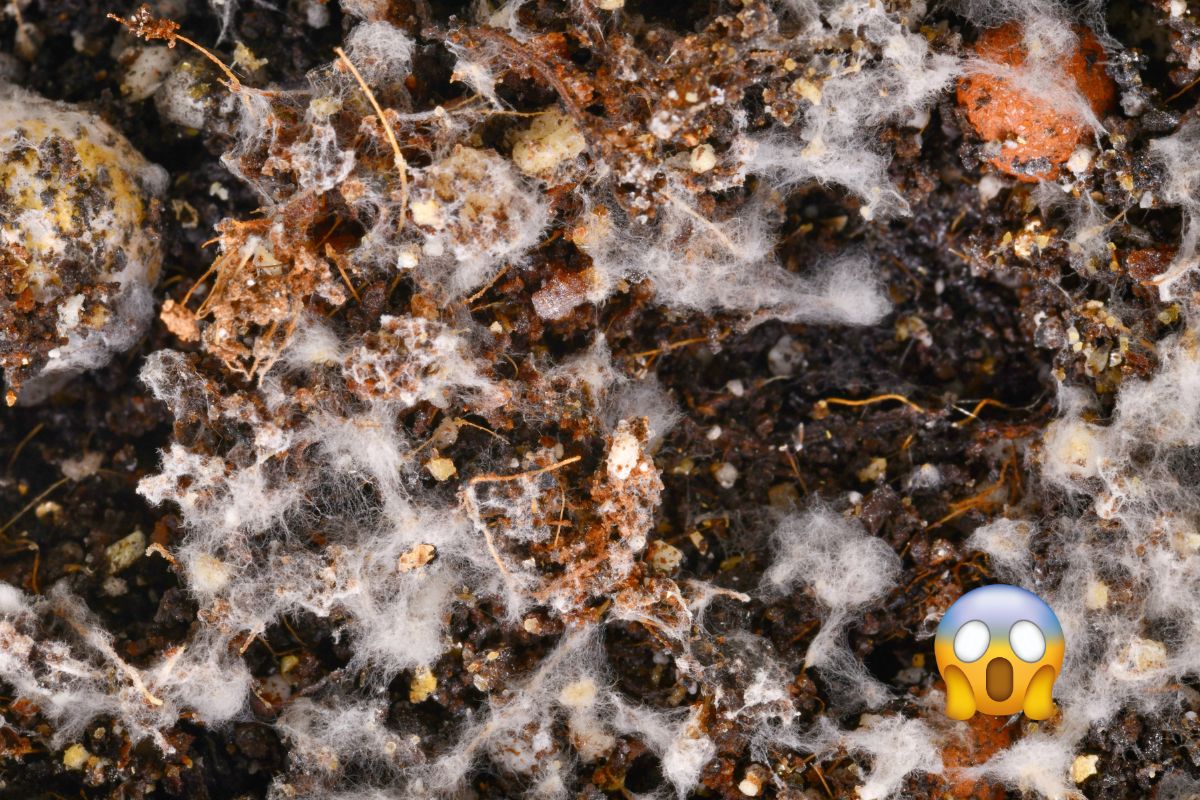
Have you ever opened a new bag of soil for your plants, only to be hit with a foul, moldy odor? It’s frustrating, isn’t it? But don’t worry – there’s a solution that can save your soil (and your plants)!
Imagine having a secret weapon to eliminate those pesky mold spores, fungi, and pests that lurk in your potting mix. Sounds pretty amazing, right? Well, that’s exactly what soil sterilizers are designed to do. They’re like a superhero for your soil, zapping away all the bad stuff and leaving you with a clean, healthy growing environment for your plants.
In this blog, we’ll explore the best soil sterilizers on the market and various methods for sterilizing soil at home. Get ready to unleash the full potential of your plants by giving them the gift of sterilized, nutrient-rich soil!
Contents
What is the Best Soil Sterilizer?
If you notice powdery mildew or other fungi in your soil, the best solution is to use a fungicide or soil sterilizer. One of the most effective products we’ve ever used is the Liquid Copper Fungicide by Bonide:
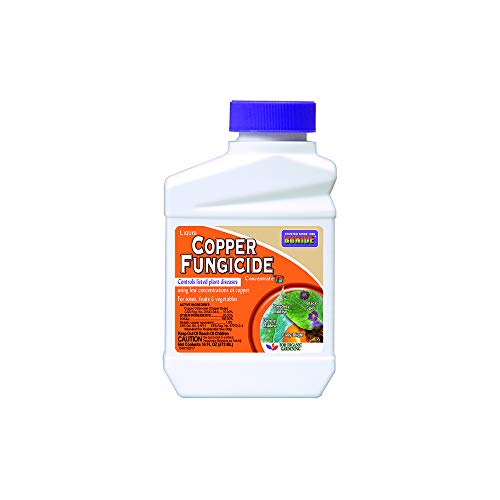
- Controls plant diseases – Liquid Copper Fungicide helps control powdery mildew, downy mildew, black spot, peach leaf curl, rust, and many other listed diseases.
- Protection for plants – Designed for use on listed vegetables, roses, fruits, nuts, herbs, ornamentals and turf.
- Organic gardening – This natural fungicide is designed to be safely used around people and pets.
- Contains copper – The active ingredient of liquid copper is copper octanoate, or copper soap. Copper is a naturally occurring chemical which makes it a great option for use on all of your plants.
- Easy to apply – Product instantly mixes with water and should be applied using either a hose-end sprayer or tank sprayer.
If you do not wish to use a fungicide, there are many ways to sterilize soil. We discuss all of them in this article.
How to Sterilize Potting Soil in the Oven or Microwave
If you want to use inexpensive soil from the supermarket, old soil from last year, or garden soil, we’ll show you how to kill potential pests and existing mold spores using heat.
Sterilizing soil works best with heat, and you can achieve this by baking the soil in the oven or even faster in the microwave. Here’s what you’ll need:
- The amount of soil you want to sterilize
- An oven-safe or microwave-safe container
- Some water
First, moisten your soil well. When you squeeze it, it should hold its shape but not drip like mud. For both the oven and microwave methods, spreading the soil flat on a metal tray will help it heat up faster.
In the microwave, 5 to 10 minutes at the highest setting should be sufficient. Mix the soil halfway through the time.
In the oven, preheat it to 392°F (200°C), and bake one or two trays of soil for 20 minutes.
Let the soil cool completely afterward, and moisten it again before planting.
Sometimes after heating, you may see white particles or worms that were previously undetectable. These are actually insects such as mites or larvae, and worms – their proteins have denatured (clotted) due to the heat, turning them white. We’ve been surprised a few times after sterilizing soil to see how many larvae were present but unnoticed before due to their brown color.
How to Sterilize Soil with Boiling Water
If you don’t want to put soil in your oven for hygiene reasons, you can sterilize soil using boiling water instead. This method is very effective for pest control and soil diseases, although it requires more effort and cost.
Follow these steps:
- Prepare the soil as you would for planting, ensuring it’s completely dry.
- Boil clean water in an appropriate container.
- Water the dry soil with the hot water, submerging it to a depth of 2-6 inches.
- Cover the treated surface with a layer of polyethylene or plastic to preserve the soil’s temperature for longer.
Note: If you water the soil deeper than recommended, you risk destroying beneficial nitrifying bacteria, which can lead to elevated ammonia levels and increased soil toxicity.
Do You Always Need to Sterilize Soil?
While sterilizing soil is harmless, it’s not always necessary. To determine if your soil contains harmful spores or germs, you can perform the cress test:
- Fill a pot with the soil you plan to use for growing.
- Moisten the soil slightly.
- Sow some cress seeds.
- Place the pot in a warm, bright location and wait.
If the cress germinates within about three days, is well-rooted, and looks healthy, the soil doesn’t need sterilizing before use. This indicates a low level of germs, fungi, or spores that won’t damage young plants. However, if the cress fails to germinate, it’s a clear sign that the soil contains too many germs, fungi, or spores.
By following these simple sterilization methods, you’ll be well on your way to providing your plants with a clean, healthy growing environment – and giving them the best chance to thrive!
Can Potting Soil Go Bad?
To prevent potting soil from going bad, proper storage is key. An open bag of potting soil should never be left outdoors, as rain can flush away nutrients, and humidity can alter the soil’s acidity. Additionally, pests may seek shelter in the open bag, and weed seeds can invade the soil, producing seedlings that consume valuable nutrients.
When stored properly – in a closed container, cool, and dry – potting soil can last about 12 months. After that, it loses nutrients but is still suitable for plants with low nutrient requirements. For plants with medium or high nutrient needs, the potting soil should be enriched with compost or a slow-release fertilizer before use.
Yellow Mold in Plant Soil – Is it Harmful?
There are different types of mold and fungi that can cause yellow growth on the surface of your soil. Although this yellow growth is typically harmless to plants, it can give the soil an unhealthy appearance.
If you notice yellow fungus in your garden soil, it’s likely Leucocoprinus birnbaumii, also known as Lepiota lutea. This fungus frequently grows on the surface of potting soil and often turns into large, bright yellow mushrooms. While it may look concerning, it’s completely harmless.
What are the White Balls in my Plant Soil?
Those little white balls you find in your potting soil are not insect eggs – they’re perlite. Perlite is a naturally occurring volcanic glass that resembles small white balls made of plastic foam. It’s often used as a soil amendment because it has high permeability and low water retention, helping to prevent soil compaction.