Hens and Chicks Propagation: A Beginner’s Handbook
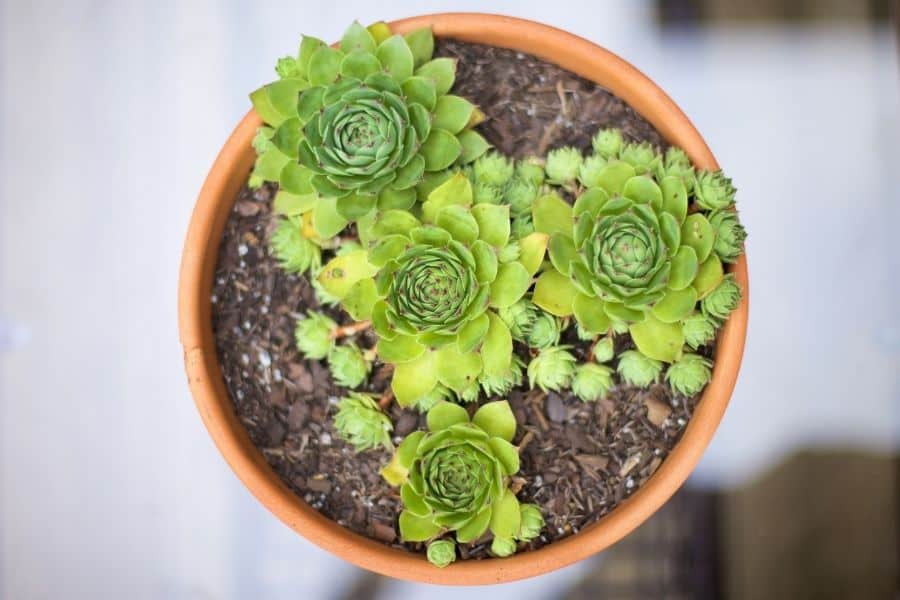
Hens and chicks are succulents that grow in clusters of rosettes. Native to Europe and Africa, these plants are admired for their unique shape and colored leaves. They are quite easy to grow and can be grown in pots or outdoors. Read on to find out how to propagate hens and chicks.

Contents
How to Propagate Hens and Chicks
Hens and chicks propagation can be done in three different ways:
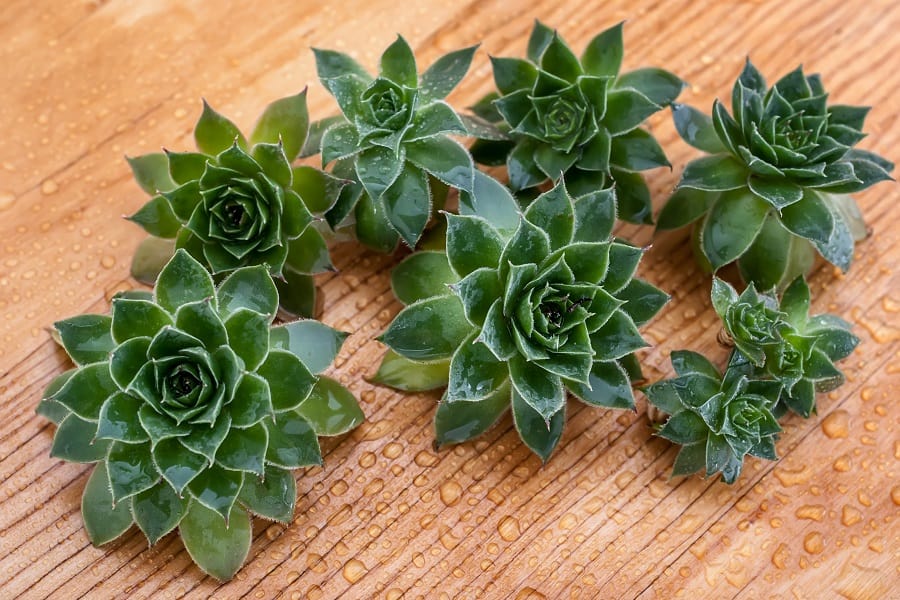
1. Propagating Hens and Chicks from Offsets
This is the easiest way to propagate hens and chicks. The offsets of the plants are connected to the main plant through a stolon. Since they are ground-hugging plants, you need to wait till the offsets reach a diameter of 1 ½ inches to 2 inches.
Once the hens and chicks’ offsets are big enough, twist and pull to separate them from the plant. You can also use a small knife if you find it hard to separate them by hand.
Let the freshly cut offsets dry off and heal for a few days. When the wounds are completely healed, they will form calluses. Once they reach this stage, they are ready to be propagated.
Take a pot with a draining hole and fill it with a good cactus and succulent soil mix. Plant the offset into the pot. Tuck the roots into the soil and make sure the plant is sitting firmly above the soil.
You can top off the soil with some perlite or pebbles to facilitate drainage. Place the pot in an area where it gets a lot of indirect sunlight and water it whenever the soil gets completely dry.
New roots will have taken hold in a few weeks and gradually the plant will start to require more sunlight and less water.
2. Propagating Hens and Chicks from Leaves
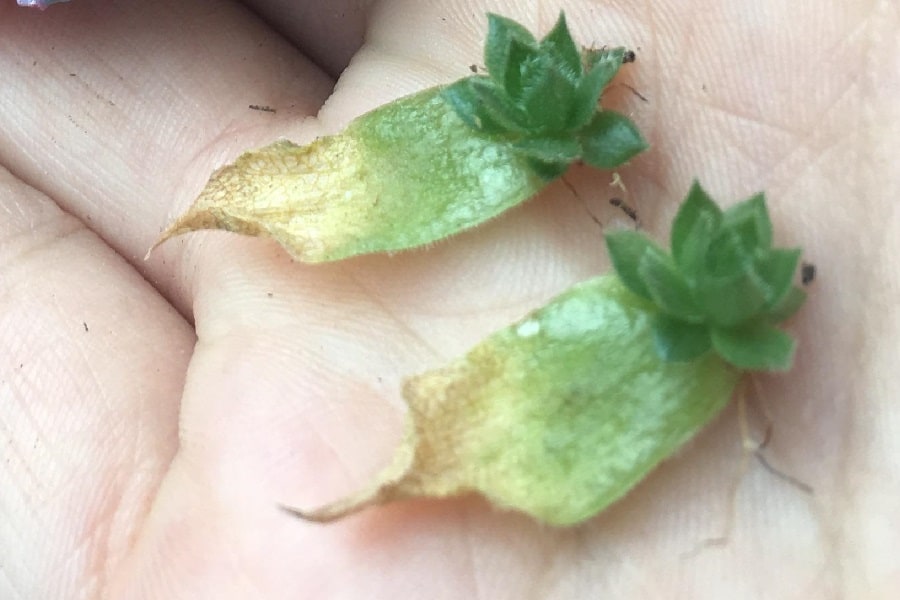
It is possible to propagate Sempervivum from leaves, but it does not have a very high success rate. To maximize your chances, pick leaves in springtime as they will be at their healthiest.
You can twist and pull leaves with your hands or use a pair of scissors to cut them off the plant. Make sure that you don’t tear or damage the leaves in this process. Gardening shears or a sharp knife can help you get a nice clean cut.
Let the leaves dry so that they can form calluses. Meanwhile, prepare a pot or a tray with enough room to hold many hens and chicks’ leaves. Fill the container with a cactus and succulent mix.
When the leaves are ready, place them in the container with the base touching the soil. Place the container in a spot where it gets indirect light. Mist the soil frequently to keep it wet but don’t soak it completely.
It can take up to a month for the leaves to sprout roots. When this happens, new baby leaves will sprout above ground, taking over the existing leaf. The old leaf will wither away anyway, so you don’t need to worry about it.
Not all the leaves will take root and grow into plants, so don’t be upset if some of them die off.
3. Propagating Hens and Chicks from Stem
Stem cuttings are a very viable method of propagating hens and chicks. It gives good results and the chances of unsuccessful propagation are very low.
You need a nice healthy piece of stem from a hens and chicks plant. Make sure the stem has some leaves growing on it and cut it off cleanly with gardening shears.
The stem should be free of leaves at the bottom for a length of about 1-2 inches. Let the cutting dry and form calluses. Fill a container with a succulent potting mix and plant the callused stem cutting into the soil.
The leaves shouldn’t be under or touching the soil. Place the container in a spot where it gets indirect sunlight and water it only when the soil gets completely dry. Make sure the drainage is good by topping the pot with pebbles or perlite.
You will see roots taking hold in about 2 weeks.
Rooting Hens and Chicks in Water: An Alternative Propagation Method
While stem cuttings are a popular and reliable method for propagating hens and chicks, another technique holds promise: rooting them in water. This method offers an exciting alternative for plant enthusiasts and can be an interesting experiment to try. Not only does it allow you to observe the root development up close, but it also promotes successful propagation with minimal effort.
To get started, select a healthy stem from a mature hens and chicks plant. Ensure the stem has some leaves growing on it and use sharp gardening shears to make a clean cut. It’s crucial to choose a stem that is neither too woody nor too tender for optimal results.
After cutting the stem, remove the leaves from the lower 1-2 inches of the cutting. This bare section of the stem will be submerged in water, and removing the leaves prevents them from rotting and promotes smooth rooting. Allow the cutting to dry and form calluses for a few days before proceeding to the next step.
To root the hens and chicks cutting in water, fill a small container with clean water. It’s essential to use distilled or filtered water, as tap water may contain chlorine and other minerals that can hinder root development. Place the prepared cutting gently in the water, making sure the bare section is submerged but the leaves remain above the waterline.
Find a suitable location for the container where it can receive indirect sunlight. Direct sunlight may cause excessive heat, which can be detrimental to the rooting process. Maintain a consistent warm room temperature to further foster successful rooting.
While the hens and chicks cutting is in water, keep a close eye on the water level. It is necessary to change the water regularly, ideally every few days, to prevent stagnation and any potential for mold or bacterial growth. Each time you change the water, inspect the cutting for any signs of rot or wilting, and remove any unhealthy portions promptly.
After approximately two weeks of patient observation, you will notice tiny roots starting to emerge from the end of the stem. Once these roots have reached a length of about half an inch, you can carefully transfer the cutting to a well-draining succulent potting mix.
When to Propagate Hens and Chicks?
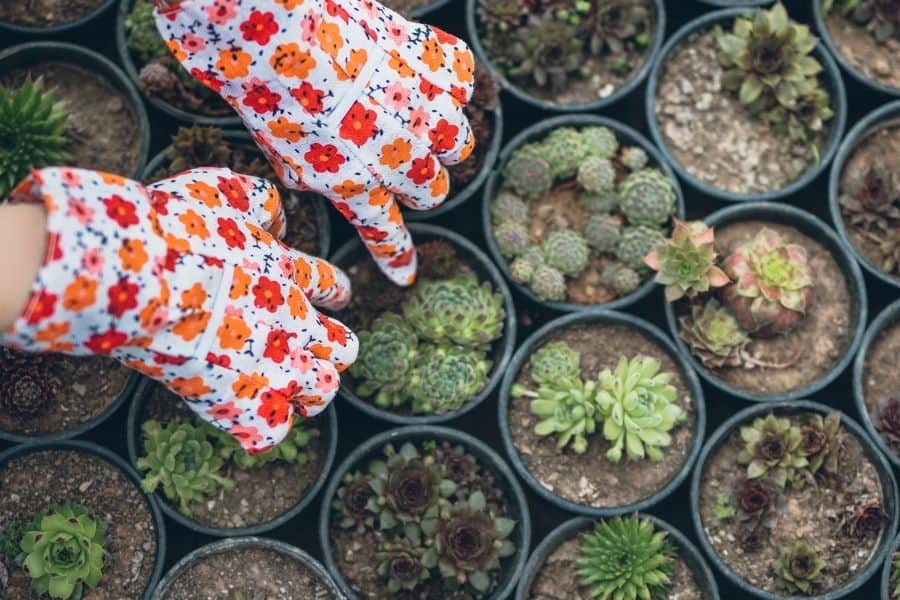
Spring is probably the best time for hens and chicks propagation. Your main plant will have the most offsets to propagate at this time and the new plants will have a lot of time to grow.
Always select the largest and thickest rosettes for propagation. The rosettes have the most success if propagated in spring and late summer is the last chance to propagate them. Do not propagate hens and chicks in the heat of summer when the sun is at its hottest.
It is also not recommended to propagate them in the winter. You will find it very difficult to find viable rosettes during the winter.
Make sure that the plant you are using to propagate is at least a year old. If the plant is too young, the rosettes can take almost a year to take root and start growing. They are also more likely to die if the plant is too young.
Hens and Chicks Propagation FAQs
How long does it take to propagate hens and chicks?
The amount of time it takes to propagate hens and chicks depends on the method you use.
If you propagate using offsets or stem cuttings, you can expect to see new roots and sprouts in 2-3 weeks. If the propagation is successful, you will definitely notice new roots within this period.
If you are propagating hens and chicks from leaves, be prepared to wait up to a month to see any results. This method doesn’t have a very high success rate, so manage your expectations accordingly.
How do you collect seeds from hens and chicks?
To collect seeds from hens and chicks, you will need to wait until the flowers have dried up and the seed heads have turned dark in color. Once the seed heads are dark, snip off the flower heads and place them in a paper bag. Shake the bag gently to release the seeds from the flower heads. Be sure to label the bag with the type of seed you collected.
Once you have collected the seeds, you will need to dry them out before storing them. Spread the seeds out on a paper towel and allow them to dry for a few days in a warm, dry location. Once the seeds are dry, you can store them in an airtight container and keep them in a cool, dry place for up to one year. Be sure to label the container with the type of seed and the date it was collected.
How long does it take hen and chick seeds to sprout?
Hen and chick seeds typically take between 10 and 14 days to sprout. When planted, the seeds should be placed just underneath the soil and lightly covered. They should be kept in a warm and moist environment, as this will help ensure successful germination. The soil should also be well-draining, as standing water can cause the seeds to rot.
Once the seeds have germinated, the seedlings can be transplanted into individual pots or into the garden. The soil should be kept moist but not soggy and the seedlings should be given plenty of sunlight each day. When the seedlings are around 4 inches tall, they can be planted into their intended positions in the garden.
How can I make my hens and chicks grow faster?
One way to help your hens and chicks grow faster is to provide them with plenty of light. Place your plants in a sunny spot that receives at least six hours of direct sunlight a day. This will help them to photosynthesize more effectively, resulting in quicker growth. Additionally, ensure that your hens and chicks are planted in well-draining soil and are watered regularly.
Applying a liquid fertilizer every two weeks during the growing season will also provide your plants with the necessary nutrients they need to thrive. Finally, keep your hens and chicks free from weeds and pests, as these can cause significant damage to the plants and stunt their growth. With these simple steps, you can help your hens and chicks reach their full potential.